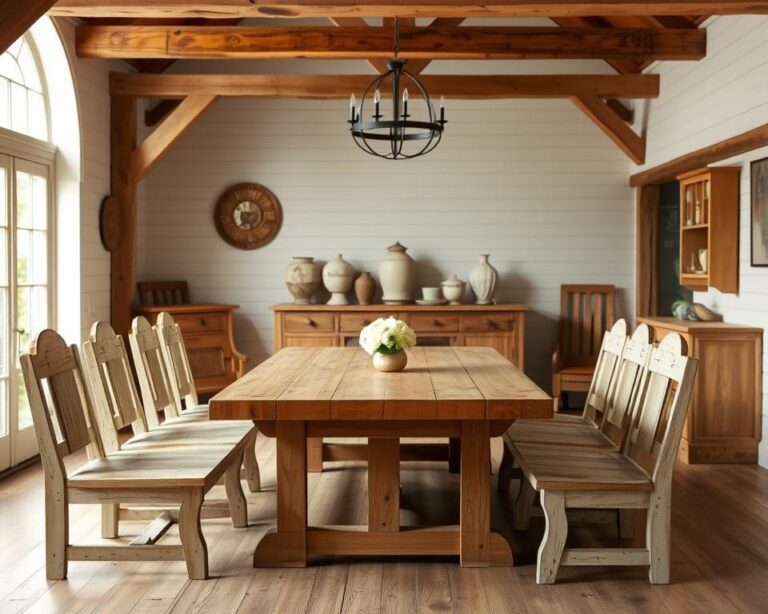
Did you know over 70% of people prefer handmade decor? This trend shows the appeal of DIY wood projects for enhancing homes. Small woodworking ideas not only bring a personal touch but are also great for beginners.
Starting small woodworking projects can boost creativity and provide satisfaction. You can make things like wooden planters, stylish coat racks, or personal picture frames. These projects can transform your home decor and are easy for beginners.
Interested in making a wooden lamp? Check out this step-by-step guide. With basic materials and tools, you’ll find woodworking to be fun and rewarding.
Introduction to Small Woodworking Projects
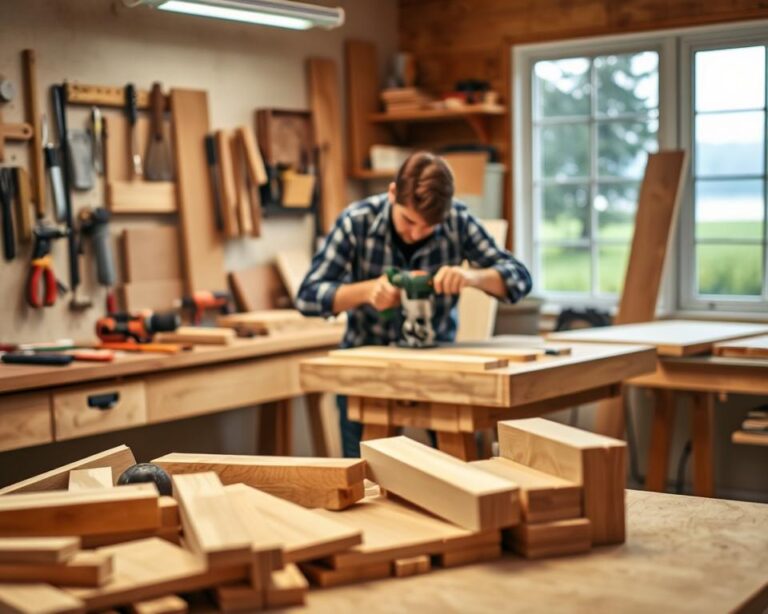
Starting with beginner woodworking projects is a great first step into crafting. Small projects are perfect for beginners because they’re simple and don’t need many resources. As you work on these projects, you’ll build confidence and skills. You’ll also make lovely wood crafts. Projects like a small shelf or a decorative item let your creativity shine.
Why Small Projects Are Great for Beginners
Small woodworking projects help you learn basic skills without too much difficulty. You’ll learn how to measure, cut, and put pieces together. Every project you finish will make you more familiar with woodworking. This prepares you for more challenging projects later. It’s a way to be creative without spending a lot on tools or materials.
Benefits of Woodworking at Home
Woodworking at home has many benefits. It boosts your creativity and gives you a real sense of achievement. It also improves your hand skills, which is handy in many areas of life. Plus, it’s a good way to relax and be more mindful. Using sustainable materials is good for the planet. It also allows you to make useful items for your home.
Simple Plans for Wooden Bookends
Making wooden bookends is a great way to start with DIY woodworking. They are useful and show off your style. To begin, you’ll need to pick up some basic supplies from a local store.
Materials Needed for Bookends
Here’s what you’ll need for these easy projects:
- Sturdy wood (like pine or oak)
- A saw for cutting
- Wood glue
- Sandpaper
- Paint or fabric for decoration (optional)
Step-by-Step Instructions
Just follow these simple steps to make your bookends:
- Cut your wood into two rectangles of equal size.
- Sand the edges so they are smooth.
- Glue the bottoms of the rectangles to make an “L” shape.
- Clamp them together until the glue dries.
- Decorate with paint or stain as you like.
This project is not only a fun way to decorate your home. It could also be a starting point for selling your crafts. It’s rewarding to make something both useful and beautiful!
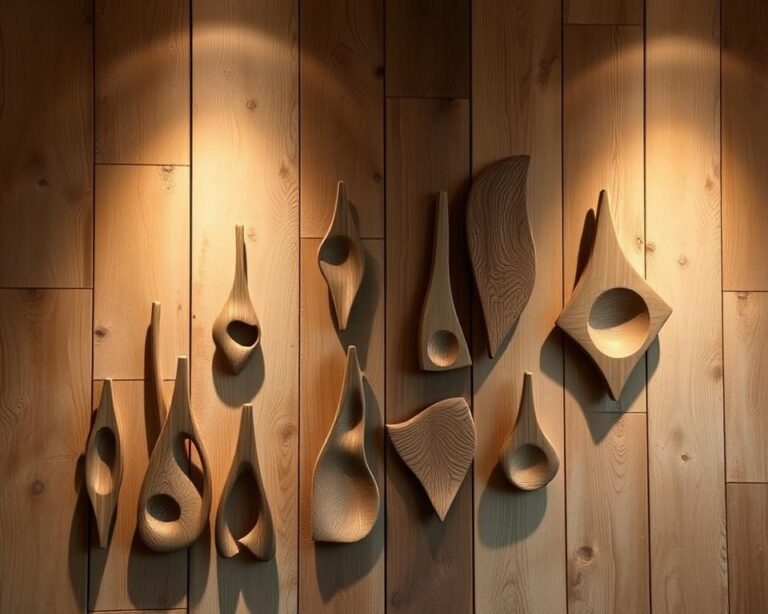
Creative Wooden Planters for Home Decor
Making wooden planters is a great way to show your creative side and make your home look better. By taking on small woodworking projects, you can create special places for your plants. These DIY wood projects are not only useful but also make your space more beautiful.
Choosing the Right Wood
Choosing the right wood for your planters is key. You need to pick materials that don’t easily rot. Cedar or redwood are top choices because they naturally resist water. Using reclaimed wood also makes your project more environmentally friendly. Just remember to avoid treated wood, as it might have chemicals that could hurt your plants.
Design Ideas for Unique Planters
Wooden planters are great because you can do a lot with them. You might make simple box planters for herbs or veggies. Or, you could try making planters with several levels for a more dramatic effect with flowers or succulents. Wall planters that hang are also a cool way to use space and show off your plants.
Adding features like holes for water to drain or decorating with woodburning makes your planters look and work better. These easy woodworking projects are a perfect way to bring a bit of nature inside. Plus, they let you add your personal touch to your home.
Functional Coat Racks: A Mini Project
Making a coat rack is a great small woodworking project for those just starting out. It’s not just about making something useful but also adding a stylish piece to your home. You only need simple tools and materials you can easily find to make a coat rack that’s both functional and shows off your creativity.
Tools Required for a Coat Rack
To kick off this project, you’ll need a few basic tools. Here’s what you’ll need:
- Saw for cutting wood
- Drill for making holes and securing screws
- Screws for assembly
- Wood glue for additional bonding
- Pencil for marking measurements
Stylish Designs to Try
When thinking about what to make, aim for a coat rack that fits well with your home’s style. You could use a wood pallet for a country look or go modern with pre-cut wood panels. Different hooks and a shelf above can make it more stylish. This way, you mix easy wood projects with functional wood crafts.

Crafting Personalized Picture Frames
Creating personalized picture frames is both fun and fulfilling. It can make your home look better. Plus, it’s a great way to practice woodworking. These projects are perfect for beginners looking to make DIY wooden gifts. By learning to craft picture frames, you make unique, memorable items. These are great homemade gifts for friends and family.
Materials and Tools Required
To begin making picture frames, you need to gather some materials and tools. You’ll need wood planks, screws, and something to decorate with, like paint or stains. For tools, you should have a measuring tape, a miter saw for cutting angles, and a drill for assembly. Here’s a brief list of what you need:
| Material/Tool | Description |
|---|---|
| Wood Planks | Your choice of wood, such as pine or cedar, suitable for frames. |
| Screws | Wood screws to hold the frame together securely. |
| Paint/Stain | To add a personal touch and color to the frame. |
| Measuring Tape | For accurate measurements of your wood pieces. |
| Miter Saw | To make angled cuts for the frame corners. |
| Drill | For drilling holes for screws and easy assembly. |
How to Customize Your Frame
Customizing your frame makes it unique. Choose your favorite colors for paint or stain. You can also add personal touches, such as:
- Engraved initials to create a personal connection.
- Decorative elements like shells or fabric for a creative flair.
- Different sizes to fit various pictures, making them versatile for displaying.
Exploring small woodworking ideas can help you find new techniques and styles. Crafting personalized picture frames combines the fun of woodworking with the joy of making creative, heartfelt gifts.
Building a Classic Birdhouse
Making a birdhouse is a fun project that adds to any DIY wood work. It combines function and beauty in a small package. When you make your birdhouse, remember to add key features to welcome birds.
Essential Birdhouse Features
A good birdhouse must have some important parts to suit the birds you want to attract. Start with holes at the top for air to flow. Bottom holes keep it dry when it rains. The right size entrance stops big birds from getting in, while welcoming the right ones. Cedar wood is best because it lasts long, even in bad weather.
Painting and Decorating Tips
After building your birdhouse, it’s time to paint and decorate. Use safe paint or stains for bird health. Try adding pretty patterns or fun designs to make it stand out. But don’t use bright colors, as birds might not like them. You can make your birdhouse look unique, from rustic to modern, to show off your style.
Unique Wooden Shelves for Organization
Making unique wooden shelves can really improve how you organize and show your items. You can choose from different woods to fit the style of any room. Here are some ideas on wood types and how to put up shelves to make your project a success.
Types of Wood to Use
Choosing the right wood is key for making shelves that last and look good. Oak and maple are strong and can hold a lot of weight, making them great for shelves. Pine is cheaper and easy to work with, making it great for DIY projects. If you want something with an old-school look, try reclaimed wood. For a modern look, painted MDF is a good choice.
Installation Tips and Tricks
Installing shelves safely and properly is very important. First, find the wall studs to make sure your shelves are secure. If you’re putting up heavy items, using brackets is a smart move. You might also like the clean look of floating shelves. Make sure your shelves are level when you install them to keep things safe and looking good.
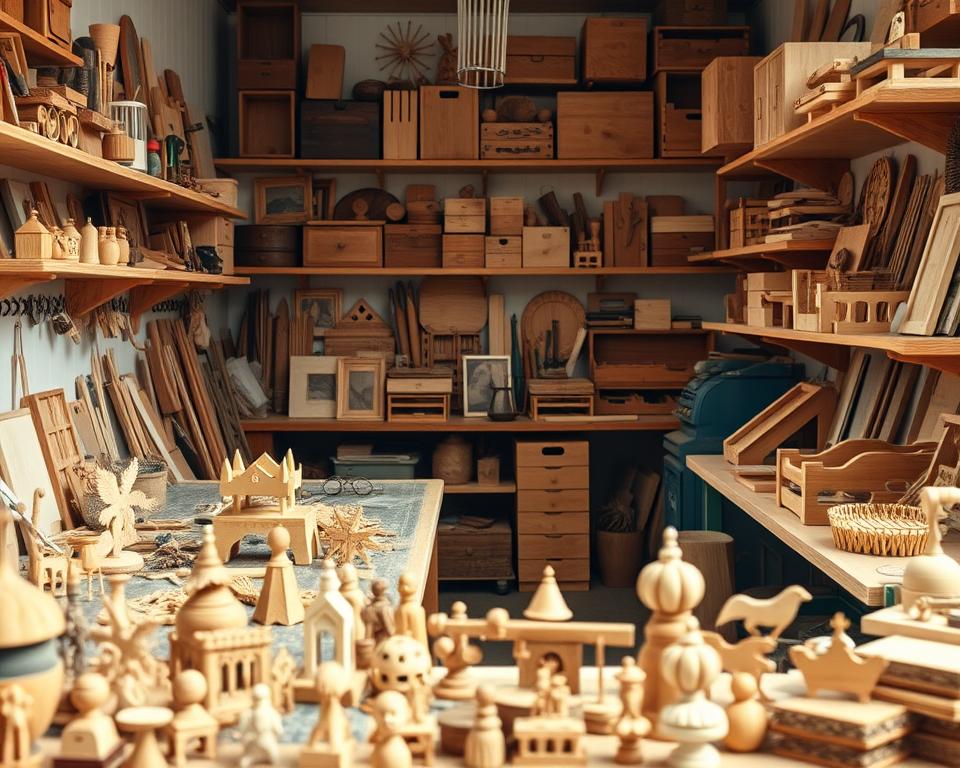
DIY Wooden Toys for Kids
Making wooden toys is an exciting project for those who love woodworking. It’s rewarding to see kids play with toys you made. It’s crucial to ensure these toys are safe for kids. Choose safe finishes and make sure there are no sharp corners or splinters.

Safety Considerations
Safety is key when making wooden toys. Avoid small parts that could choke a child. Make sure all edges are smooth and well-sanded. Following these safety tips not only makes toys safer but also more appealing if you sell them. Putting effort into these projects really pays off.
Fun Designs for Different Ages
You can create wood toys for all age groups. For the little ones, simple toys like blocks are perfect. Older kids might enjoy puzzles or toy cars. You can tailor toys in size, shape, and color. This way, you match their growing needs and interests. These toys not only spark creativity but also help kids develop new skills.
| Age Group | Toy Design Ideas | Skills Developed |
|---|---|---|
| 0-3 years | Wooden Blocks | Motor Skills, Color Recognition |
| 4-6 years | Puzzles | Problem Solving, Hand-Eye Coordination |
| 7-10 years | Wooden Vehicles | Creativity, Imaginative Play |
Decorative Wooden Signs for Your Home
Making decorative wooden signs adds beauty to your home and shows off your style. When starting your project, choose themes that mean something special to you. You might pick family names, motivational sayings, or signs that point the way to rooms. Your choice in theme helps pick the wood, colors, and letter styles, making your decor truly yours.
Choosing a Theme for Your Sign
Think about what means the most to you and your family. Here’s a list of theme ideas to get your creative ideas flowing:
- Family Names
- Inspirational Quotes
- Welcome Signs
- Directional Signs for Rooms
- Seasonal Decorations
Techniques for Painting and Finishing
Good painting methods make your wooden signs look pro. Use stencils for neat and straight lines. For a more natural look, try woodburning to add a unique touch. After painting, it’s important to seal your signs well, especially if they’ll be outside.
Play with different finishes like stains, paints, or combining materials to find what you like best. These choices help your work stand out and keep it safe from weather damage.
| Wood Type | Best For | Finishing Techniques |
|---|---|---|
| Pine | Entryway Signs | Stains, Varnish |
| Oak | Inspirational Quotes | Oil Finishes |
| Cedar | Outdoor Signs | Sealers, Paint |
| Plywood | Custom Designs | Wood Stain, Polyurethane |
Your decorative wooden signs will make your home look better. They’re also great gifts for friends and family. With so many themes and techniques to try, let your imagination run wild as you dive into these wood crafting projects.
Eco-Friendly Projects with Reclaimed Wood
Reclaimed wood is perfect for your next project. It reduces environmental harm by recycling. Plus, it adds unique character to your work. Every piece has its story, with special features like knots and weathering. Choosing reclaimed wood is smart for both its look and sustainability.
Benefits of Using Reclaimed Wood
Using reclaimed wood has many benefits:
- Cost-Effective: It’s often cheaper, which lowers your project expenses.
- Unique Character: Every piece brings special texture and history to your work.
- Reduced Waste: You help cut down on landfill waste by using discarded materials.
- Sustainability: These projects encourage caring for the environment and support recycling efforts.
Ideas for Upcycling Wood
Looking for project ideas? Try these:
- Turn old pallet wood into lovely garden planters.
- Build stylish furniture from thrown away timber. This combines function with care for the earth.
- Use leftover wood to make unique wooden coasters. They add creativity to your space.
- Make special frames from extra wood scraps. These are great for gifts or decorating your home.
Conclusion: Start Your Woodworking Journey Today
As you finish checking out these small DIY woodworking projects, think about this. Your adventure in woodworking is just starting. There are many resources out there for you to explore more about this craft. Look for tutorials that give step-by-step help. Whether you’re just starting or ready for more complicated tasks, you’ll find books and online sites very helpful.
Resources for Continued Learning
Take advantage of the wood crafts resources available both near you and online. Sites like YouTube have tons of tutorials that can boost your understanding. Meanwhile, local classes offer the chance to learn by doing. Reading about different woodworking methods is also a great way to get new ideas for your projects. This will spark your creativity as you work with your hands.
Join a Woodworking Community
Talking with other woodworkers can really help your journey in woodworking. Being part of a community, whether it’s a local group or an online forum, brings many benefits. It’s a place for support, encouragement, and new ideas. You can show your projects, get feedback, and find new DIY woodworking resources. Interacting with fellow enthusiasts not only improves your skills but also adds fun to your hobby.