Did you know the average American spends about 55 minutes a day looking for lost items? This results in a shocking 12 days a year wasted due to disorganization!
Want to get back that lost time and make your home look nicer? Making wooden drawer organizers is a great fix. This DIY project is not just easy, but also really satisfying. You’ll feel proud creating something by yourself. We’ll guide you through every step of the way, showing you how these organizers can make your space both beautiful and tidy.
Understanding the Benefits of Wooden Drawer Organizers
Wooden drawer organizers are a top pick for adding both function and beauty. They offer more than just utility. They improve any space they’re in. Their strong build outperforms plastic, resisting breakage better, which is key for daily use.
Why Choose Wood Over Other Materials?
Wood has many advantages over plastic. It has a classic look that fits with many decor styles, from vintage to sleek. The natural patterns and warmth of wood make a space more welcoming. Plus, wood lasts longer and looks better over time compared to plastic. The unique grain in each piece means your organizer is one-of-a-kind, adding a special element to your space.
Environmentally Friendly Options
Going green with drawer organizers is a smart move. Many are made from wood that comes from sustainable sources. So, they look great and help the planet. Using sustainable wood reduces the environmental impact compared to making plastic. More and more people are choosing eco-friendly options, showing care for our planet through their buying choices.
Essential Tools and Materials Needed
Making wooden drawer organizers starts with the right tools and a plan. With the key essential woodworking tools, the task becomes easier and fun. Here’s all that you’ll need, plus tips on picking the perfect wood for your project.
List of Tools You’ll Need
- Saw (table saw or miter saw)
- Drill and drill bits
- Measuring tape
- Sander (orbital or belt sander)
- Clamps
- Square
- Pencil for marking
- Wood adhesive
Each tool for wooden drawer organizers has a vital part in making your DIY project precise and high-quality. Get to know each tool well for the best outcome.
Selecting the Right Wood
When picking wood for DIY projects, the choice impacts both how it works and looks. Hardwoods like oak, maple, or walnut are top picks for their strength and beauty. These materials make your finished project both strong and visually appealing. Think about what your organizer will hold and its style before choosing your wood. The right wood can make even simple designs look stunning.
Measuring Your Drawer Dimensions
When making custom drawer organizers, getting the measurements right is key. Knowing how to measure your drawers ensures a perfect fit. It makes them more useful and maximizes space. This part will show you how to get the measurements right for customization.
How to Measure Effectively
First, measure the width, depth, and height of your drawer. For accurate measurements, use a tape measure. Here’s what to do:
- Open the drawer fully.
- Measure the width at its widest point.
- Measure the depth from the front to the back.
- Measure the height from bottom to top.
Keep these accurate measurements handy. They’re crucial for creating the right organizers.
Allowing for Customization
Custom drawer organizers must fit your stuff perfectly. So, when planning, leave some wiggle room in your numbers. This space lets you handle different sizes easily. For example:
- Add an inch or two for taller items.
- Dividers for small items might need extra width or depth.
Planning space for customization ensures your organizers will be just right.
| Measurement | Tip |
|---|---|
| Width | Measure at the widest point to avoid awkward fits. |
| Depth | Consider the back of the drawer when measuring. |
| Height | Leave extra room for taller items or dividers. |
Designing Your Organizer
Starting the journey of creating wooden organizers opens a door to creativity and practical use. Whether it’s for kitchen tools, office items, or crafting goods, designing the right drawer layout makes everything more organized and easy to find. By sketching out your ideas, you get a clear picture of how every section can be useful.
Layout Ideas for Different Drawer Types
- Kitchen Drawers: Think about having big, deep areas for pots and pans, plus small spots for utensils and spices.
- Office Drawers: Mix shallow areas for stationery with deeper ones for files or manuals.
- Craft Drawers: Plan for different sizes to fit various supplies, like tiny beads or big rolls of paper.
Sketching Your Design
Before you start cutting wood, picturing your organizer is key. Drawing it on graph paper helps you see the size and layout before you build. Aim to create organizers that meet your needs and use space well. Keep refining your sketches to make sure they match your organizing dreams.
Step-by-Step Construction Process
This guide will walk you through building a wooden organizer. First, cut the wood, then put the pieces together. Finally, sand and finish your project for a beautiful look.
Cutting the Wood Pieces
Start by measuring your drawer carefully. Choose your wood and mark where to cut. Use a saw for clean, straight cuts. Remember to wear safety gear and keep the area safe. Cut carefully so all parts fit perfectly together.
Assembling the Organizer
Now, with everything cut, it’s time to assemble. Begin with the base, adding sides with glue and screws. Stick to your plan to make sure it all lines up. Add dividers now if you have them. Make sure everything is level before the glue dries.
Sanding and Finishing Touches
After putting it together, start sanding. Begin with a rough sandpaper, then use a finer one for smoothness. Focus on corners and edges. Then, choose a stain or finish to make it look great and last long.
Customizing Your Organizer
Making your wooden drawer organizers your own boosts both how they work and look. When you pick different paint and stain for wood, you create a piece that fits your taste and goes well with your home. You can be really creative with the colors, finishes, and textures you choose.
Adding custom dividers to your wooden drawer organizers is a fun part. These dividers make it easy to sort things your way. This way, everything stays neat, and you can quickly find what you need.
Paint and Stain Options
Choosing the right finish for your wooden organizers means looking at a lot of paint and stain for wood options. Think about these things when you’re deciding:
- Durability: Go for options that protect against damage.
- Color Match: Pick colors that go with your home’s look.
- Application: Stains can show off the wood’s natural beauty, while paints offer strong, vivid colors.
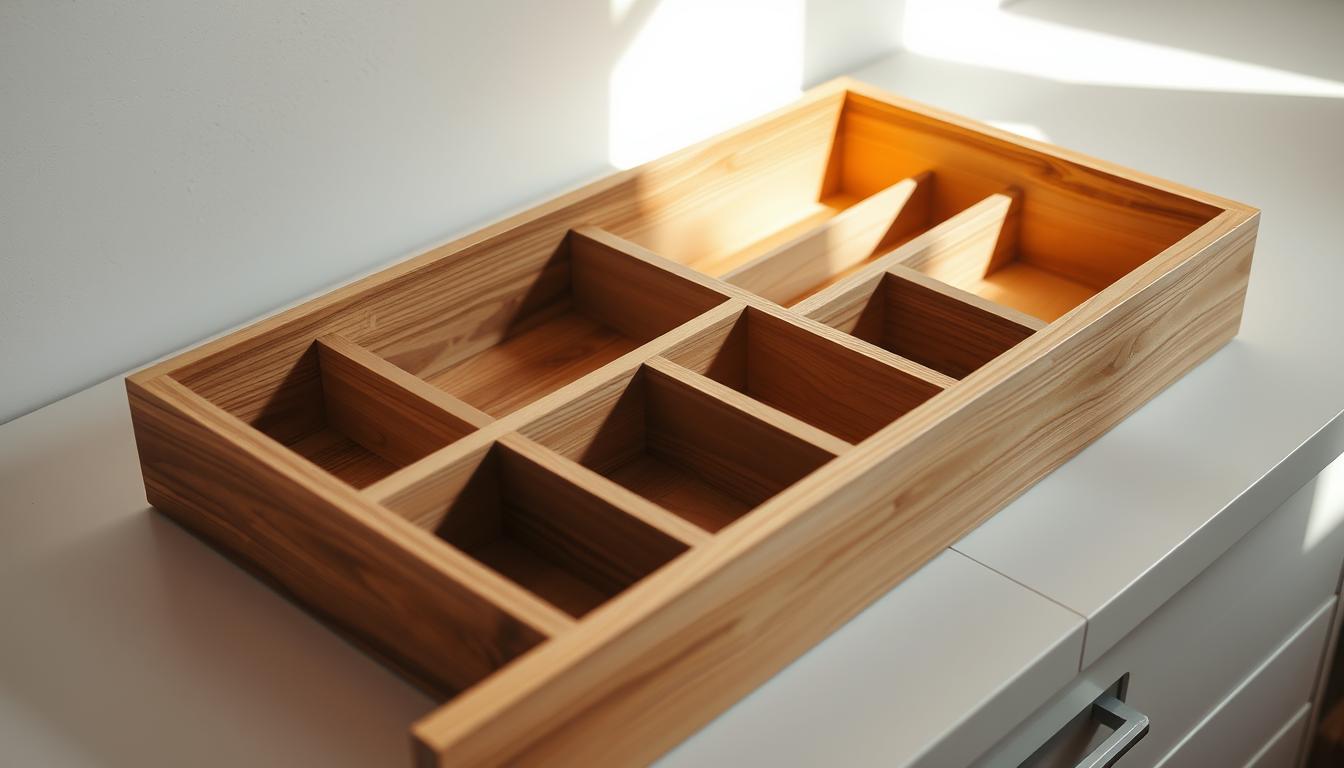
Adding Dividers and Sections
Putting in adding custom dividers changes a basic organizer into something made just for your needs. Here are steps for adding dividers:
- Check the size of your organizer’s compartments.
- Cut wood pieces to the size you need for dividers.
- Use wood glue or small nails to put the dividers in place.
- Paint or stain the dividers so they match the rest of your organizer.
By paying attention to these customizing wooden drawer organizers tips, you make sure your storage is as fashionable as it is practical.

Tips for Maintaining Your Wooden Organizers
Keeping wooden organizers looking great is key. They’re handmade and need the right care to stay beautiful. A few easy cleaning and care tips can make them last for years.
Cleaning and Care Instructions
Start by dusting your wooden drawer organizers softly. Use a soft, dry cloth for this. If they need more than dusting, use a cloth dampened with soap and water. Just make sure not to soak the wood. Soaking can warp it. Always dry the wood well after cleaning to keep it safe from water damage.
- Use a microfiber cloth for gentle dusting.
- Create a solution of mild soap and water for deeper cleaning.
- Dry completely to avoid moisture damage.
Dealing with Wear and Tear
It’s important to keep an eye on wear and tear. Check your organizers regularly for any scratches or dents. For small fixes, a wood touch-up marker works well. To keep the wood looking its best, use a wood conditioner or polish every few months. This maintains the finish and brings out the wood’s shine.
| Care Task | Frequency | Suggested Products |
|---|---|---|
| Dusting | Weekly | Microfiber cloth |
| Deep Cleaning | Monthly | Mild soap, water |
| Conditioning | Every 3 months | Wood conditioner, furniture polish |
Creative Uses for Wooden Drawer Organizers
Wooden drawer organizers make different spaces tidy and nice. They are flexible in design for many uses outside typical drawers. They are great in kitchens or offices for keeping things in order.
Organizing Tools and Supplies
For DIY lovers, organizing tools with drawer dividers turns a messy area into a super efficient space. You can sort tools by size or type for quick access. This method saves time and keeps your space neat.
Consider sorting screws, nails, or paint supplies for even better organization. It’s a smart way to keep things sorted.
Kitchen and Office Applications
Kitchens get a big boost from wooden organizers. They sort utensils, spices, or gadgets well. A smart organizer makes cooking easier, taking the stress out of meal prep.
In the office, these organizers manage stationery, papers, or cords effectively. A special spot for pens and notepads boosts work output. You can also store other office items neatly.

| Application | Organizing Purpose | Benefits |
|---|---|---|
| Workshop | Tool Storage | Easy access and organization of supplies |
| Kitchen | Utensil Arrangement | Streamlined cooking and meal prep |
| Office | Stationery Organization | Increased efficiency and reduced clutter |
Using wooden organizers creatively brings order, helping you find and use things easily. Tailoring these organizers to your needs improves both function and beauty in any area.
Conclusion: Enjoying Your Handmade Organizer
Finishing your wooden drawer organizer is more than just practical. It’s time to celebrate your handiwork. Looking back at your DIY project, you’ll see the skills and creativity you put into it. Every cut and detail makes your organizer special, adding both beauty and utility to your space.
After you’ve built your organizer, why not share it with others? You could show it to friends and family or post it in social media groups about DIY projects. You might inspire someone to start their crafting journey. Sharing and talking with others who love DIY can make the experience even better.
Using something you made yourself is a unique joy. Each time you see your organizer, feel proud of your work. Taking a moment to think about your project can boost your confidence for more DIY projects in the future.