Did you know that a neat bookshelf can up your productivity by 20%? An estante de livros inclinada, or slanted bookshelf, saves space while boosting your room’s look. Let’s show you how to make a chic leaning bookshelf to flaunt your books and add style to your home.
Making an inclined bookshelf is a fun project that makes your space more useful and beautiful. This guide will help you from picking materials to designing, building, and styling. By the end, you’ll own a stylish and functional piece that shows off your books and uses your space well.
Introduction to Inclined Bookshelves
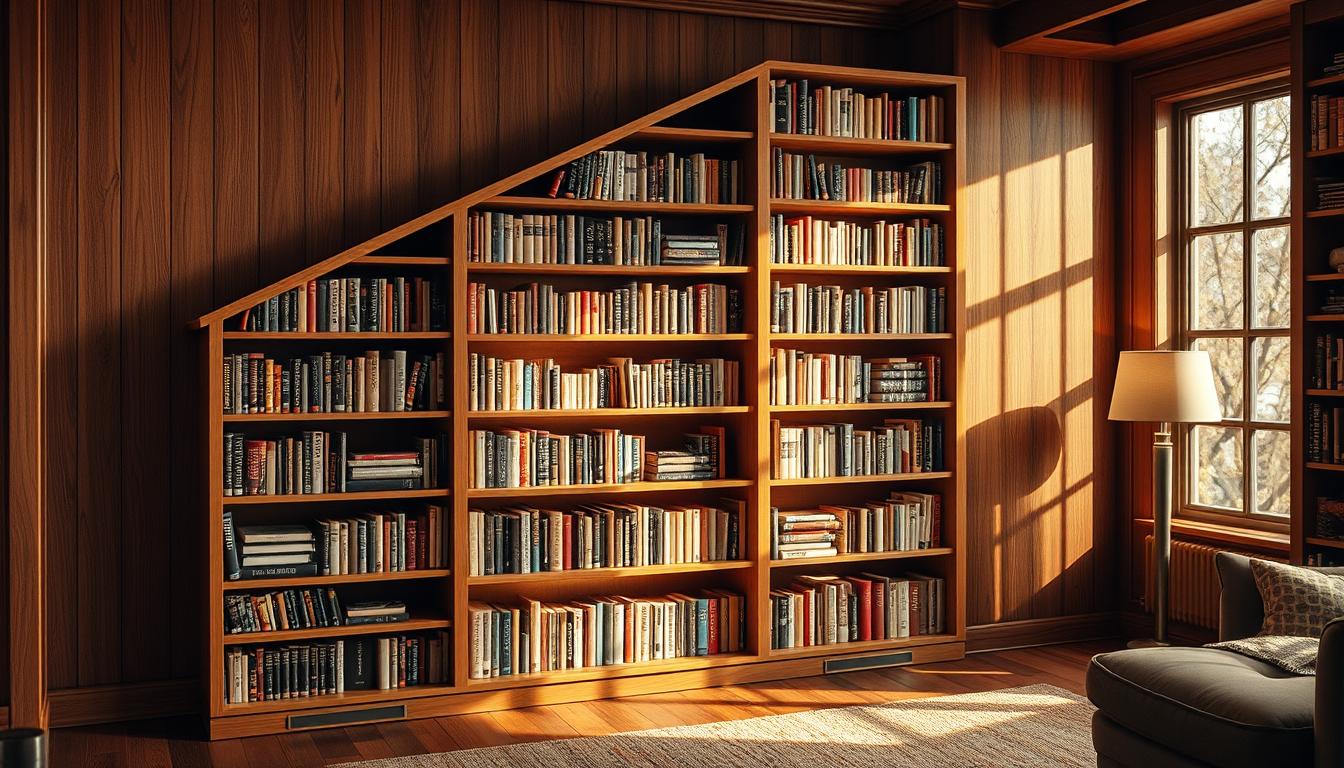
Inclined bookshelves offer a new way to store and show off books. They allow books to lean at an angle. This makes the book spines stand out. It also adds an artistic touch to any room. These shelves are perfect for different places, like cozy reading spots or modern offices.
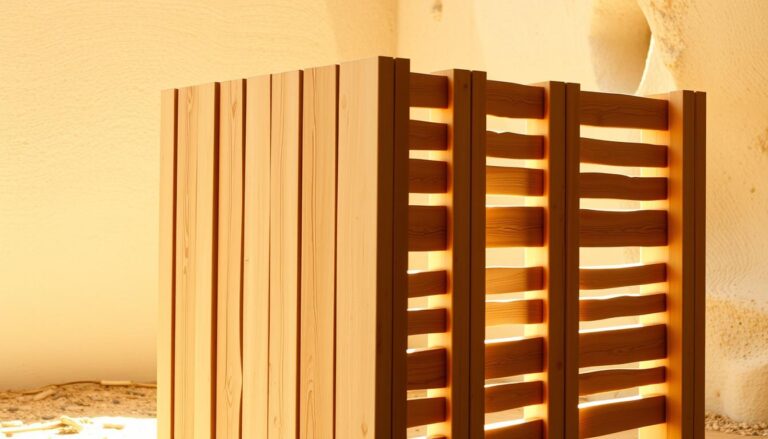
What Is an Inclined Bookshelf?
An inclined bookshelf has slanted shelves. This makes for a more lively arrangement of books and decorative items. It moves away from traditional flat shelves. It offers a new view on book storage. The slant makes books easier to reach and makes the room look better.
Benefits of Using an Inclined Bookshelf
Inclined bookshelves have many benefits that can change your space:
- Maximizes space: They are great for small areas, using vertical space smartly.
- Improves visibility: Their design makes book spines easy to see. This helps in finding your favorite books quickly.
- Adds modernity: Inclined bookshelves give a modern touch to home décor. They fit well in minimalist and chic designs.
Many interior designers love inclined bookshelves. They combine great organization with a stylish look. This makes your space both useful and attractive.
Materials Needed for Your Project
Building your inclined bookshelf needs durable and useful materials. Materials choice is key for a space-saving bookcase that meets your book storage needs. Here’s what you’ll need for your project.
Types of Wood to Use
Choose these woods for best stability and looks:
- Plywood: Affordable and sturdy, good for many designs.
- Hardwood: Oak or maple offer strong support and nice finish.
Tools Required for Construction
You need the right tools to make building easy. Necessary tools include:
- Circular saw: It helps cut wood precisely.
- Drill: For making holes and adding screws.
- Measuring tape: Keeps measurements accurate and fitting correct.
Additional Supplies for Finishing
To get a smooth and professional look, use these:
- Wood glue: Makes the bookshelf more stable.
- Screws: Hold parts of the bookshelf together.
- Sandpaper: Makes edges safe and smooth.
- Finishing agents: Use paint or stains for a better look.
Planning Your Inclined Bookshelf
Before you start making your inclined bookshelf, planning is key. You’ll need to know how much space you have. Decide on the perfect angle for the incline to ensure it looks good and works well. Choosing this early on helps whether you want a modern or minimalist style bookshelf.
Measuring Your Space
First, check the size of the space for your bookshelf. Note the width, height, and depth to make sure it fits right. Think about other furniture nearby that might affect where it goes. Getting this right helps avoid changes later.
Choosing the Right Angle
The angle of the incline is crucial for showing off your books and keeping the shelf steady. Aim for an angle between 15 to 30 degrees. A sharp angle highlights your books but might make the shelf wobbly. A wide angle makes for a chill look and fits a simple design. Pick an angle that makes grabbing a book easy and shows off your collection well.
Cutting the Wood
Creating a trendy book rack needs careful attention and safety measures during wood cutting. Proper preparation ensures a solid and successful bookshelf construction.
Safety Precautions
When woodworking, wearing protective gear like goggles and gloves is crucial. Always ensure your safety first while using tools and maintain a secure environment.
Marking the Measurements
Begin by gathering your materials, then mark the measurements accurately. Double-check your planning notes. Precise markings lead to exact cuts, making your book rack look great.
Use the right cutting techniques for top-notch results. A straight cut is key for clean edges on your bookshelf.
Before using tools like a circular saw, practice to avoid mistakes. This lowers the chance of accidents.

| Type of Cut | Best Use | Tools Needed |
|---|---|---|
| Straight Cut | For clean edges | Circular saw or table saw |
| Miter Cut | For angled edges | Miter saw |
| Rip Cut | For cutting boards lengthwise | Circular saw |
| Cross Cut | For cutting boards across the grain | Table saw or miter saw |
Assembling the Frame
Putting together a sturdy frame for your slanted bookshelf includes key steps for stability and style. A well-built frame is the base of a chic book display. It keeps your books safe and spruces up your living area.
Building the Base
Start with a strong base using top-notch wood or screws. This foundation underpins the whole bookshelf, so it must be tough. Ensure the base is flat to prevent any tilt under the weight of books. A durable base is crucial for your modern shelf’s lifespan.
Adding the Inclined Section
After the base is ready, attach the slanted part. Make sure it’s straight with a level. This not only makes your shelf look better but also ensures it works well. A precisely angled section makes your book display more attractive.
Securing the Frame
To keep the frame steady, strengthen where the base and slant meet. This avoids movement and supports your books’ weight. A secure frame means your shelf will last longer, adding function and beauty to your space.
Adding Shelves
Building a space-saving bookcase means thinking about where your shelves will go. It’s important to make sure they fit all different book sizes. Having the right shelf height makes your books easy to grab and looks good too. With adjustable shelves, you can change things up to fit your collection just right.
Shelf Placement Options
Think about the size of your books before you decide where to put your shelves. Put big books on the bottom and smaller, lighter ones up top. This setup makes your bookcase look nice and keeps your favorites within easy reach.
Reinforcing the Shelves
Make sure your shelves are strong enough to hold all your books by using brackets or support beams. This step keeps your bookcase solid and safe, so you can fill it with all sorts of books without worry.
Finishing Edges for Safety
Always focus on safety when working on your bookcase. Smooth out any sharp corners to avoid getting hurt. Not only does this make your bookcase safer, but it also helps it look better and keeps it a safe spot for enjoying your books.
Sanding and Finishing Touches
Once your modern leaning bookshelf is built, it’s time to make it look and last better. Sanding and finishing it the right way makes sure it’s smooth. This also protects the wood from getting damaged.
Choosing the Right Sandpaper
Begin with coarse grit sandpaper to get rid of rough spots. Then, use medium and fine grits to make the surface smooth. Doing this prepares your trendy book rack for the final steps.
Staining vs. Painting
Choosing whether to stain or paint depends on the look you prefer. Staining brings out the wood’s natural beauty, giving a cozy, rustic feel. It’s great for a bookshelf like this. Painting, however, lets you use vivid colors. It’s ideal if you want your book rack to be a focal point.
Applying the Finish
It’s important to finish your bookshelf with a high-quality product. Polyurethane or varnish can protect the wood and make it look better. Adding this finish boosts both the appearance and life span of your bookshelf.
Mounting Your Bookshelf
There are two main ways to put up your slanted bookshelves: attach them to the wall or make them stand alone. Choosing between these options affects your room’s look, how well your books are displayed, and safety.
Wall-Mounting vs. Freestanding
Wall-mounted shelves are safer, especially if you have kids or pets around. This method makes sure the shelf is firmly fixed to the wall, so it won’t fall over. But, if you like changing your room around, a freestanding shelf can be moved easily. Both choices have their benefits, depending on what you need and like.
Ensuring Stability
Keeping your bookshelf stable is crucial. No matter if it’s mounted or freestanding, make sure it’s put together right. For those on the wall, use the right anchors for your wall type. If yours stands on the floor, check that it’s straight and fully assembled. A stable bookshelf not only cares for your books but also keeps your display looking great.

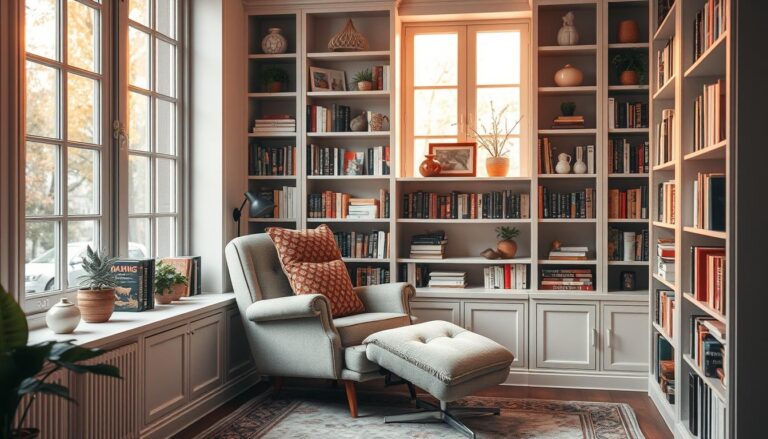
Styling Your Inclined Bookshelf
Making your inclined bookshelves look inviting and nice improves their use and beauty. A well-thought-out setup brings your bookshelf to life. It shows off your books and decorations.
Arranging Your Books
Start by sorting your books by color, size, or type. This makes your shelf look neat and choosing a book fun. Put big books at the bottom and small ones at the top. This keeps things easy to reach and looking good.
Adding Decorative Items
Add things like plants, art, or photos to your shelves to show your style. These pieces make a nice contrast with the books and add personality. Just a few decorative items can turn a regular shelf into an eye-catching spot.
Tips for Maintaining the Look
Keeping your shelves clean keeps them beautiful. Dust can make them look dull. Wiping them down each month with a soft cloth helps a lot. Changing the decorations around sometimes can create a fresh look easily.
Troubleshooting Common Issues
Building your own inclined bookshelf can be fun but may also present some problems. You might face a shaky build or need to adjust your shelves’ angles. Fixing these issues makes sure your bookcase works well and looks good.
Dealing with Wobbliness
If your bookshelf is shaky, check the base and how it’s put together. An uneven floor or not-tight-enough joints could be the culprit. Use a level to find any leaning, and then tighten up the screws and connectors. This should help stabilize it.
- Check the floor for evenness.
- Tighten all connections and screws.
- Consider adding furniture pads to the base.
Correcting Shelf Positioning
Shelves that don’t line up right need fixing for looks and use. They should be straight so you can easily get to your books. Take everything off the shelves and check the brackets or supports are in the right spot.
- Remove all books from the affected shelves.
- Adjust the brackets to ensure evenness.
- Reinstall the shelves, ensuring they are secure.
Conclusion and Next Steps
After you’ve built your inclined bookshelf, it’s time to enjoy what you’ve made. This bookshelf isn’t just useful. It also makes your home look unique. A modern leaning bookshelf is perfect for showing off your favorite books. It keeps your place tidy and eye-catching.
Next, think about using what you’ve learned to make more things. Maybe make furniture that matches your bookshelf, or more storage solutions to go with it. Each new project is a chance to make your space yours, with both useful and beautiful creations.
Keep using your DIY skills to make your home look better. You can add decorative items or new ways to store things. The possibilities are endless. Enjoy making a book area that’s all about you. It’ll bring a cozy feel to where you live.