Did you know that nearly 70% of household waste can be recycled or composted? Yet, many of us still use plastic bins. By making your own lixeira de madeira com tampa basculante, you help the planet. You also add a cool, personal touch to your home. This guide shows you how to build a chic wooden trash can with a flip lid. It’s perfect for keeping your place clean and stylish.
Choosing sustainable materials for your DIY project helps cut down on environmental harm. Plus, it makes your home look better. This project is great for anyone who likes mixing function with creativity. There’s no better way to show your style than with a wooden trash can you made yourself. Let’s get started on making this trendy and useful home item!
Understanding the Materials Needed for Your Project
When you’re making a rustic wooden trash bin, choosing the right materials is key. You need good wood, tools, and safety gear for a top-notch job. Let’s look at the best woods, tools, and safety stuff you’ll need for a durable and pretty bin.
Types of Wood Suitable for the Project
Cedar and pine are top picks for a wooden trash bin because they don’t easily rot. Cedar smells nice and lasts a long time, perfect for outside. Pine is cheaper and has a cozy, rustic look. Oak or maple can also make your bin strong and good-looking.
Tools Required for Construction
To build your wooden trash bin, you’ll need some tools. Here’s what you must have:
- Saw (hand saw or circular saw)
- Drill with appropriate bits
- Sander for smooth finish
- Measuring tape and square
- Clamps to secure pieces while assembling
Having the right tools makes building your bin faster and more precise.
Safety Equipment Essentials
Woodworking can be risky, so you must wear the proper safety gear. You’ll need:
- Safety goggles to protect your eyes
- Gloves to protect your hands
- Dust mask for respiratory protection
Wearing the right safety equipment keeps you safe while making your eco-friendly wood bin.
Designing Your Wooden Trash Can
Designing your wooden trash can is both fun and practical. It lets you mix your style with function. Think about the size first because it affects how well it will fit in your home. A good design will make sure your wooden trash can looks great in its spot.
Choosing the Right Dimensions
Start by thinking about where your trash can will go. Look at the available space you have. A big trash can fits well in kitchens or living areas, and a small one is best for bathrooms or offices. Choose a size that is practical and looks good, making your lixeira de madeira both useful and attractive.
Sketching Your Design
After deciding on the size, draw your design. Sketching boosts your creativity and lets you try out styles and features. Add elements that show off your personal style and match your home’s decor. A good sketch helps you build your trash can accurately.
Considering Aesthetic Elements
Your wooden trash can can be a standout piece in your home. Don’t just think about its use; consider how it looks. Choose colors, finishes, and decorations that fit your style, whether modern or rustic. These touches will make your wooden trash can a highlight of your room.
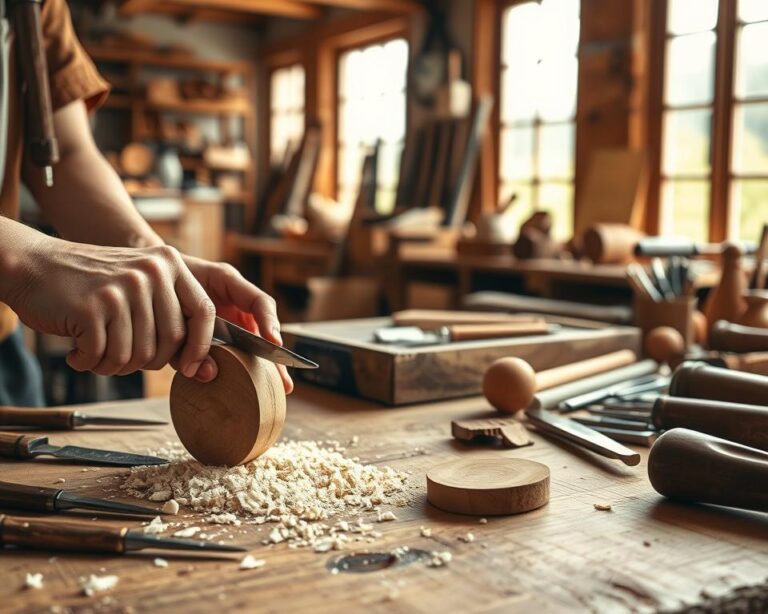
Preparing the Wood for Assembly
Getting your wood ready is key when making a wood dustbin with a flip lid. You’ll need to cut, sand, and pre-drill the wood. This makes putting it together smooth. These steps ensure your trash can’s wood construction is clean and efficient.
Cutting the Wood to Size
Start by measuring your wood dustbin’s needed dimensions. Cut with a precise saw. Always double-check your sizes before cutting. Proper cuts save time and make assembling easier.
Sanding the Edges for a Smooth Finish
Sand the edges after cutting. It prevents splinters and makes the surface smooth. Start with rough sandpaper and work your way to finer grits. Smooth edges improve your project’s look and safety, making it nicer to handle.
Pre-drilling Holes for Easy Assembly
Pre-drilling holes before assembling your dustbin is vital. It stops the wood from splitting. Pick the right drill bit for your screws. Pre-drilled holes make putting it together easier and more fun.
Your wood is now set for assembly. Be proud of your work and enjoy adding a useful piece to your home.
Assembling the Base of the Trash Can
Putting together the base of your wooden trash can sets the foundation for a sturdy design. It’s crucial to follow the assembly instructions correctly. This way, you get a wooden trash can that lasts and works well. Start by having all your materials ready and in order.
Securing the Base Panels Together
To connect the base panels, line them up and apply wood glue on the edges. Then, use screws for a firm hold. Before screwing, drill pilot holes to avoid splitting the wood. This makes your wooden bin strong and ready for use without problems.
Reinforcing the Structure
Adding extra support is key for durability. Putting corner brackets in can keep the base solid even when it’s heavy. Make sure everything is level before tightening the screws completely. A level trash can is especially important outdoors or with heavy use.
Adding Support Beams if Necessary
If your trash can is bigger, support beams will make it more stable. Attach beams across the base and secure them with screws. This step helps your trash can hold up better by spreading out the weight.

This assembly not just makes a practical item, but also an attractive one for your area. Taking the time to carefully follow these steps leads to satisfying outcomes.
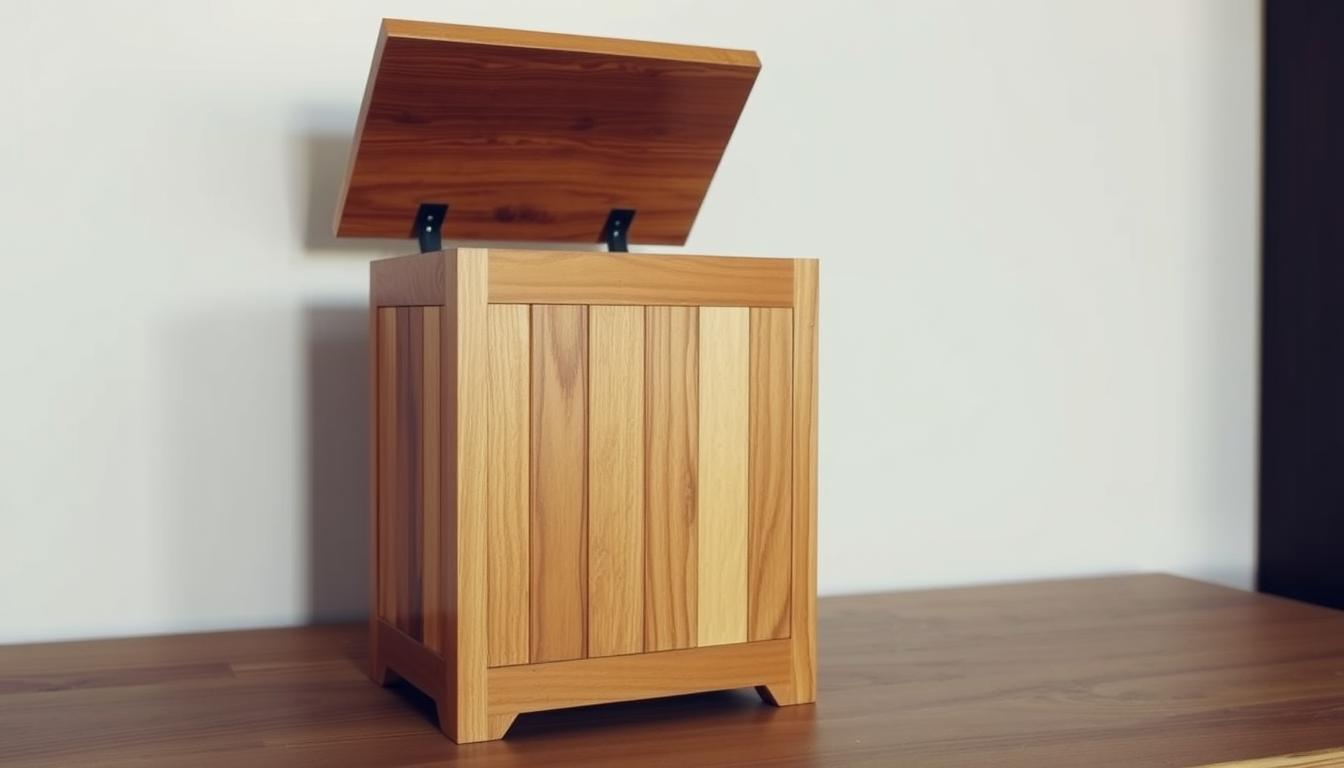
Creating the Flipping Lid Mechanism
Creating a good flipping lid mechanism improves both use and look. The lid design should look right and work smoothly. It should make the trash can easy to use with a swing lid. Here’s what you need to think about for this project part.
Designing the Lid Structure
The lid’s structure is key to the trash can’s function. A well-made lid should fit perfectly and be easy to open. You must ensure the lid dimensions fit well and balance right. This helps it open and close easily, making it last longer.
Choosing the Right Hinge Type
Choosing the right hinge is crucial for your trash can. There are different types like pivot, concealed, and continuous hinges. Each kind has its pros and maybe some cons, like how easy it is to put in and how it looks. Thinking about your design and how the lid should work helps pick the best hinge.
Testing the Opening Mechanism
It’s important to test the flipping lid after assembly. You need to see how well the lid opens and closes. Look out for any issues that could stop the lid from working right. Before you finish the project, make any needed changes to ensure it works best.
Finishing Touches for Your Wooden Trash Can
After you build your wooden trash can, the final touches really make a difference in how it works and looks. The right paint can turn a simple box into a chic addition to your home. These steps not only protect the wood but also let your creativity shine.
Painting or Staining the Wood
Choosing the right color or finish can change the feel of your room. Paint for wooden trash cans can be bright for a bold look or soft stains to highlight the wood. Trying out different styles like a distressed look or color blocks can add a special touch.
Applying a Protective Sealant
It’s key to use a protective sealant on your wooden trash can to keep it safe from water and wear. Pick a sealant made for outdoor or kitchen items for the best protection. This step not only makes it look better but also helps it last longer.
Adding Decorative Elements
Making your trash can unique is enjoyable and creative. Think about using engravings, decals, or stencil designs to add a personal touch. These special details take the beauty of your wooden trash can to the next level and help it match your home’s style.

Installing the Trash Can in Your Desired Location
Finding the right spot for your wooden trash can is key. It should look good and help with waste. Think about where it will go before setting it up.
Choosing the Best Spot in Your Home
Look for busy places like kitchens or dining rooms for the trash can. This makes throwing things away easier. Matching it with your room’s look is also a good idea.
Ensuring Stability and Accessibility
Your wooden trash can should stand firmly. Make sure it’s on flat ground to prevent tipping. It needs to be easy to reach for everyone. This keeps your home clean and makes trash duty simple.
Maintenance and Care for Your Wooden Trash Can
To keep your wooden trash can looking good and working well, you need to care for it regularly. You should maintain your lixeira de madeira often. This helps keep it strong and looking its best. Below are tips to ensure your wood waste container stays in top shape.
Cleaning Tips to Keep it Looking Great
Cleaning your wooden trash can often is key to keeping its shine. Use gentle soap and a soft cloth for cleaning. Stay away from strong chemicals that could harm the wood. If you find tough stains, a mix of vinegar and water might help. Be sure to dry it well after cleaning to stop moisture damage.
Regular Inspections for Damage
Check your wooden trash can often for any damage. Look for scratches, cracks, or any rot signs. Fixing these problems early helps avoid bigger repairs later on. Pay extra attention to spots that might get wet or too hot.
When to Refinish or Repaint
It’s important to know when to give your wooden trash can a new finish or paint. If it looks dull or old, it needs a refresh. Lightly sand it first. Then, apply a good wood stain or paint that fits your style. Pick products that are okay for outdoor use if your trash can is outside.
Conclusion: Enjoy Your Custom Wooden Trash Can
Finishing your wooden trash can is a big achievement. It makes your space look better and shows off your creative side. Each step, from cutting to finishing, proves your skills. It’s not just about making something useful. It’s also about adding your personal touch to your home.
After you set up your lixeira de madeira, share it with others. Show it to family and friends, on social media, or at a get-together. Sharing can inspire others to start their own DIY projects. You might help someone discover their love for creating something unique!
Encouraging DIY projects boosts creativity and skill building. Whether you’re making furniture, decorating your home, or tweaking everyday items, the joy of making something with your hands is huge. Enjoy your new trash can. Remember, many more projects are waiting for you. Inspire others to begin their DIY journeys too!