Did you know more than 12 million bicycles were sold in the U.S. in 2020? That’s a huge number. It shows us how much people need good places to store their bikes. A wall-mounted bike rack is a great solution. It helps keep your bicycle safe and organized while saving floor space. This guide will show you how to make your own suporte de bicicleta de parede. Whether you live in an apartment or a house with a garage, this project is perfect. Let’s dive into creating this useful item!
Why You Need a Wall-Mounted Bicycle Rack
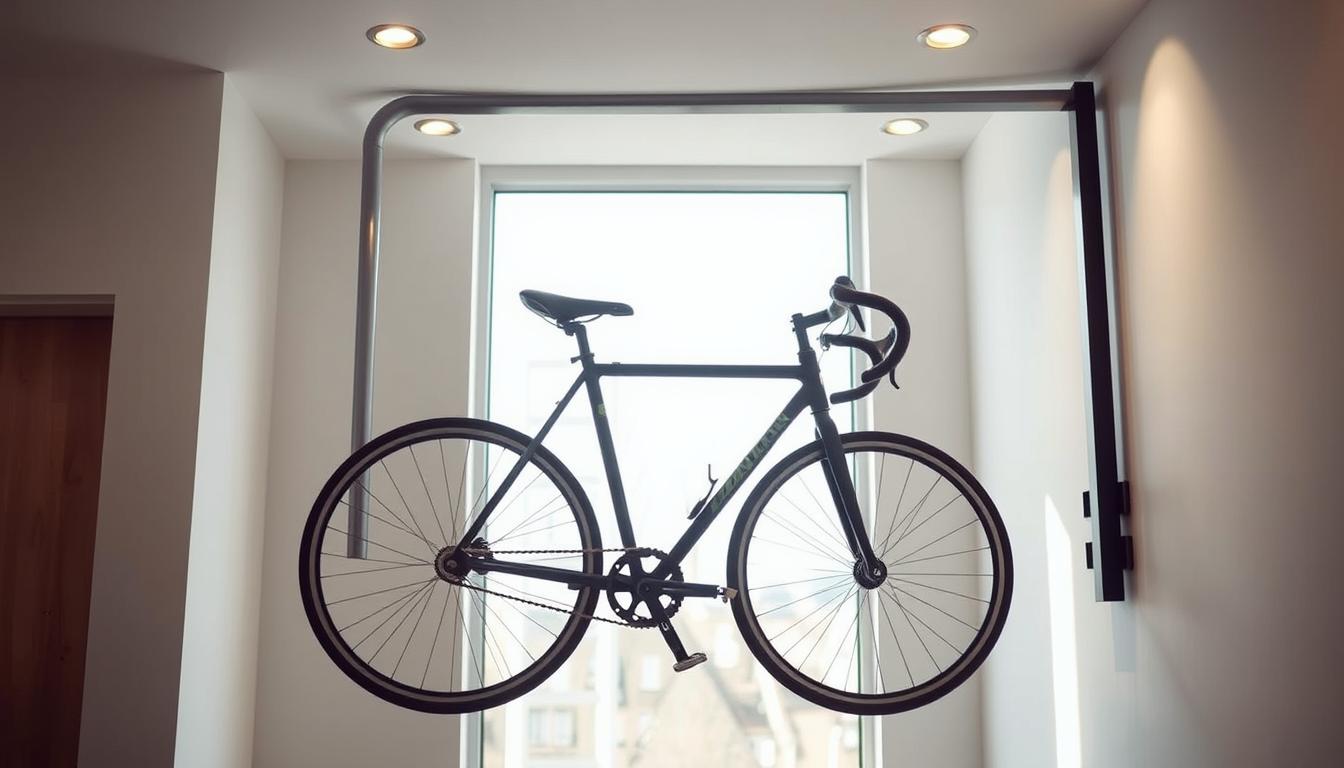
A wall-mounted bicycle rack offers many benefits. It saves space and makes any area look better. Hanging your bike keeps your space tidy and protects your bike.
Benefits of Using a Wall Rack
Wall bike racks are more than convenient. They keep your bike away from harm. Your bike looks great on the wall and stays safe.
Space-Saving Solutions
Space is scarce for city residents. A bike rack on the wall saves space. It leaves more room in small places for other things.
Protecting Your Bike
Keeping your bike safe is important. A wall rack prevents accidents. It keeps your bike in good shape for longer rides ahead.
Tools and Materials You’ll Need
Getting ready to build your wall-mounted bike rack means choosing the right tools and materials. With the correct items in hand, building it will be easier and quicker. Here is what you need to start.
Essential Tools for the Job
- Drill: Essential for making holes in the wall and securing screws.
- Saw: A handsaw or power saw will help you cut your bike rack materials to the desired size.
- Measuring Tape: Accuracy is key, so use a measuring tape to ensure perfect dimensions.
- Screwdriver: A must for tightening screws and assembling the rack.
- Level: To ensure your installation is perfectly horizontal.
Recommended Materials
Picking the right materials is vital for a strong bike rack. Your choice depends on how you want it to look and how much weight it should hold. Here are some options:
| Material | Durability | Weight Capacity |
|---|---|---|
| Wood | Moderate | Good (up to 50 lbs) |
| Metal | High | Excellent (up to 100 lbs) |
| Plastic | Low | Moderate (up to 30 lbs) |
Safety Gear Considerations
Don’t forget about safety when doing your DIY project. Make sure you have the right protective gear:
- Gloves: Protect your hands from sharp edges and splinters.
- Goggles: Shield your eyes from dust and debris while cutting materials.
- Dust Mask: Reduce inhalation of dust particles during sawing.
Preparing Your Wall for Installation
Getting your wall ready for a bike rack is important. You need to find the right spot, measure carefully, and make sure the wall can support your bike and the rack. These steps will help you get ready without any problems.
Choosing the Right Location
Pick a wall that is easy to reach and has enough space. Think about:
- How close it is to where you usually keep your bike
- Keeping clear of things like furniture or windows
- The kind of wall it is, to make sure it’s strong enough
Measuring and Marking
It’s super important to measure correctly for your bike rack. Use a measuring tape to find out how high and wide the spot should be. Tips for measuring right include:
- Marking where the rack will go with a pencil
- Using a level to keep your marks straight
- Checking your measurements again before drilling
Ensuring Wall Stability
Make sure the wall is strong enough for the rack. Things to check:
- Look for any damage or weak spots on the wall
- Mount into studs if the wall is made of drywall
- Try pushing on different spots of the wall to test it
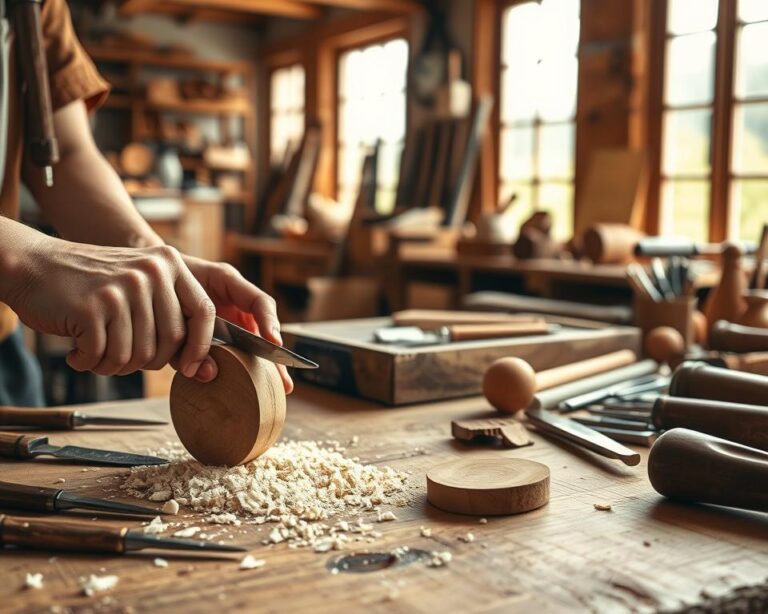
Step-by-Step Instructions for Building the Rack
Building your wall-mounted bike rack is a fun project. With clear instructions, it’s easy and rewarding. Each step helps you create a solid rack for your wall. Here is a guide to make your own bike storage.
Building the Basic Frame
Start by gathering materials like wood, screws, and tools. First, cut your wood for the base. A 48-inch length by 6-inch width usually works. Then, join these pieces with screws for the frame. Make sure the corners are flush for a smooth look.
Attaching Support Arms
Support arms are key for holding your bike. Cut two more wood pieces, each 24 inches long. Attach them at an angle to the base for good support. The angle helps hold your bike better. Use sturdy screws to secure these arms well.
Installing the Mounting Hardware
The last step is adding the mounting hardware. This makes sure your rack stays put on the wall. Drill holes in the rack’s top corners for mounting. Choose wall anchors that fit your wall for extra strength. Pick the height you want on the wall, then secure it with screws. Now, your bike rack is ready to use.
Follow these steps, and you’ll get a custom bike rack. It not only adds space but is tailored to your biking needs.
Tips for Designing an Aesthetic Rack
Creating a bike rack is not just about function. It’s a chance to boost your home’s look. With careful planning, you can make a bike rack that’s useful and stylish. Here are tips to make your bike rack visually pleasing and a perfect addition to your space.
Customizing with Paint or Stain
Customizing your bike rack with paint or stain is simple. Pick colors that show your style or match your home. Use weather-resistant paint for outdoor racks to keep them looking good. Stains can enhance the wood’s natural beauty and warmth for a rustic feel.
Adding Decorative Elements
Add decorative touches to make your bike rack stand out. Hooks for helmets or hanging plants can add flair. Vintage signs or artwork can turn the rack into a focal point. These touches reflect your personality while keeping the rack useful.
Matching Your Home Decor
Your bike rack should fit well with your home’s decor. Look at your home’s color scheme and materials. Choose sleek metal for modern homes. For a farmhouse style, wooden racks are great. This ensures your bike rack blends in beautifully with your home.
Common Mistakes to Avoid
When you’re setting up your new wall-mounted bike rack, knowing what mistakes to avoid is key. Many people end up making errors that can be dangerous or cause damage. Paying close attention to details like the rack’s weight limit, how to install it, and the size of your bike will make a big difference.
Overlooking Weight Capacity
One common mistake is not paying attention to the rack’s weight limit. Every rack has a maximum weight it can handle. If you use it for a bike that’s too heavy, especially with added accessories, you might end up with a broken rack or worse. It’s important to know how much your bike weighs to pick the right rack and stay safe.
Improper Installation Techniques
Not installing your bike rack correctly can cause a lot of problems. It’s really important to follow the instructions given by the manufacturer. Make sure all the parts are tightened well and that the rack is stable when you’re done. If it’s not installed right, your bikes could get damaged or it could even lead to accidents.
Ignoring Bike Size Variations
Forgetting to think about the different sizes of bikes is another mistake. Bikes are not all the same shape or size, so your rack needs to match. Taking some time to look at the sizes of your bikes will help avoid issues and make sure each bike fits well and is stored safely.

| Mistake | Consequences | Prevention |
|---|---|---|
| Overlooking weight capacity | Rack failure, bike damage | Check bike weights and rack limits |
| Improper installation techniques | Safety hazards, instability | Follow manufacturer guidelines closely |
| Ignoring bike size variations | Incompatibility, poor storage | Assess bike dimensions before installation |
Maintenance Tips for Your Wall Rack
Keeping your wall-mounted bicycle rack in good shape means it will look great and work well for years. To make sure your bike rack lasts, follow these maintenance best practices. You’ll learn how to check the rack, clean it, and fix it when needed.
Regular Inspections
It’s important to regularly check your rack for any signs of wear and tear. You should look for:
- Loose screws or bolts
- Signs of rust or corrosion
- Structural integrity of the rack
Fixing any issues quickly avoids expensive repairs later and keeps your bikes safe.
Cleaning Your Rack
Cleaning your bike rack often keeps it looking and working its best. Wipe it down with a damp cloth to get rid of dust and dirt. If there are tough spots, a mild soap solution can help. This stops rust and keeps your rack shiny.
Making Repairs When Necessary
Sometimes, despite regular maintenance, your rack might still have problems. Make sure to check for:
- Parts that are worn and need to be replaced
- Any cracks or damage to the mounting hardware
- Whether adjustments are needed for the rack to work right
Fixing your bike rack promptly ensures it stays safe and dependable for all your biking adventures.
Alternative Designs for Wall-Mounted Racks
Looking into different styles for wall-mounted bike racks can make them more useful and stylish. There are creative choices out there like foldable racks, ones that hold many bikes, and racks that look vintage. Each kind brings its own benefits for those who love biking or just ride sometimes.
Folding Bicycle Racks
Foldable bike racks are a smart pick for those with not much room. They fold up when you’re not using them, keeping your space tidy. They’re great for small places and can fit different bikes because you can adjust them.
Multi-Bike Storage Solutions
For folks who enjoy biking with others, racks that hold multiple bikes are ideal. They’re designed to fit a lot of bikes without taking up too much room. You can pick from tiered styles or vertical ones to keep bikes neat and easy to get to. Getting one makes organizing bikes simpler.
Vintage-Style Racks
If you like a classic look, vintage-style bike storage is lovely. These racks have detailed designs and are made from strong materials like older times. Whether they use iron or old wood, vintage racks are also decorative. They’re a fancy way to show off your bike in your home.
| Design Type | Space Efficiency | Style | Capacity |
|---|---|---|---|
| Folding Bicycle Racks | High | Modern | 1-2 Bikes |
| Multi-Bike Storage Solutions | Moderate | Contemporary | 3+ Bikes |
| Vintage-Style Racks | Moderate | Classic | 1-3 Bikes |
Using Your Rack Efficiently
Getting the most out of your wall-mounted bike rack needs some planning. By applying smart bike loading techniques, organizing your storage, and using the right security, your bike’s safety and rack’s ease of use can improve.
Best Practices for Loading Your Bike
Using the right way to load your bike keeps it secure. Always grab the bike by its frame with a firm hold. Make sure it’s positioned evenly against the wall to avoid any tipping.
Watch out for any parts sticking out and adjust as needed. It’s important to remember the weight of your bike to manage it better when putting it on the rack.
Organizing Accessories on the Rack
Having a good organization system for your accessories makes a big difference. Think about adding hooks or trays to the rack for your helmets, locks, and tools. This approach not only keeps your space neat but also puts everything within reach.
Putting like items together can also help keep your storage area organized and make things easier to find.
Tips for Securing Your Bike
Keeping your bike secure is crucial to avoid theft. Ideally, use a strong U-lock, which is tough for thieves to break. Try to lock both the frame and wheels to the rack.
For extra protection, think about bike alarms or trackers. Always try to store your bike in a well-lit, watched over spot if possible.

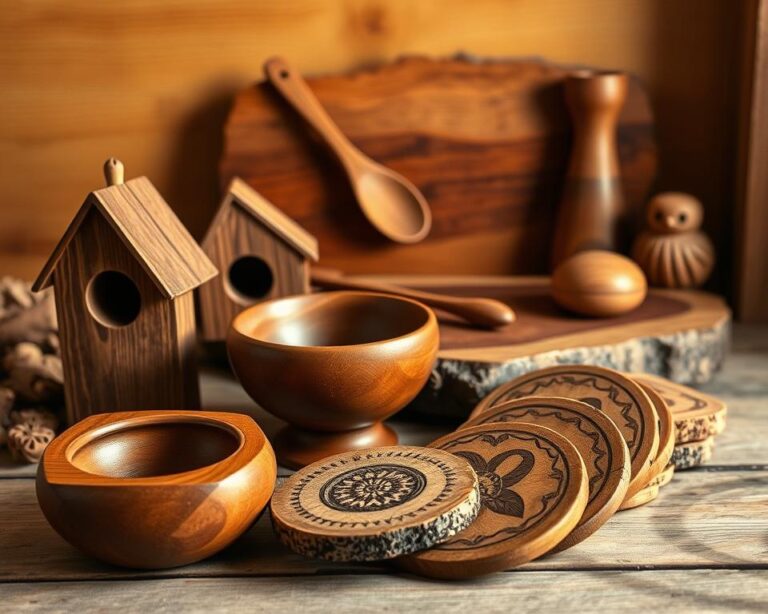
Eco-Friendly Materials for Rack Construction
Creating an eco-friendly bike rack means picking the right materials. Use sustainable wood, recycled materials for DIY, and low-impact finishes. This way, you help the planet and make your space look better.
Sustainable Wood Options
Choose bamboo, reclaimed wood, or wood from the Forest Stewardship Council (FSC) for your bike racks. These choices are strong and make your bike storage look good. Each rack becomes unique thanks to the different wood patterns.
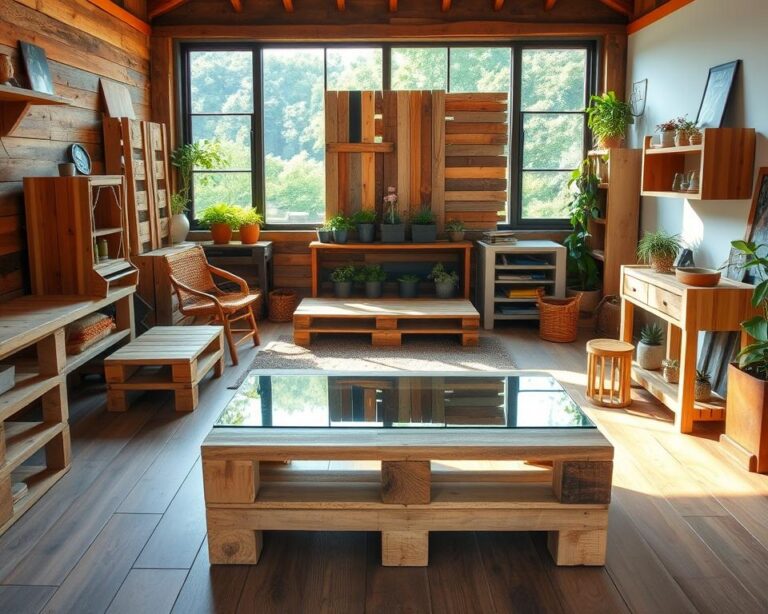
Recycled Materials
Use old pallets, scrap metal, or repurposed plastic for your DIY bike racks. It reduces waste and reuses things that might be thrown out. You also get to be creative, making a bike rack that looks good and works well.
Low-Impact Finishing Techniques
Choose eco-friendly finishes like low-VOC paints or natural oils for your rack. These protect the rack and reduce harmful emissions. They keep your rack looking great and help keep the air inside cleaner.
| Material Type | Benefits | Examples |
|---|---|---|
| Sustainable Wood | Durable and attractive, environmentally responsible | Bamboo, reclaimed wood |
| Recycled Materials | Minimizes waste, promotes creativity | Old pallets, scrap metal |
| Low-Impact Finishes | Protects materials, safer for indoor air quality | Natural oils, low-VOC paints |
User Testimonials and Success Stories
People love how wall-mounted bike racks make life easier. They say it changes not only the space but how they use their bikes daily. Whether it’s a family with many bikes or a city resident with little space, they all find helpful ways to use these racks.
Real-Life Experiences
After putting up these racks, many noticed their bike storage got way better. One happy cyclist said, “Our garage went from cluttered chaos to an organized haven.” Stories like these show that trying a bike rack might inspire you to tackle other do-it-yourself projects.
Before-and-After Comparisons
Seeing the difference these racks make is really impressive. Users share photos of their spaces before and after, showing off the big change. The way bikes are neatly kept highlights how simple projects can really improve a space’s look and use.
Community Feedback
Bike riders love talking about how great these racks are. They share stories and advice online, showing how everyone helps each other find the best solutions. This sharing and support highlight how community input helps everyone get better at storing their bikes.
| User | Experience | Before vs. After |
|---|---|---|
| Sarah B. | Improved garage organization | Chaotic → Neatly arranged |
| Mark L. | Saved space in a small apartment | Floor cluttered → Free space |
| Jessica T. | Ease of bike maintenance | Hard to access → Accessible |
Conclusion: Enjoying Your New Bicycle Rack
Installing a wall-mounted bike rack offers more than just saving space. It helps organize, protects your bike, and lets you show it off as home decor. By using vertical space, you keep your home neat and your bike ready for action.
Sharing your DIY bike rack project might inspire your friends to start their projects. Document and share your journey; it enriches the cycling community. Your story could encourage someone to solve their storage issue or start cycling.
Being part of the cycling community is rewarding. You can join local rides, online forums, or help in cycling groups. Connecting with cyclists enhances your experience and strengthens our love for biking. With your new rack, think about ways to support cycling and share biking’s joy with others.