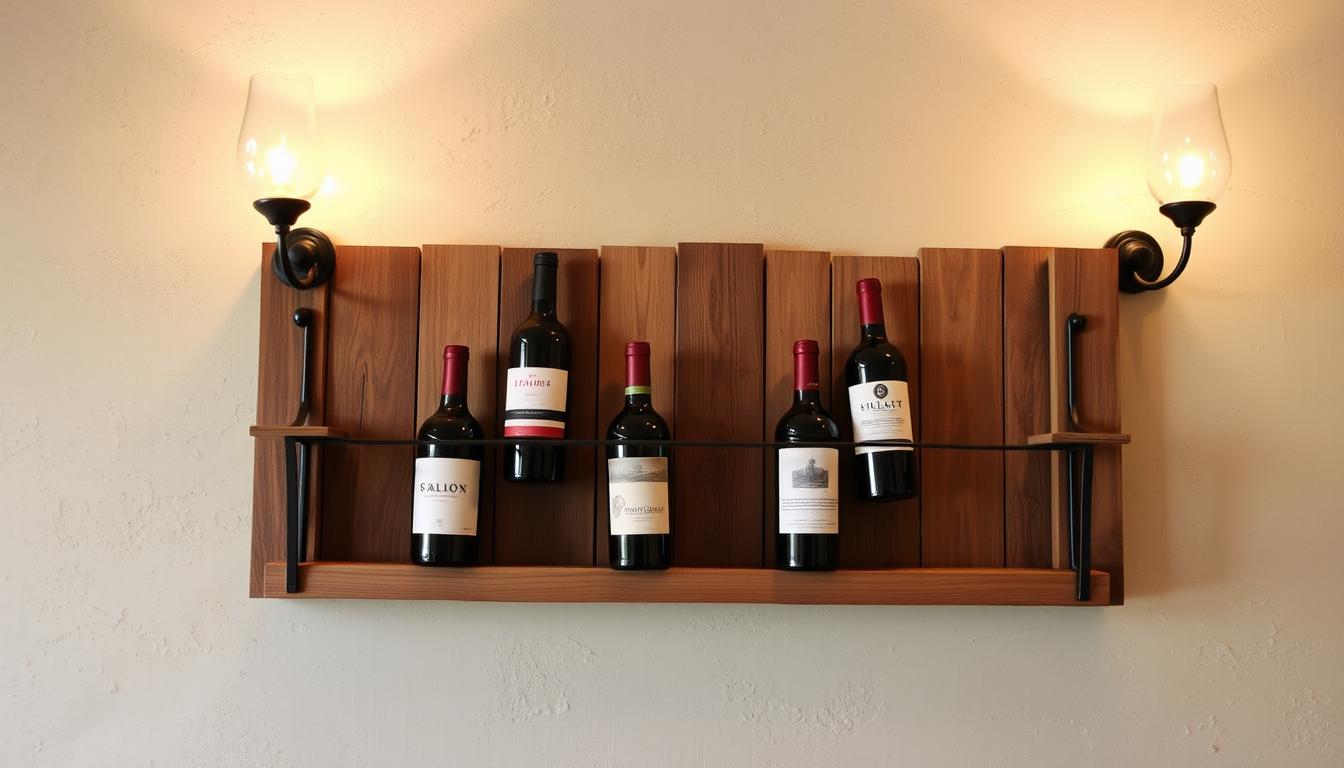
Did you know about 70% of wine fans like to keep their bottles in a custom wine rack? For many, a rustic wall wine rack isn’t just for storage. It’s also a key decor item. This guide will show you how to make your own wine rack. It’s simple and stylish, perfect for showcasing your taste.
Making a rustic wall wine rack is more than organizing wines; it’s making your space special. We’ll guide you from picking materials to putting it all together. Follow our steps to make a successful project that adds beauty to your home.
Introduction to Rustic Wall Wine Racks
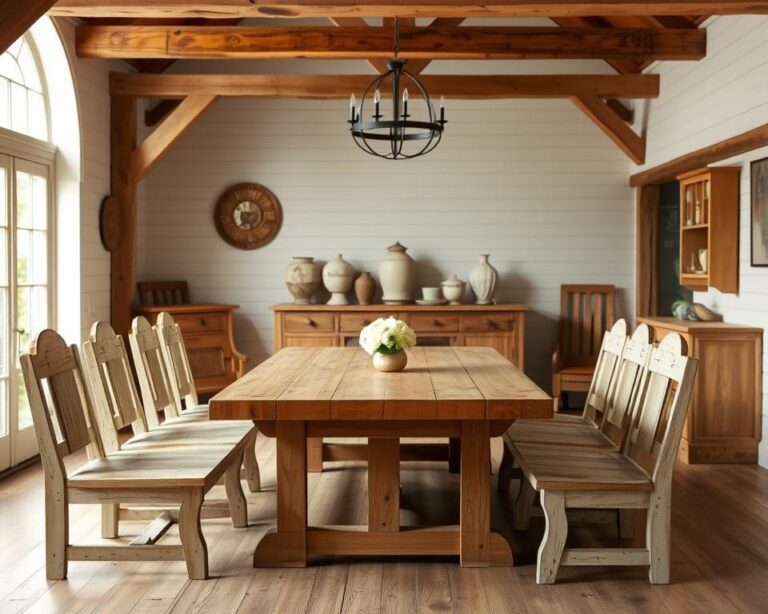
Rustic wall wine racks mix function and style, showcasing your wine beautifully. They are loved for their real charm, fitting perfectly in homes with a farmhouse or rustic vibe.
Why Choose a Rustic Design?
The warmth and charm of rustic design can transform any space. It’s flexible in decor and creates a welcoming atmosphere. With its natural colors and textures, it allows for a unique, personal feel in your home.
Benefits of DIY Wine Racks
Building your own wine rack comes with great perks. It saves money and lets you make it your own style. Plus, it gives you a sense of pride and sparks your creativity.
Overview of Materials Needed
Reclaimed wood is a top choice for these projects. It offers a vintage look and is good for the planet. You can also use metal or glass to add to the design and make it last.
Selecting the Right Wood for Your Project
It’s important to pick the right wood when making a rustic wall wine rack. Some woods have looks and strength perfect for this. Look for eco-friendly woods to make your project better for the planet.
Types of Wood Suitable for Rustic Designs
Rustic designs can be made special with various woods. Here are a few:
- Reclaimed Wood: Comes from old places, adding character.
- Pallet Wood: It’s often free and great for DIYs.
- Hardwoods: Oak and maple are strong for holding bottles.
Sourcing Eco-Friendly Materials
Choosing eco-friendly wood helps the Earth. Try to find reclaimed wood or suppliers who care about sustainability. This choice adds to your wine rack’s look and story.
Tools for Cutting and Shaping Wood
The right tools make a wine rack project easier. You’ll need:
- Hand Saws: They make precise cuts in wood.
- Drills: For holes where pieces join together.
- Sanders: To smooth the wood’s edges.
Planning Your Rustic Wall Wine Rack
Planning well is key to making a great rustic wall wine rack. Start by measuring your wall space. Make sure there’s enough room for wine bottles and decor. This first step is very important for a project that fits your space perfectly.
Estimating Size and Space
First, measure the height and width where you’ll hang the wine rack. Think about your wine bottles’ sizes, especially if they’re different heights. This helps figure out how many bottles you can fit without making it too crowded.
Design Inspiration and Style Variations
Choosing the right design for your wine rack can really make your home look better. Look at many styles, from classic to modern rustic. Each style adds a special touch to your home’s interior. Searching for ideas will inspire you and help pick a design that shows your style.
Sketching Your Design
Drawing your rustic wine rack helps you see it before building it. Plan where each bottle will go and how the rack will look. Include sizes and shapes, focusing on both looks and how it works. A detailed sketch is a big help when you start building.
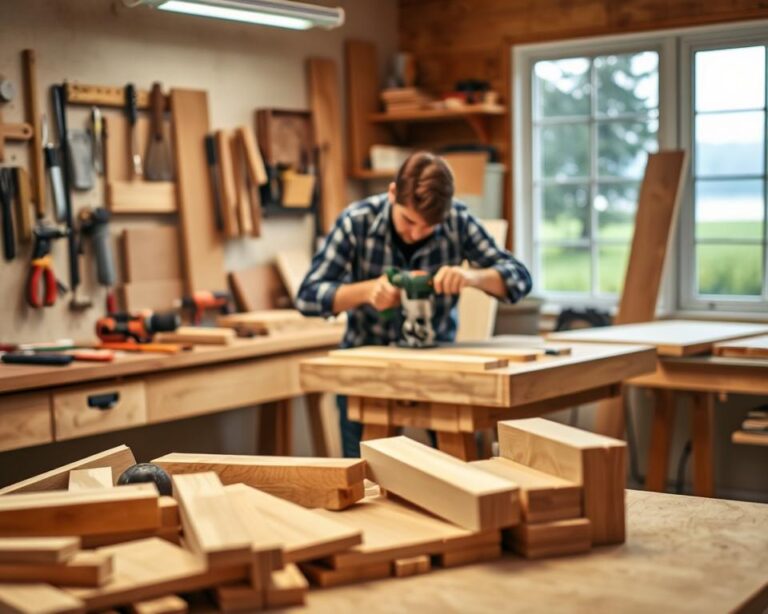
Preparing Your Wood
Getting your wood ready is key for a professional-look in your rustic wine rack. Sanding properly will get rid of rough edges and splinters. This makes the wood safe to handle and look good. After sanding, you get to pick between staining or painting the wood. Both choices can make your wine rack stand out.
Sanding and Finishing Techniques
Start by picking the right sandpaper. Begin with a rough grit to take off the big flaws. Then use finer grit to make the surface smooth. This makes sure your wood looks even. Once it’s sanded, decide if you want to stain or paint it. Staining shows the wood’s natural patterns, but painting lets you choose any color you like.
Staining vs. Painting
Making a choice between staining or painting your wood is important. Stains show off the wood’s real beauty, adding depth. Yet, painting lets you match the wood to your room’s theme. Think about what style you’re going for to make the right choice.
Sealing Your Wood for Longevity
It’s important to seal your wood to protect it. A good sealant keeps away damage and moisture. This makes your rustic wine rack last longer. Make sure to choose a sealant that fits well with how you finished the wood. This keeps your wine rack looking great for years.

Assembling Your Wall Wine Rack
Putting your rustic wall wine rack together can be fun. Make sure to follow the right steps to keep it stable and safe. Start by laying out all the pieces to make assembly easy.
Step-by-Step Assembly Instructions
First, put the base and vertical supports together. Then, add the shelves making sure they line up right. Use the right fasteners, like screws or dowels, to keep everything tight and hold the weight.
Recommended Fasteners and Connectors
Picking the right fasteners is key for a solid wine rack. Opt for wood screws, brackets, or heavy-duty connectors. They help your wine rack last longer and stay durable.
Securing the Rack to the Wall
The last step is to attach your rack to the wall securely. Find the wall studs for a strong hold. Double-check your measurements, use a level, and pick wall anchors or brackets. This helps avoid accidents and keeps your wine safe.
Adding Decorative Elements
Adding decorative features to your rustic wall wine rack shows off your style. Unique accents and rustic hardware can make a simple wine rack a beautiful centerpiece. These changes turn it into a stunning part of your home.
Incorporating Unique Accents
Think about putting special items on your wine rack to make it look better. Vintage bottle openers, small plants, or unique glassware can catch people’s eyes. These touches add beauty and make the space welcoming.
Using Rustic Hardware and Fixtures
Rustic hardware adds to your wine rack’s charm. Using antique-style brackets, handles, and hinges brings character. The right hardware combines style with function, giving your rack a refined yet rustic look.
Personalizing with Stencils or Paint
Personalizing your wine rack makes it truly unique. Stencils for designs or quotes add a personal touch. Paint sections in colors that go with your room to bring everything together. This makes the wine rack a focal point in your decor.

Mounting Your Wine Rack
Mounting your wine rack the right way is key for looks and use. It’s important to pick a good spot on the wall. This makes sure your wine rack is easy to get to and looks good in your room. Make sure it’s away from the sun as sunlight can harm the wine. Good mounting tips can make setting it up better.
Choosing the Right Wall Location
When locating your wine rack, look around for the best spot. You want a place that’s handy and matches your room’s style. Stay away from heat or windows to keep your wine safe. Make sure the wall can hold the rack and wine bottles without trouble.
Measuring and Leveling for Installation
Getting the size right is vital for a sleek look. Use a tape measure for height and width. Then, put the rack against the wall. Use a level to check it’s not tilted. This step keeps your wine bottles looking neat.
Safety Tips for Mounting on Different Surfaces
Be safe by following mounting safety precautions for your wall type. For drywall, secure it to studs. If there are no studs, use wall anchors. Make sure your tools are right for the wall to avoid mishaps. With careful planning and safety first, your wine rack will display your bottles beautifully.
Organizing Your Wine Collection
Creating a beautiful and useful wine storage area needs careful planning. Good wine storage methods improve your collection’s quality and lifespan. Arranging your bottles well makes your space look better and helps you find your top picks easily.
Best Practices for Wine Storage
Keep your wines lying down to stay fresh. This position keeps corks wet and blocks air from getting in. Store them in a dark, cool spot with a steady temperature, best around 50-55°F. Stay away from busy areas to avoid shaking the sediment in the bottles.
Displaying Different Bottle Sizes
Showing off wine bottles of different sizes makes your bar area more interesting. Put smaller bottles in front for a nice layered look, and use bigger bottles as the main attraction. Arrange wines by type or where they’re from to encourage guests to explore and chat.
Tips for Maintaining Your Wine Rack
Taking care of your wine rack is key to keeping it looking and working great. Clean off dust often to keep the wood looking nice. Make sure it’s still sturdy enough for your wines. Fix any damage quickly to maintain your storage in top shape.
Maintenance and Care of Your Wine Rack
It’s important to take good care of your rustic wall wine rack. Regular cleaning keeps the wood looking great. Checking it often for damage makes sure it stays safe to use. Seasonal care is also key, as weather changes can affect the wood.
Cleaning Techniques for Wood
Cleaning wood wine racks should be done gently. Use a soft cloth, water, and mild soap. Stay away from harsh cleaners to avoid damaging the wood. If you encounter tough stains, try vinegar and water. Always dry the wood well to prevent moisture damage.
Checking for Wear and Tear
Examining your wine rack regularly is a must. Focus on joints, screws, and connections. Tightening loose parts can help avoid accidents. If you see splitting wood or warping, it’s time for repairs. Fixing problems early can be cheaper and easier.
Seasonal Care Tips
Seasonal care keeps your wine rack in top shape. Use a dehumidifier during humid months to fight mold. In dry winters, wood conditioner helps avoid cracks. This keeps your rack and wine collection looking great for longer.
| Maintenance Task | Frequency | Tools Needed |
|---|---|---|
| Dusting | Weekly | Soft cloth |
| Deep cleaning | Monthly | Mild soap, water |
| Checking for damage | Every 3 months | Visual inspection |
| Seasonal wood treatment | Twice a year | Wood conditioner |
Inspiration from Other DIY Projects
Looking at other DIY projects can spark your own creativity. It can lead to new ideas for making a rustic wine rack. Many crafters use unique materials or shapes in their designs. By examining these inventive wine racks, you can gain new insights. You’ll see many ways to store wine.
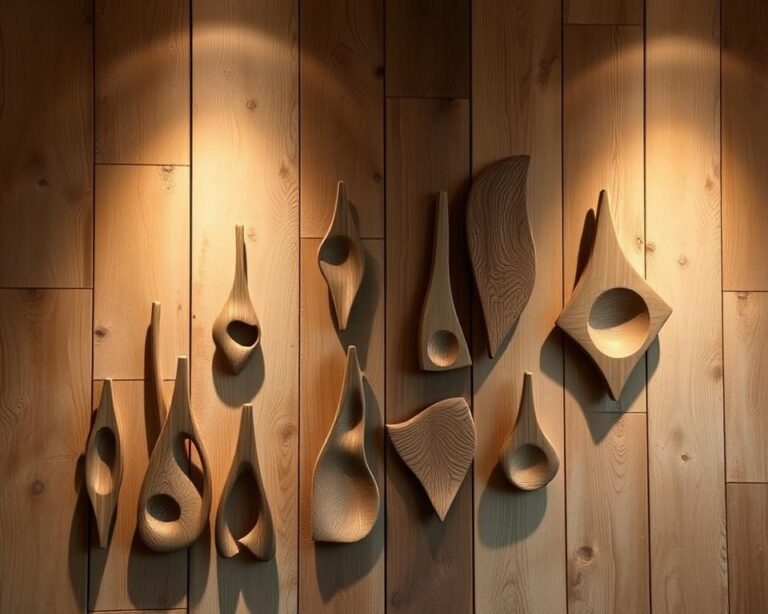
Showcasing Creative Rustic Wine Racks
Innovative designs often use the natural look of wood. They may add things like metal or detailed carvings. These special touches make the racks more appealing. They add charm to any room. To get inspired, look at galleries showing different styles. You’ll find lots of DIY wine rack ideas from various creators.
Learning from Different Materials
Using various materials can give a new look to a rustic wine rack. Beyond traditional wood, think about reclaimed barn wood, wrought iron, or concrete. These materials make a bold statement. Seeing how others combine these can inspire you. You might find new ways to express your style.
Exploring Vintage and Antique Styles
Old-fashioned wine storage brings a special charm. It mixes nostalgia with usefulness. You might find old racks at flea markets or estate sales. They’re great for showing off your wine. Adopting these styles can give your home a distinctive rustic look. It will also keep your wine organized and easy to get to.
Conclusion
Making your own rustic wall wine rack is rewarding and fun. It feels great to turn simple materials into something useful and beautiful for your house. If you’re thinking about beginning a wine rack project, go for it today! Don’t stress over making everything perfect; every project is a learning opportunity and a way to show your creativity.
To end up with a great wine rack, follow some key DIY advice. Being patient, open to trying new things, and being flexible with your design are important. Let your personal taste guide you, from the type of wood to the decorations.
After you finish your wine rack, the fun doesn’t stop. Share your project with friends, family, or online. Doing this can make you happier and encourage others to start their DIY projects. Enjoy your crafting!