Overheating causes up to 50% of laptop failures. This fact shows how crucial a good cooling stand is. In this guide, we’ll teach you to make a suporte para notebooks com ventilação. It keeps air flowing and makes using your device more comfortable. Learn how to build an ergonomic stand that improves posture and stops overheating.
Why You Need a Ventilated Notebook Stand
A ventilated notebook stand keeps your laptop running smoothly and for longer. It boosts airflow, which is key in getting rid of laptop heat. As laptops heat up with use, a cooling pad helps manage that heat. This prevents harm to the laptop’s insides.
Benefits of Good Airflow
Good airflow makes your laptop work better. Using a stand with good ventilation means better performance and less overheating. Its open design lets cool air flow around the device, pushing out hot air. This makes it a top solution for cooling laptops.
Preventing Overheating
Overheating can cause your laptop problems and reduce its life. A ventilated stand helps keep it cool, even when used a lot. So, you can enjoy gaming or graphics work without heat damage worries.
Enhancing Ergonomics
A ventilated stand also helps your posture. It positions your laptop to prevent neck and back pain, common in heavy users. This makes computing more pleasant and healthy, keeping you focused on work, not discomfort.
Materials You’ll Need for Your Stand
To make a portable laptop stand, you need the right materials. This ensures it works well and lasts a long time. Here’s a list of key things to get, from the type of wood to basic tools, and even some extra supplies for finishing.
Recommended Wood Types
Choosing the best wood is key for a sturdy and helpful portable laptop stand. Here are our top picks:
- MDF (Medium-Density Fiberboard) – Smooth and great for adding ventilation features. It’s also affordable.
- Pine – Light but strong and easy to shape. Perfect for a laptop stand.
- Birch Plywood – It’s tough and looks good for those wanting style and function.
Essential Tools for Assembly
You’ll need some tools to put your stand together:
- Saw – A circular or jigsaw for cutting wood right.
- Measuring Tape – For accurate measurements, so everything fits perfectly.
- Screws and Screwdriver – To join parts of the stand securely.
- Drill – Makes it easier to put screws in wood by making holes first.
Optional Finishing Supplies
To make your laptop stand look and last better, think about these extras:
- Sandpaper – For a smooth, polished finish.
- Paint or Stain – To add a splash of color or enhance the wood’s natural look.
- Protective Coatings – Varnish or sealant to protect against damage.
Step 1: Planning Your Design
Before you start making your ergonomic laptop stand, you need to plan well. This helps ensure your project is a success. Measure your laptop carefully to make the stand fit just right.
Sketching a clear layout lets you be creative while also being practical. If you want to carry your stand around, making it portable is key.
Measuring Your Notebook
Begin by figuring out your laptop’s size. Note its length, width, and height. This info is crucial for your design.
If your measurements are off, the stand might not be stable or easy to use. Accurate measures mean a reliable and effective stand.
Sketching the Stand’s Layout
Drawing a sketch helps you see your idea. Think about the stand’s height, angle, and air flow.
A good design looks nice and works well, making it great to use. You can use paper or a computer to plan your design.
Considering Portability
Think about how often you’ll move your stand. If you’ll carry it a lot, choose light materials and a foldable design.
Finding the right mix of sturdy and easy to carry will make the stand perfect for your needs.
Step 2: Cutting Your Materials
Cutting your DIY notebook stand materials is key. You need to pay attention to safety and be precise. Doing it right means your pieces will fit well and stand strong. Plus, good technique helps keep your computer cool.
Safety Tips When Using Power Tools
Power tools can be risky if you’re not careful. Always follow safety steps to avoid injuries. Here’s how:
- Wear safety goggles to protect your eyes from debris.
- Use gloves to prevent cuts and scrapes.
- Keep your workspace tidy to avoid tripping hazards.
- Ensure tools are properly maintained and blades are sharp.
- Read the manual of each tool before use to understand its specific safety features.
Precision Cutting Techniques
Making sure your cuts are accurate is crucial. Try these tips to get it right:
- Use a straight edge: It guides your cuts to keep them straight.
- Measure twice, cut once: Double-check your measurements to avoid errors.
- Mark clearly: Draw your cut lines with a pencil so they’re easy to see.
- Practice on scrap material: Test your cutting skills on extra material first.
Preparing for Assembly
After cutting, get ready to put it all together. Sand rough edges for a smooth, clean fit. A nice finish makes your stand look good and works better for cooling your laptop. Proper prep makes a big difference in your project’s success.
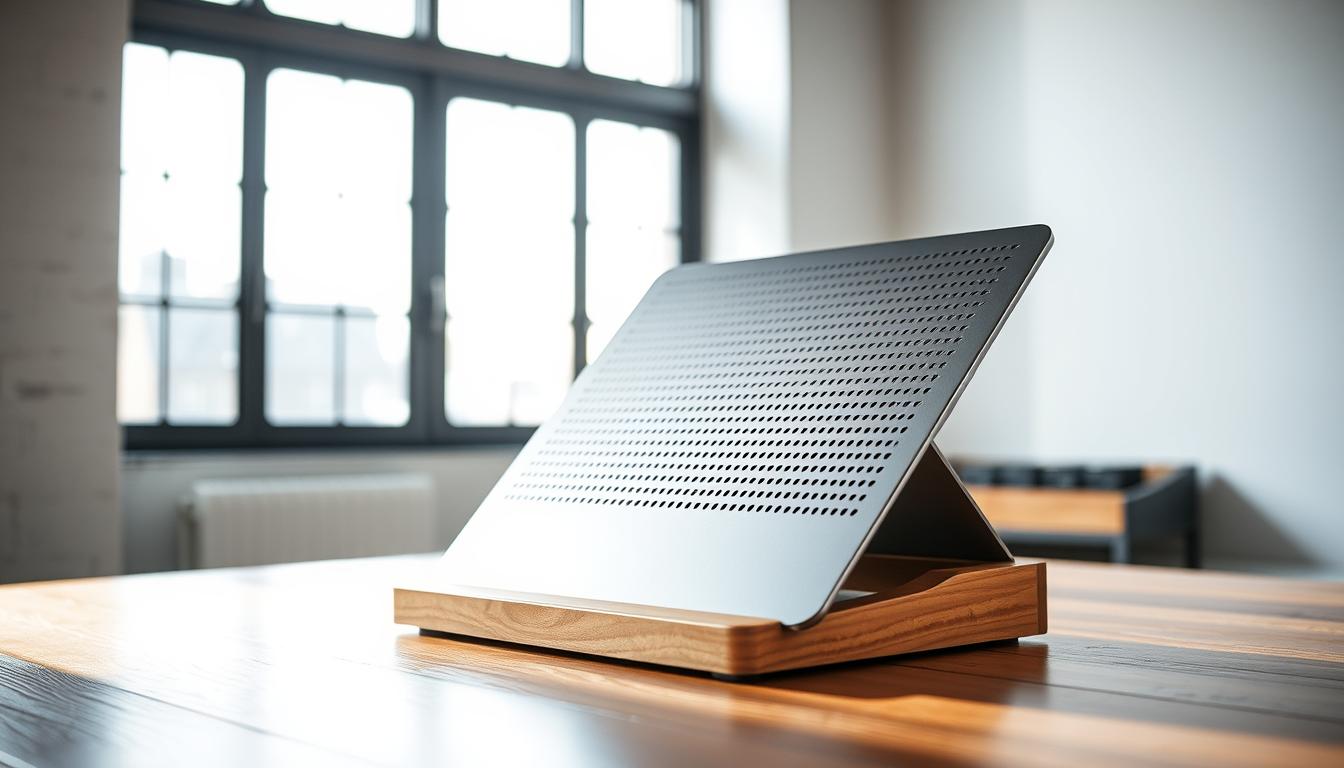
Step 3: Creating Airflow Features
Making sure your laptop cooling stand has good airflow features is super important. It keeps temperatures right and makes your laptop run better. We’ll look at creating ventilation holes, using grating, and where to put everything for the best results.
Designing Ventilation Holes
Ventilation holes help air move around your laptop. Think about how big and far apart these holes should be. Aim for holes that are 1 inch wide with a space of 2 inches between them. This setup stops your laptop from blocking the air. Designs often include these holes to help with cooling.
The Role of Grating in Airflow
Grating is also key for good airflow. It lets air through while holding up your laptop. When picking a material for grating, go for something strong but not heavy, like metal or tough plastic. Grating makes more room for air to move, helping your stand work better.
Placement for Optimal Performance
Where you put the holes and grating is super important. Place holes under hot spots like the processor or graphics cards. This makes cooling more efficient. Also, when you design a laptop desk with a fan, align the fan with these cooling parts for top cooling power.
Step 4: Building the Frame
Building your ergonomic laptop stand’s frame is key for comfort and function. A strong base boosts your workspace’s effect. Here are tips for a firm frame that won’t wobble as you work.
Assembling the Main Structure
Start by laying out the wood pieces according to your plan. Use wood glue or screws to connect each piece. An ergonomic laptop stand improves posture, and a solid build ensures it lasts long. Ensure all parts fit well for a smooth building process.
Ensuring Stability
To make your portable laptop stand stable, add cross-bracing. It spreads the weight and prevents tipping, making it safer. Test the stand by pressing on different parts. If it feels shaky, strengthen that area for the best performance.
Adding Adjustable Features
Adding options to change the stand’s height and angle personalizes the use. Include sliding parts or detachable sections. This way, it meets various ergonomic needs, making your laptop use better and more comfortable. Think about how these adjustments can boost your everyday work and comfort.

| Feature | Benefit |
|---|---|
| Stability Enhancements | Prevents wobbling and ensures safety |
| Adjustable Height | Caters to individual ergonomic preferences |
| Angle Adjustment | Improves viewing angles and reduces neck strain |
Step 5: Finishing Touches
Adding the final touches to your DIY notebook stand can really make it stand out. It’s important to sand, paint, and add protective coatings. This not only makes it look good but also helps it last longer. By doing these steps, your stand will not just look great in your workspace but also help cool your laptop effectively.
Sanding and Smoothing Edges
Start by smoothing out any rough spots on your stand. This is key to avoid injuries and to make it look better. First, use medium-grit sandpaper, then switch to a finer grit for a smooth surface. This will give your stand a polished look and make it safer for a laptop cooling pad.
Painting or Staining for Aesthetics
Picking a color that fits your space can improve how your stand looks. Choose a paint or stain that matches your room’s style. Whether you go for something neutral or bold, it can make your stand pop. Plus, painting or staining it adds a bit of moisture protection.
Applying Protective Coatings
To keep your stand in top shape, put on a protective coat. Polyurethane or a water-resistant sealant keeps it safe from damage. This coat will protect both the wood and the finish, making your stand a durable cooling solution for laptops.
Step 6: Testing for Comfort and Function
After making your ergonomic laptop stand, make sure it works well for you. Test for the right laptop fit, how well air moves around, and if it stays stable. Each test is key to keep your laptop safe and easy to use.
Ensuring Proper Laptop Fit
Put your laptop on the stand to check if it fits right. It should sit snug but not tight, with small gaps around it. This ensures it won’t fall and keeps it cool.
Testing Airflow Efficiency
Now, see how your stand helps air move around the laptop. Notice if the air can flow freely to cool the device. Try adding a fan or thermometer to measure cooling.
Checking for Stability during Use
Finally, make sure the stand holds up under pressure. It should not shake or tip over. A stable stand lets you work without any trouble.

Common Mistakes to Avoid
Making a notebook stand with good airflow can make your laptop run better. When doing a DIY project, it’s key to avoid certain mistakes. These errors can lower its effectiveness. Knowing these errors ensures your stand is both stylish and a good cooling solution.
Overlooking Height Adjustments
Many builders forget about the stand’s height, which is crucial for comfort. Making the height match your eye level can stop neck and back pain. A design that lets you change the height makes for a better and more comfortable workspace.
Ignoring Weight Capacity
Some people don’t check if their stand can hold their laptop’s weight. If it can’t, the stand might break. Making sure your stand can support your laptop keeps both safe. Choose strong materials for a cooling solution that lasts.
Skipping Safety Measures
Safety is super important. Not being safe with tools can cause accidents. Use the right safety gear and be cautious. This keeps you and your laptop safe. It also makes sure your stand has proper airflow, like a cooling pad does.
Maintenance Tips for Your Stand
To ensure your portable laptop stand lasts long and works well, it’s crucial to maintain it regularly. A laptop cooling stand that’s well-cared for not only looks better but also keeps your laptop cool efficiently. By keeping up with maintenance, you can avoid common problems and improve how you use it.
Cleaning Guidelines
To keep your stand in top shape, clean it often to get rid of dust and dirt. Wipe it gently with a soft, damp cloth. Stay away from strong cleaners that could harm it. If you have a wood stand, use a soft wood polish to make it look new and protect it at the same time.
Checking for Wear and Tear
Every so often, check your laptop stand for any damage. Look out for cracks, weak joints, or anything that seems off. Fixing these issues quickly can stop more damage and keep your stand working right.
When to Replace Parts
If you find parts that are really worn out or damaged, it’s time to replace them. Focus on parts that are key for keeping the stand stable or for air flow. This way, your laptop stand will continue to perform well, making your computer use better.
Final Thoughts on DIY Notebook Stands
Building a DIY notebook stand with ventilation isn’t just practical. It’s also a chance to show off your creativity. When crafting your laptop stand, think of special details that show your style. Maybe it’s choosing colors, shapes, or adding cool features. This makes working at your desk more enjoyable and personal.
Encouraging Creativity in Design
Feel free to try out various designs and materials. Each stand is a chance for you to express yourself. You can add unique touches like extra spaces or make it adjustable. This will make your laptop stand not only useful but also a piece of art.
Future Modifications and Improvements
Your notebook stand project doesn’t stop when it’s built. You might find ways to make it even better as you use it. Maybe you’ll want to improve the airflow or use stronger materials. Always look for ways to tweak your stand. This makes it perfectly yours.
Sharing Your Creation with Others
Don’t keep your awesome notebook stand a secret! Share it with those around you and the DIY community. You could post it on social media or in crafting groups. Your project might inspire someone else to make their own stand. It’s a great way to spread ideas and support creativity.