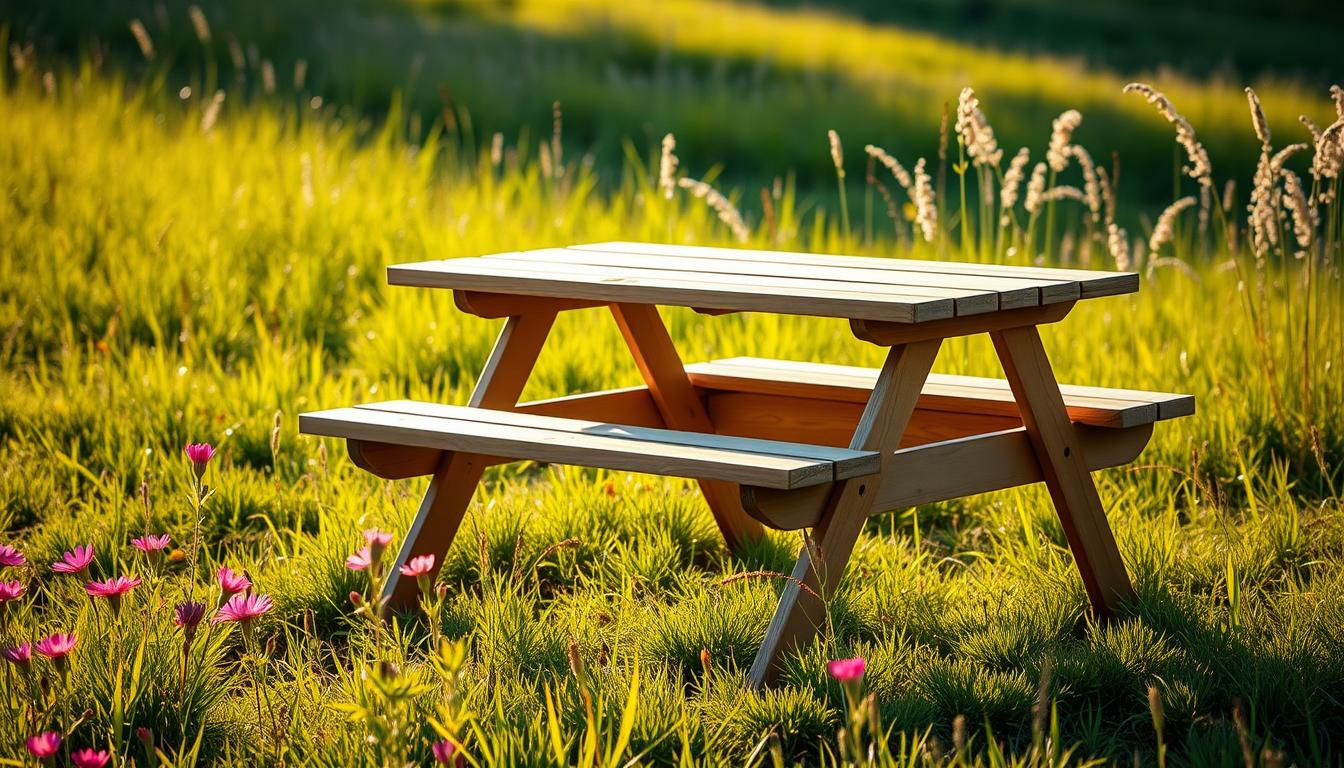
Did you know nearly 80% of Americans plan a picnic or outdoor trip each year? This shows many people want versatile outdoor furniture like a folding picnic bench. A folding picnic bench is not just handy for outdoor activities but also a fun and rewarding DIY project.
In this guide, we’ll show you how to make your own folding picnic bench. We’ll cover choosing materials and tools to putting it all together. It’s the perfect DIY table for any event. Get ready to make your outdoor adventures even better!
Why a Folding Picnic Bench is a Great Idea
A folding picnic bench offers flexibility and ease. It’s perfect for outdoor events. It’s easy to carry and set up, making any outdoor event more fun. This is true whether it’s in a park, a backyard, or at a campsite.
Benefits of a Folding Design
The best thing about a foldable picnic table is how it folds for easy storage. This makes it simple to bring on trips or keep in small spaces. Most are light enough for anyone to carry easily. Plus, benches with backrests add comfort during meals or long get-togethers.
Ideal for Outdoor Activities
If you’re heading to the beach, camping, or hosting a BBQ, a portable bench is key. It can hold several people and be a stable spot for food and fun. A foldable table makes outdoor time better, bringing people together in shared spaces.
Space-Saving Solutions
For those short on storage, a folding bench is ideal. You can fold and store it, freeing up space in your garage or shed. Opting for easy-to-store models means being prepared for any meal outside. Choosing a bench with a backrest ensures comfort without losing space.
Materials Needed for Your Project
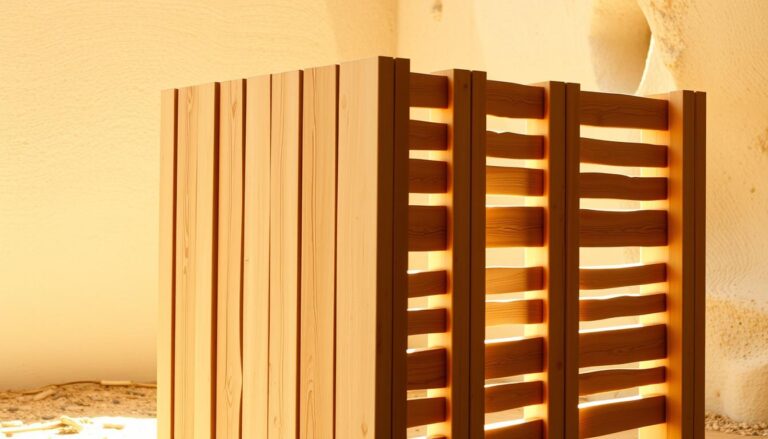
Building a strong folding picnic table bench means choosing the right materials. You want it to last long and look good. Woods like birch, beech, larch, or oak are great because they can handle moisture and sunlight well. They make the picnic table strong and beautiful.
Wood Types for Durability
The wood you pick is key for making your picnic table bench last. Here are the best choices:
- Birch: It’s sturdy and looks good.
- Beech: Very strong and has a nice texture.
- Larch: It doesn’t rot, which is perfect for the outdoors.
- Oak: It’s tough, making your picnic table last a long time.
Recommended Hardware and Tools
Having the right tools and hardware makes building easier. You will need:
- Wood screws
- Hinges for the folding part
- Acrylic varnish to protect it from the weather
- Electric saw
- Drill
- Sander
Safety Gear You Should Wear
Safety comes first in woodworking. Make sure to wear:
- Safety goggles to keep your eyes safe from dust
- Gloves to protect your hands
- A dust mask so you don’t breathe in particles
Planning Your Picnic Bench Design
When you plan your picnic table bench combo, think about several key points. This ensures it’s both useful and comfy. Getting the size right and sketching out your design makes outdoor time more fun.
Choosing the Right Size
The size of your picnic bench is important. Most are 18-20 inches high and 24-30 inches wide. These sizes fit most people and let them enjoy food together easily. Make sure there’s enough space around your bench for people to move around.
Sketching Your Bench Plan
Drawing your bench first helps you see how it will look. You can change things in your sketch before you start building. Make sure to include the size, where the legs will go, and how to keep it stable. Getting the details right helps you see what else you need to work on, like how deep the seats should be.
Considerations for Comfort
Always think about comfort in your bench design. The right backrest height and angle matter for support. Seats should be at least 18 inches wide for more comfort. Think about adding cushions for softness, especially if you’ll sit there for a long time.
| Feature | Recommended Measurement |
|---|---|
| Height | 18-20 inches |
| Width | 24-30 inches |
| Seat Depth | 18 inches |
| Backrest Height | 12-14 inches from seat |
Preparing Your Workspace
Getting your workspace ready is key to a great folding picnic bench project. Spending time to set it up right makes things smoother and safer. Think about these points to create a good work area.
Setting Up Your Workbench
Your workbench needs to be strong and big enough for all wood pieces and tools. Make sure it’s clean and free from mess for more space. Good lighting is crucial because it helps you see better and work accurately.
Organizing Your Tools
Having your tools sorted makes them easy to grab when needed. Store them in a tool chest, on a pegboard, or in a drawer. This saves time and keeps you from getting annoyed while you build your folding picnic bench.
Ensuring Your Safety
Safety is super important for any DIY project. Always wear protective gear like goggles, gloves, and a dust mask. Keep your area neat to avoid accidents. Being careful with safety helps your folding picnic bench project go well.
| Aspect | Consideration |
|---|---|
| Workbench Setup | Sturdy and spacious surface, free of clutter |
| Tool Organization | Use storage solutions for easy accessibility |
| Safety Gear | Goggles, gloves, and dust masks recommended |
Cutting the Wood Pieces
When building a foldable picnic table, being precise in cutting is crucial. Measure and mark the wood correctly for better fit and look. Use a tape measure and a sharp pencil for marking lengths on your wood.
Measuring and Marking the Wood
Place the wood on a flat area to start. Always measure twice and mark your lines clearly. Using a straight edge will help make your lines straight and easy to follow.
Techniques for Accurate Cuts
Choose a saw that feels right to you, like a miter saw or circular saw. Be sure to follow the lines you marked closely. Using a guide can help keep your cuts straight, reducing mistakes and waste.
Tips for a Smooth Finish
Once you’ve cut all the pieces, sand the edges to prevent splinters. This makes the table safer and better looking. A well-finished table not only appears professional but also makes your outdoor space more inviting.
Assembling the Bench Frame
Start making your collapsible picnic table by putting together the legs and support beams. Use screws for this. It’s a key step to make sure your table is strong and ready for outdoor fun. Check all screws are tight to keep the table stable.
Connecting the Legs and Support Beams
First, line up the legs with the support beams right. Secure them with good screws. This part holds up the bench, so it’s important. Make sure it’s all straight as you go along.
Ensuring Stability and Strength
After attaching legs and beams, see if the frame is sturdy. Try shaking it to find any loose spots. Tighten or fix these parts to make the table strong. This stops problems later when you use it.
Tips for Adjustments During Assembly
Be ready to change things as you build for the best results. Maybe adjust the height or fit of parts. These small changes help a lot in making your table work well and feel right.

Creating the Bench Seat and Backrest
After the frame is made, we focus on the seat and backrest. They are key to a good picnic bench with backrest. The right thickness for these parts can really affect comfort and how long they last.
Selecting the Ideal Thickness
The seat should be 1 to 2 inches thick. This thickness supports well and stays comfortable for a long time. The backrest should be about the same thickness. It needs to be strong but not too stiff.
Attaching the Seat to the Frame
Make sure the seat is in the middle and attached tight to the frame. Attaching it well stops it from moving when you sit. This makes the picnic bench with backrest safer. Use the right screws or bolts for a secure fit.
Adding the Backrest for Comfort
The backrest needs a slight tilt for a comfy sit. This angle is key for relaxing without getting uncomfortable. Attach the backrest with strong hardware for a firm and pleasant sit.
| Component | Recommended Thickness | Notes |
|---|---|---|
| Seat | 1-2 inches | Provides comfort and support |
| Backrest | 1-2 inches | Should be angled for relaxation |
Folding Mechanism Installation
Installing the folding mechanism is key to a good folding picnic table bench. The hinges you choose are important. They decide how well the bench folds and unfolds. A strong hinge system makes operation easy and safe.
Choosing the Right Hinges
Choose heavy-duty hinges for lasting use. Stainless steel or galvanized hinges are best because they’re strong and don’t rust. Make sure they can hold the weight of your folding picnic table bench.
Securing the Hinge System
Make sure the hinges line up right when you attach them. Secure them with screws or bolts. Check their alignment after installing. This stops any stress on the hinges when you use the bench.
Ensuring Smooth Operation
Test the folding mechanism after installing. Open and close the bench a few times. It should work smoothly. If it doesn’t, check the alignment and adjust if needed. A smooth folding picnic table bench makes outdoor events better.

Sanding and Finishing Your Bench
Final touches can greatly improve how your outdoor picnic table looks and lasts. It’s crucial to sand for a smooth surface. This makes your bench look professional. Start with coarse-grit sandpaper to tackle any rough spots. Then, use fine-grit sandpaper for a flawless finish.
Importance of Sanding the Surface
Sanding does more than just make the table look good. It helps paint stick better, making your table last longer. A smooth table is also nicer to use, so your guests won’t get snagged by splinters.
Types of Finishes to Consider
Choosing the right finish will shield your table from weather damage, helping it to last longer. Here are some options:
- Acrylic Varnish: Creates a moisture-resistant, clear layer.
- Oil-Based Finishes: Soak into the wood for deep protection.
- Polyurethane: Great for busy areas, thanks to its tough coating.
Applying Weatherproofing Coating
Add a weatherproof coating for even more protection. Make sure the wood is clean and smooth first. Follow what the product label says for application. Let it dry well between layers. This keeps your table safe from weather damage.
Testing Your Folding Picnic Bench
Before you start using your folding picnic bench, it’s important to test it first. This ensures it’s safe and stable for outdoor use. Follow these steps to check your bench properly.
Ensuring Stability and Safety
First, place the bench on a level surface. Check if it wobbles or feels unstable, as this is key for a good sit. Gently shake the bench to see if it holds firm. Look for any loose screws or parts if it moves.
Making Necessary Adjustments
If the bench isn’t stable, you might need to fix it. Tightening screws usually does the trick. Sometimes, you may have to adjust parts for better stability. Regular checks and small fixes help your bench stay safe and last longer.
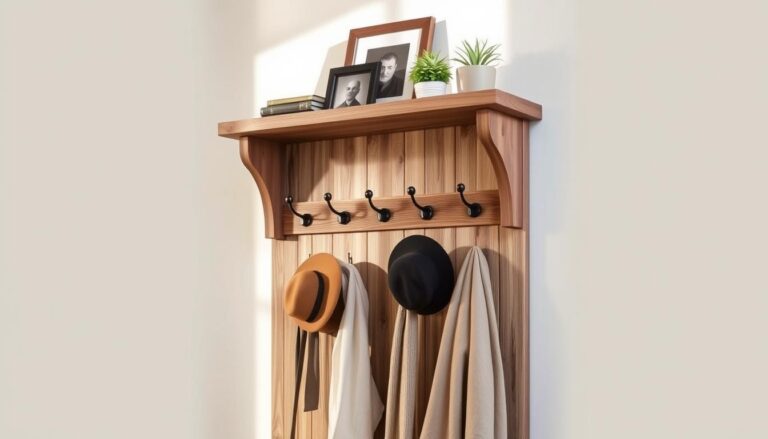
User-Friendly Features to Add
Think about adding things that make the bench nicer to use. Features like cupholders or bag hooks add function and convenience. These small details are great for users, especially at outdoor events. Look for ways to make your bench more useful but still comfy and attractive.
Maintaining Your Picnic Bench
For your folding picnic table to last long, regular upkeep is needed. Start by cleaning it routinely with a mild soap and water mix. This keeps your bench looking good and protects its finish from damage caused by weather.
Cleaning and Care Tips
Cleaning well is crucial, but don’t overlook the small details. Regularly check the joints and hinges for wear signs. Spotting problems early can avoid big repairs, keeping your table safe and strong for many picnics.
Seasonal Maintenance Suggestions
The weather can impact your picnic bench throughout the year. In winter, store it inside or cover it with a weather-proof tarp to keep it from moisture harm. This way, your bench stays in good shape, ready for outdoor fun any time.
Storage Tips for Longevity
Storing your folding picnic table right can also extend its life. When not in use, keep it in a dry, shaded spot. Raising it off the ground can prevent rot or water damage, too.