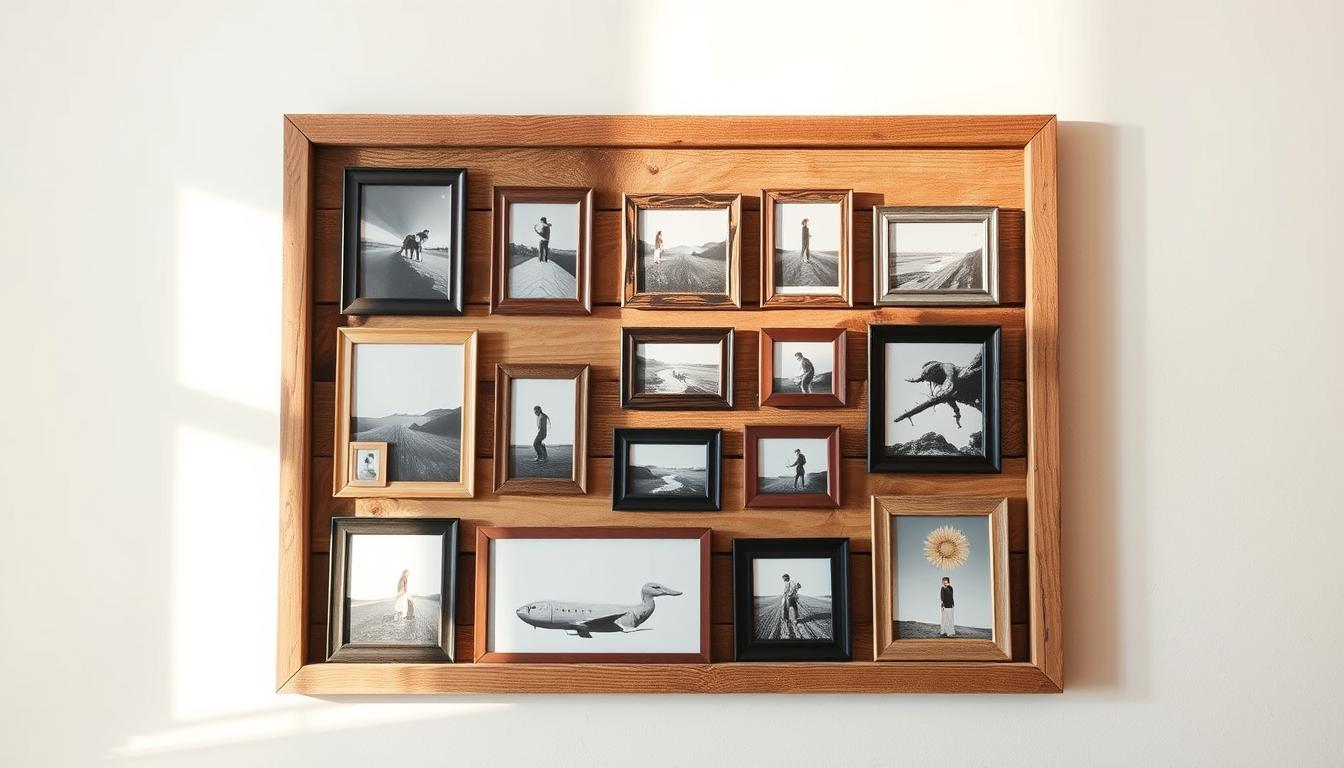
Did you know the U.S. makes over 20 million tons of wood waste yearly? With so much wood being wasted, finding creative uses for it is not only smart but sustainable. This guide shows you how to make a unique photo display from reclaimed wood. You’ll learn to build a wooden drawer unit that doubles as a beautiful painel de fotos com madeira reaproveitada.
This project is a great blend of style and function. It’s ideal for those who want to display their memories in a unique way. The reclaimed wood photo panel will not only look good in your home but also help the environment. So, let’s get started on this fun DIY home decor journey!
Introduction to Wooden Drawer Units
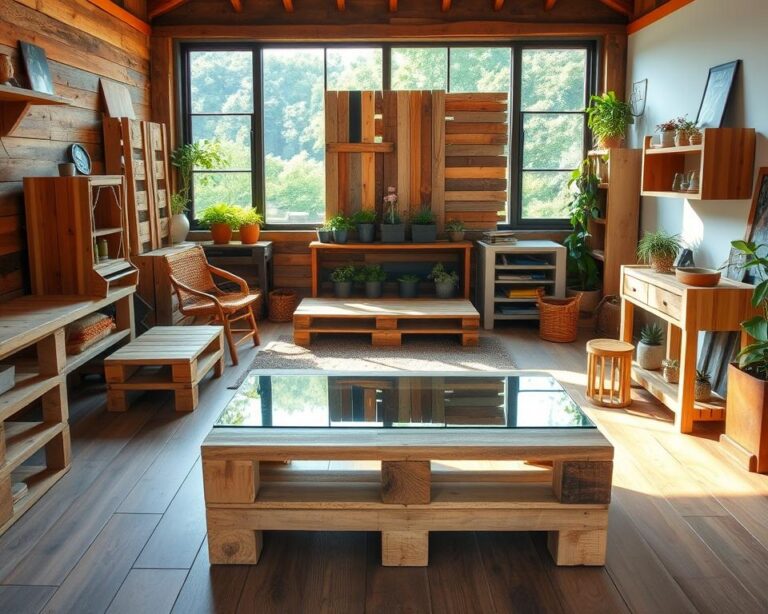
Wooden drawer units mix functionality with beauty, making them great for homes and offices. They can be used for filing or showcasing items. With various styles, reclaimed wood units are trending for their unique look and eco-friendly aspect.
What is a Wooden Drawer Unit?
A wooden drawer unit has several drawers within a frame. It’s made of wood, offering durability and a cozy, rustic vibe. Many feature sustainable wood boards that highlight each drawer with attractive grain patterns.
Benefits of Using Wooden Rails
Choosing wooden rails for drawer units boosts sustainability. They allow drawers to glide smoothly and show off wood’s natural beauty. Such units can uniquely display items and help the planet by using less new wood.
Overview of the Project
This project will take you through making a wooden drawer unit. You’ll need tools, materials, and a good plan. Each part includes safety tips to help you craft a standout piece for your space.
Essential Tools and Materials Needed
To make an upcycled wood photo display or a handmade wood photo panel, you need the right tools and materials. Having everything you need before you start makes the crafting process go smoother and be more fun. Here is what you’ll need to bring your project to life.
List of Tools
- Saw (circular or hand saw) – for cutting wood pieces to size
- Drill – necessary for creating holes for screws or fixing components
- Sander – to achieve a smooth finish on your wood surfaces
- Measuring tape – ensures accurate dimensions for your design
- Clamps – holds pieces together during assembly
Required Materials
The materials you choose are key for how your project looks and works. For your project, you might want to use the following:
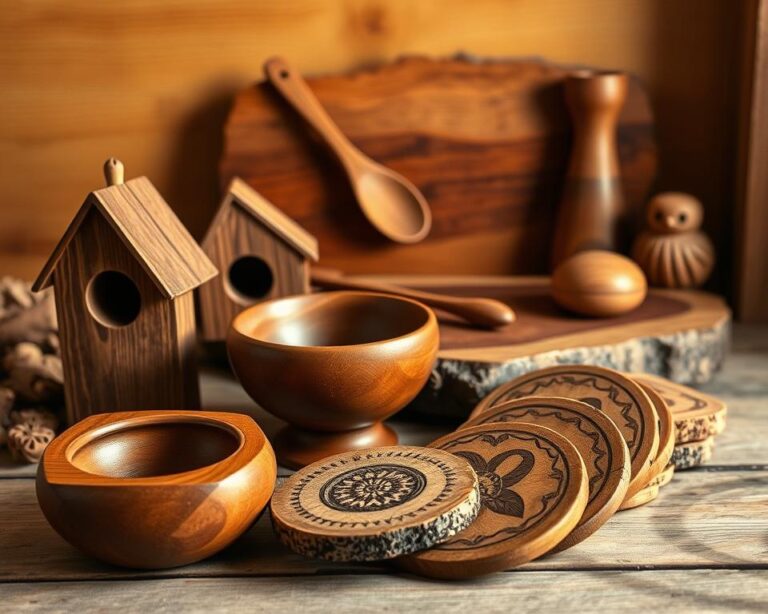
- Reclaimed wood – perfect for an eco-friendly approach and gives a rustic charm
- Wood glue – for joining pieces securely
- Paint or stain – to customize the appearance of your handmade wood photo panel
- Varnish – for added protection against wear and tear
Safety Equipment
It’s very important to be safe while making your upcycled wood photo display. Be sure to have these safety items ready:
- Safety goggles – protects your eyes from dust and debris
- Hearing protection – especially important when using power tools
- Dust mask – essential when sanding, to avoid inhaling wood particles
- Gloves – prevent splinters and protect your hands from sharp edges
Measuring and Planning Your Drawer Unit
Getting accurate measurements is key in woodworking. Whether it’s a reclaimed wood photo panel or a rustic board for photos, measuring right matters. Knowing the exact sizes helps build smoothly and makes sure it fits your space well.
How to Take Accurate Measurements
First, grab what you need like a tape measure, square, and pencil. Then, follow these tips to be precise:
- Measure twice and mark clearly to avoid mistakes.
- Use a square to check right angles for frame components.
- Account for any hardware thickness that may influence the final dimensions.
Sketching Your Design
Drawing your project helps a lot. A simple sketch acts as your building guide. Add sizes, design ideas, and decoration plans. For a reclaimed wood photo panel, decide where photos will go and how to make it look more rustic.
Choosing the Right Dimensions
Make sure your panel’s size fits where you’ll place it. Think about these:
- Available wall space and height.
- Size of the photos you wish to display.
- Proportions that maintain a balanced appearance.
Considering these points helps you make something both beautiful and right for your space.
| Measurement Aspect | Importance |
|---|---|
| Overall Size | Affects fit and visual impact |
| Photo Slot Dimensions | Ensures proper photo presentation |
| Frame Thickness | Enhances stability and style |
Preparing the Wood for Construction
Getting your wood ready is key for a sturdy and appealing project. The wood you pick not only affects how it looks. It also impacts its strength over time. Here’s what to do to get your wood ready for use.
Selecting Quality Wood
Choose wood that’s straight and free of damage for your photo display. Reclaimed wood is great for a unique look and it’s good for the planet. Make sure you check each piece to pick the best quality for a strong foundation.
Cutting the wood to size>
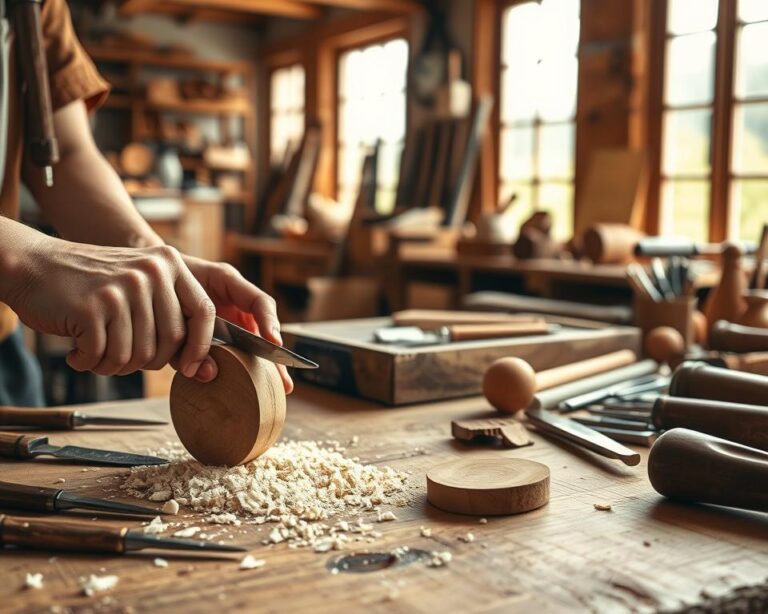
It’s vital to cut your wood accurately to match your design. Use a dependable saw for cuts that fit perfectly together. This step is essential for a professional-looking reclaimed wood photo display.
Sanding for a Smooth Finish
Sanding makes the wood smooth and safe to touch. Start with a rough sandpaper and then use finer ones. This makes your eco-friendly photo display look and feel good.

Assembling the Drawer Unit Structure
Making a strong drawer unit needs careful attention and a step-by-step method. Start by building a solid frame to support everything. Next, add the wooden rails so drawers can slide in and out easily. It’s important to make sure the unit is stable and strong, especially if you’re making a rustic wood picture frame or a sustainable wood photo board.
Building the Frame
The frame holds all parts together. First, lay out the pieces as measured. Use wood glue and clamps at the corners to keep them steady while drying. Then, drill holes before screwing to prevent the wood from splitting. A sturdy frame makes your rustic wood picture frame last longer.
Attaching Wooden Rails
Now, you’ll attach the wooden rails. These help the drawers move smoothly. Choose quality wood that looks good with your project. Place the rails on both sides of the frame, making sure they’re straight. Secure them with screws since they’ll support the weight of the drawers and what’s inside.
Ensuring Stability and Strength
To keep your drawer unit strong, use brackets at the corners. This evens out the weight and stops it from wobbling. Always check the frame and rails are lined up right when putting it together. A sturdy foundation is key to making a rustic wood picture frame or sustainable wood photo board that lasts.
Constructing the Drawers
Making a functional drawer unit requires precise measurement and assembly. It starts with figuring out the right size for each drawer. This is to make sure they fit well in the frame. A well-measured drawer not only works better but also looks good, perfect for an upcycled wood photo display or a custom wood photo panel.
Measuring for Drawer Size
First, measure the opening where the drawer will go for height, width, and depth. Make sure to leave enough space for smooth operation. Leaving a quarter-inch gap on the sides is a good tip for easy sliding. Use these measurements to tailor the size of each drawer so it fits just right.
Assembling Drawer Boxes
After getting your measurements, cut the wood for the drawer boxes. Stick the pieces together with strong glue and nails to form a solid structure. If you use upcycled wood, it’s good for the planet and gives your project a unique touch. Make sure the corners are perfectly square to ensure the drawer is stable.
Installing Drawer Slides
To make the drawers open and close smoothly, install drawer slides carefully. You can choose between side-mounted or under-mounted slides, depending on your design. Follow the instructions that come with the slides carefully for accurate fitting. After installation, check that the drawers move smoothly. This completes your drawer unit and ensures it works well.
Finishing Touches for Your Drawer Unit
Finishing your drawer unit adds beauty and function. Choosing the right paint or stain not only brings out the wood’s beauty but also protects it. Adding unique hardware to your eco-friendly photo display makes it even more special.
Choosing the Right Stain or Paint
Choosing safe products is key when staining or painting your drawer. Eco-friendly stains or paints look great and avoid harsh chemicals. Pick a color that matches your decor to make your photo display board stand out.
Applying Finish
A protective finish will make your piece last longer. Use a safe, clear finish to protect the wood and show off its grain. Apply it evenly with a brush or cloth for a smooth look. This keeps your photo display looking good, protecting it from damage.
Adding Decorative Hardware
Fun hardware turns a simple drawer into something special. Choose knobs that fit the rustic vibe of your display. Wrought iron, vintage brass, or ceramic knobs will make your photo display unique. Look around to find ones that are just right.
Installing Your Drawer Unit
After putting your wooden drawer unit together, it’s time to install it. Proper positioning ensures it works well. We’ll guide you on a correct installation. You could also add a panel de fotos com madeira reaproveitada to make it look better.
Leveling and Positioning
First, pick the right spot for your drawer unit. It must be on a flat surface. Use a bubble level on the top. Adjust its feet until it’s even. Then, place it where you want, making sure it’s the right height and close to other items.
Securing to the Wall
To keep it safe and sturdy, attach the drawer unit to the wall. Use L-brackets for a firm hold. Place these brackets in key spots. Secure them into the wall studs, using anchors if needed. This keeps the unit from tipping over and makes it last longer.
Testing the Drawers
After securing it, test how the drawers work. Open and close them a few times. This checks they move smoothly. Make sure everything is lined up right. This stops them from getting stuck. If you like, add a reclaimed wood photo panel on the front for a cool look. Each drawer should still work perfectly after this.

| Step | Description |
|---|---|
| 1. Leveling | Ensure the unit is straight and positioned correctly. |
| 2. Securing | Use L-brackets to anchor the unit to the wall. |
| 3. Testing | Open and close drawers to confirm smooth operation. |
Maintenance Tips for Wooden Drawer Units
Taking care of your handmade wood photo panel is important. It ensures the piece stays beautiful and useful for a long time. Regular care keeps it looking good and increases its lifespan. These tips will help, whether you have reclaimed wood or new materials.
Regular Cleaning Tips
Use a soft, dry cloth to dust your wooden drawer unit often. For a deeper clean, dampen the cloth with water and mild soap. Avoid harsh cleaners that can damage the finish of your wood photo panel.
Always dry the surface well after cleaning. This stops moisture damage.
Repairing Minor Issues
Loose screws and small scratches might appear over time. Tighten any loose screws using a screwdriver. Small scratches can be hidden with furniture polish that matches your wood’s finish. Doing this keeps your handmade wood photo panel looking its best.
Enhancing Longevity
Apply a protective finish every few years to make your drawer unit last longer. This protects against damage and highlights the wood’s natural beauty. Keep your unit out of direct sunlight and away from heat to avoid warping or fading.
Conclusion and Final Thoughts
Let’s go over the main steps of making your own sustainable wood photo board. Start by picking good wood and making the drawer. Then, finish it off to show your unique style. Doing this makes a one-of-a-kind piece for your home. Follow our steps to make sure it looks great and shows off your style.
If you’re starting this DIY project, be creative. Feel free to try new finishes or styles that you like. This is a great chance to show who you are. You’ll also be using old materials, which is good for the planet.
After you finish your drawer, share it with the world! Posting it on social media or joining craft groups can inspire others. Sharing your project can lead to fun talks and new ideas in your community.