Did you know over 30% of Americans face clutter at their front doors? A coat rack with a top shelf can greatly help. It uses space well and keeps your home neat. This DIY project combines useful features with a nice look.
It’s perfect for any hallway. It acts as a handy coat hanger and a place for your accessories. In this guide, you’ll learn to make an elegant coat rack. It will improve your space and daily life.
Introduction to Coat Racks with Top Shelves
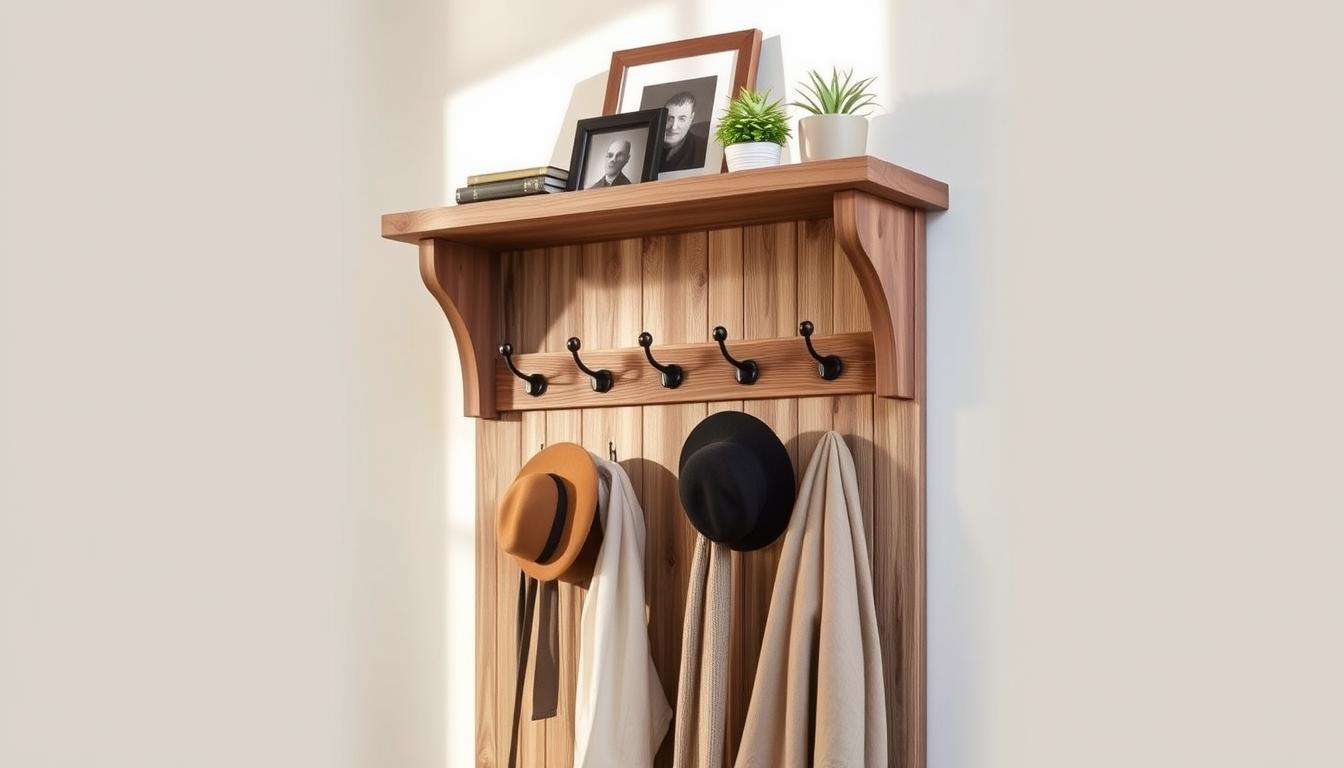
A coat rack with a top shelf brings style and function together. It is perfect for any modern home. This piece does two jobs: it hangs your coats and offers extra storage space. You can hang coats, bags, or hats and use the top for decor or seldom-used items.
What is a coat rack with a top shelf?
This item helps organize your entryway with hooks and a shelf. The coat rack with a top shelf mixes great design with usefulness. It’s key for a trendy and tidy hallway. Plus, it helps organize your daily routine.
Importance of space-saving furniture
As city living spaces get smaller, smart furniture choices become crucial. A coat rack with a top shelf is great for tight spaces. It uses vertical space wisely without crowding your room. This keeps your place tidy and offers practical storage.
Benefits of a DIY project
Making your own coat rack is a fulfilling project. It lets you pick materials that match your taste. Doing it yourself saves money and brings personal joy. You’ll feel proud using something you made.
Materials Needed for Your Project
Making a wooden coat rack is fun and needs the right materials. Before you start, know what you need. This makes the building faster and makes your rack look great.
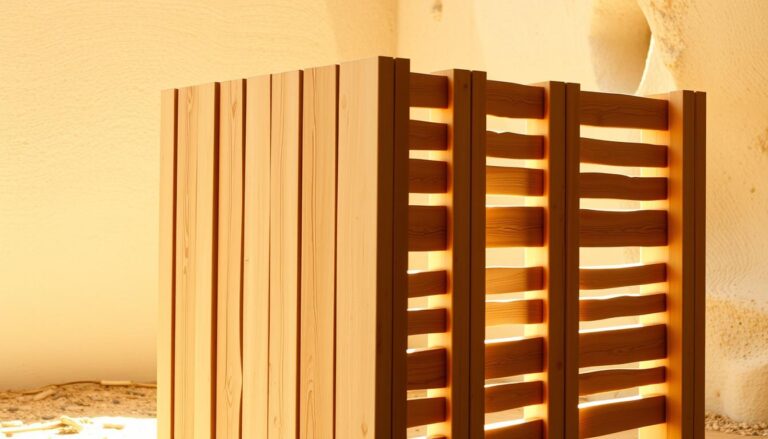
Wood options for durability
Different woods make your coat rack strong and stylish. Let’s look at the best options:
- Pine: Pine is cheap and easy to work with. It’s light but still strong.
- Plywood: Plywood is layers of wood glued together. It’s sturdy and doesn’t bend easily, great for furniture.
- Maple: Hard maple is very strong and looks nice, perfect for a high-quality coat rack.
Tools required for assembly
You need the right tools to put your coat rack together. Here are the essentials:
- Drill and drill bits, essential for making precise holes for screws.
- Screws to join the various pieces together securely.
- A saw, whether a hand saw or power saw, for cutting wood to the desired lengths.
Additional materials for customization
Want to make your coat rack special? Use extra materials. Paints, stains, or finishes make it look good. Choose hooks that look great and work well, adding style and function.
Planning Your Coat Rack Design
Before you start making your custom coat rack, planning it out is key. This step is the foundation of a great project. It makes sure your final coat rack looks great in your space. With careful measuring and thinking about your design, you’ll make something both useful and beautiful.
Measuring your space effectively
First, look at where you’ll put your coat rack. Use a tape measure to figure out the height, width, and depth. Make sure there’s enough space for the coat rack and a shelf. Also, think about the other furniture around to make sure everything looks good together.
Designing the coat rack layout
Design a coat rack that’s both practical and stylish. Think about how many hooks you’ll need for your family. Make sure there’s space on top for things like bags or hats. A smart coat rack design is useful and makes your room look nicer.
Sketching your ideas
With your measurements and design in mind, start drawing your ideas. They don’t have to be perfect drawings; simple sketches are fine. Sketching lets you see how everything will fit together. You can make changes if needed before you start building. Keep your sketches close by when you’re working on your coat rack.
Cutting the Wood Pieces
Cutting your wood pieces accurately is key for a great coat rack. You must know the right way to cut wood for clean cuts. This ensures all pieces join well. Safety is very important, so follow top safety advice for DIY projects. A tidy work area helps for an easy cutting process.
Safety precautions while cutting
Your safety comes first when cutting. Wear protective gear like safety glasses, gloves, and a dust mask. Check that your tools work well. Learn how to use the machinery to prevent accidents. Keep your hands safe from blades. Also, keep your space tidy to prevent tripping.
Best methods for precise cuts
Using the right wood cutting methods improves your cuts. A miter saw is great for angled cuts. A circular saw is good for long boards. For details, a jigsaw is perfect for curves. Always measure before cutting to avoid mistakes. This makes your process fast and accurate.
Organizing your cut pieces
Organizing pieces after cutting helps with easy assembly. Label each piece by where it goes in the final product. Use bins or a spot in your work area to keep organized. This makes assembly straightforward. It also saves time and makes your DIY project more efficient.
Assembling the Coat Rack Frame
Putting together the coat rack frame needs careful focus on the details. This guide will help you step by step, making sure the frame is strong and looks good. It’s important for the coat rack to be stable, with every part fitting tightly.
Step-by-step frame assembly
Start by getting all materials ready for your coat rack frame. Spread out the wood pieces, from the base to the supports. Then, follow these steps:
- Begin with the base pieces. Glue them together for a strong start.
- Next, attach the vertical supports to the base. Drill holes first, then screw them together.
- To ensure the frame is even, measure the corners diagonally. It keeps the construction balanced.
- Finally, add cross-supports for more stability and to hang items.
Ensuring sturdiness and balance
Making sure your furniture is sturdy is important. After putting it together, check for balance with these tips:
- Use a level tool to make sure the frame is flat.
- If your floor is uneven, adjustable feet can help.
- Put weight on different parts to check the frame’s strength.
Checking alignment during assembly
Keeping everything aligned right is crucial for a good build. If things don’t line up, it can affect how the coat rack looks and works. Remember:
Take steps back to view the whole frame often, making the needed tweaks. This helps you get a pro look.
Final checks matter a lot. Make sure everything lines up well before you go further. A well-made coat rack frame is not just useful. It also makes your space look better.
Attaching the Top Shelf
After you’ve built the main part of your wall-mounted coat shelf, it’s time to add the top shelf. This step is crucial for making sure the shelf looks good and holds your stuff well. Let’s go through how to do it right.
Preparing the top shelf for installation
Start by cutting the top shelf to the size you need. It should have enough room for hats, bags, or décor. Smooth out all the edges to avoid any splinters and improve its look. Then, finish or paint the shelf to both protect it and make it match your coat rack perfectly.
Securely mounting the shelf
Picking the right wall anchors is key for a strong mount. Choose anchors that fit your wall type—be it drywall, plaster, or brick. They should hold up the shelf and anything you put on it. For heavy stuff, consider using toggle bolts or masonry anchors. Make sure to evenly place brackets and check they’re level before you start drilling.
Tips for weight distribution
Keeping the weight even on the shelf is important for its stability. Arrange your things so that heavier items are in the middle and lighter ones are on the sides. This keeps the stress off the hardware and wall, making your shelf steady and secure for a long time.

Adding Hooks for Coats and Accessories
When adding the final touches to your coat rack, choosing the right hooks is key. They need to look good and work well for you every day. There are many types to choose from, each providing a different look and function. The right ones can make your entryway both stylish and practical.
Types of hooks to consider
- Traditional metal hooks: Strong and straightforward, giving a timeless appeal.
- Wooden hooks: Bring a cozy feel and fit perfectly with country-style decor.
- Decorative coat hooks: Offer unique designs that make a bold statement in your space.
- Heavy-duty hooks: Best for holding heavy items securely, keeping your rack stable.
Placement for ease of use
Putting your coat hooks in the right spot makes them easy to use. They should be installed at a height that works for everyone, about 5 to 6 feet off the floor. Hooks should be about 6 to 12 inches apart. This prevents coats and bags from getting cramped. Your entryway will look welcoming and tidy.
Ensuring hook stability
It’s important to make sure your hooks stay put to prevent accidents. For hooks that will carry more weight, use drywall anchors. Also, check them now and then to see if they’ve gotten loose. Securely-mounted hooks keep your coat rack reliable and safe for everyday use.
Finishing Touches: Sanding and Painting
After you’ve built your coat rack, we move on to the final steps. Sanding and painting are essential for a great look and protection. Knowing how to finish wood is key to how it will appear in your place.
Importance of sanding
Sanding is crucial in the finishing stages. It makes the wood smooth by removing rough spots. This guarantees that paint or stain sticks well, important for a high-quality look. Start with a rough sandpaper and finish with a fine one for a smooth surface.
Choosing the right paint or stain
Finding the right color paint can really make your coat rack stand out. Think about the colors in your home and pick ones that match. DIY paints, like chalk paint or water-based stains, are easy to use and look great. Always do a small test of your paint to make sure you like it.
Applying the finish properly
For painting or staining, pick a good brush or roller. Start with light layers and let them dry fully before adding more. This avoids drips and looks more professional. After it dries, consider a clear topcoat for protection and to bring out the wood’s beauty.
Installing Your Coat Rack
Putting up your coat rack can make your entryway way more useful. First, find a good spot on the wall that’s easy to get to and looks nice with your home’s style. Thinking about these things will make sure your coat rack not only fits well but also looks great.
Choosing the right wall or area
Pick a spot with lots of people walking by, like near your front door. Make sure there’s nothing in the way and there’s enough room for the rack. Walls that are solid, like wood or with studs, are best for holding heavy coats. Steer clear of weak drywall that might not hold the weight.
Methods for secure installation
It’s important to fix the rack to the wall so it won’t fall. Here’s how you can do it:
- Drywall Anchors: Perfect for hanging stuff on drywall, they spread out the weight.
- Toggle Bolts: These are awesome for light racks and grip well in empty walls.
- Wood Screws: The strongest option for drilling right into studs.
- Adhesive Strips: Good for light hooks but might not last with heavy stuff.
Final adjustments after installation
Once your coat rack is up, make sure the hooks are straight and evenly spaced. Making tiny changes now will help your rack look and work better later. Try hanging some coats or bags to check if the hooks are strong enough.

Customizing Your Coat Rack
Adding your own flair to a coat rack can make it the star of your entryway. You can dive into endless creative options to boost both style and function.
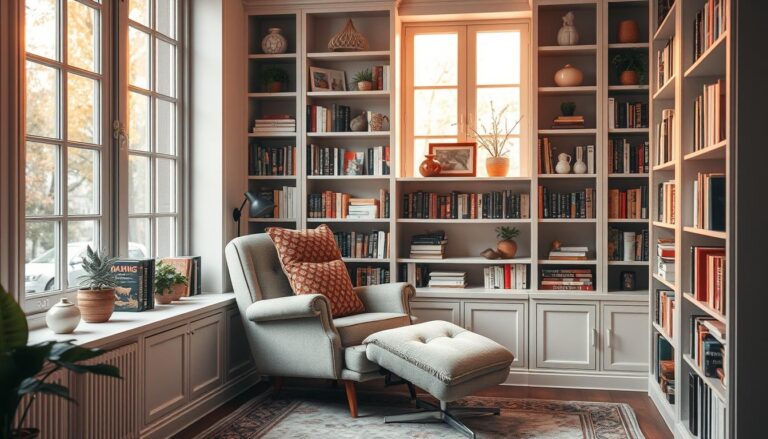
Personal touches with decor
Small plants, family pictures, or art pieces add a personal touch. Colorful hooks not only help organize but also add life to your coat rack’s design. They make the space welcoming.
Adding functional accessories
Think about adding stylish baskets or shelves. These useful items blend right in, turning a basic coat rack into a multitasking storage spot.
Creative ideas for style fusion
Combining different styles gives your coat rack a unique look. Mix rustic with modern, or vintage with contemporary. These creative twists will highlight your coat rack as a key part of your decor.
Maintenance Tips for Longevity
Proper maintenance can make your coat rack last longer. Regular checks and the correct cleaning methods are crucial. They help keep the beauty of your DIY project.
Start by looking for any signs of wear and tear. Check the hooks and shelf to make sure they’re stable. If you find problems, fix them quickly to stop more damage.
Cleaning methods vary with the finish. Use soapy water for painted surfaces, and wood cleaners for stains. Always clean gently with a soft cloth to prevent scratches.
If your coat rack gets damaged, you might be able to fix it yourself. For scratches, use wood filler or stain that matches. Tighten any loose hooks with screws. These easy fixes can keep your coat rack looking great without professional help.
Conclusion: Enjoy Your DIY Project
You’ve now finished making your coat rack with a shelf on top. It’s time to enjoy the great mix of usefulness and style you’ve created! This project gives you a place to store things and makes your home look better. By planning and doing it carefully, you make your space more useful and beautiful, which is very rewarding.
Remember to share your DIY projects with others. When you post photos of your coat rack, you might inspire someone else to start their own project. You can share it on social media or just in a group chat. Showing off what you’ve made helps create a community feeling and gets others excited about DIY.
Finishing this project makes you feel happy and proud. There’s a special kind of joy you get from making your own furniture. It adds something special to your home. Enjoy your new coat rack and be proud of your hard work!