Did you know an average American home has over 300,000 items? This makes keeping things tidy a big task for many. That’s where organizadores de parede multifuncionais come into play. They help organize your space and look good doing it.
Let’s dive into making your own wall organizers. They’re great for any room – your office, kitchen, or entryway. These organizers can be customized for your specific needs. You’re about to make your home both tidier and more stylish.
Understanding Multifunctional Wall Organizers
Want to make your home tidier and more efficient? Multifunctional wall organizers are your best bet. They use wall space wisely and are versatile. You can hang keys, show off pictures, or keep note pads in order.
What Are Multifunctional Wall Organizers?
Multifunctional wall organizers are smart storage options. They help store and show everyday items in your house. You can find them as pegboards, shelves, and hooks. They let you customize your space to fit your needs, making your home organized.
Benefits of Using Wall Organizers
Adding wall organizers to your home brings many perks. These benefits include:
- Maximizing space: They use vertical surfaces, giving you more floor space for other things.
- Reducing clutter: By having a place for everything, wall organizers help keep your home tidy and nice-looking.
- Easy access: Keeping things you use a lot within reach helps make your daily routines faster.
Different Styles Available
There are many styles of wall organizers to match your taste and decor. Some popular choices are:
| Style | Description |
|---|---|
| Pegboards | They offer a flexible setup where you can move hooks and shelves as needed. |
| Cork boards | Great for pinning notes and reminders, they bring creativity to your room. |
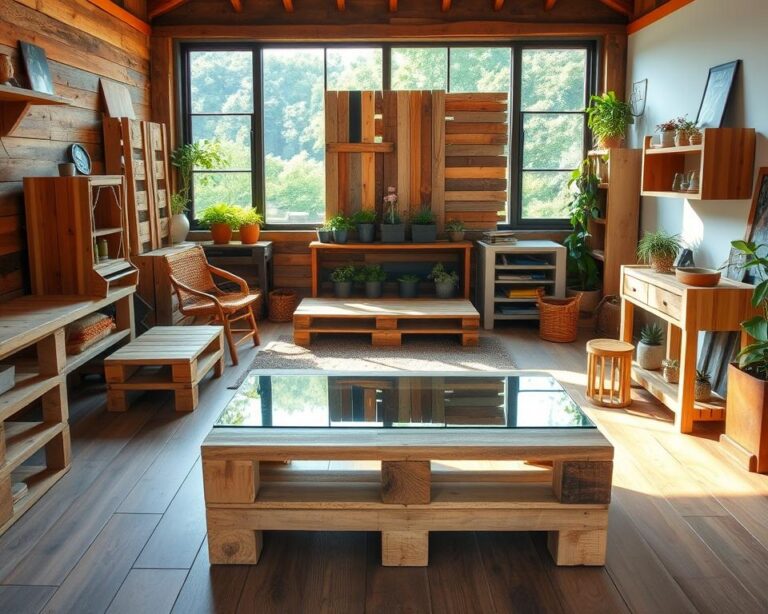
| DIY options | These are made from upcycled materials, adding a personal touch and promoting sustainability. |
Materials You’ll Need for Your Organizer
To create a multi-purpose wall organizer, you’ll need several items. These ensure your project looks great and works well. Here’s a detailed list to help bring your vision to life.
Essential Tools
- Drill: For creating holes and attaching components
- Measuring Tape: To get precise measurements
- Level: Ensures everything is aligned correctly
- Saw: For cutting materials like wood
- Sandpaper: To smooth edges and surfaces
Recommended Materials
- Plywood: A sturdy base for your organizer
- Cork Boards: Great for pinning notes and reminders
- Wooden Dowels: Useful for creating shelving
- Hooks: For hanging bags, keys, or tools
- Screws and Anchors: To secure items to the wall
Optional Decorative Items
- Paint: To customize the look of your organizer
- Fabric: Adds texture and color
- Decorative Hooks: Makes the organizer visually interesting
- Wall Stencils: For unique patterns and designs
Choosing the Right Location for Your Organizer
Finding the best spot for wall organizers is key to making the most of your space. First, look at your wall space to make sure it fits well with your room’s design and function. Thinking carefully about how a room is used will make your organizer more helpful. It’s important to place it where you can easily get to things you use often.
Assessing Wall Space
Begin by checking the wall size where you want to put your organizer. Watch out for things like windows or outlets. Picking an area that’s both big enough and right for the organizer helps it work well without feeling too crowded.
Considerations for Room Functionality
Every room has its own needs that affect your choice of organizer. In a home office, you might want something for supplies. But in a kitchen, you’d need space for utensils and recipes. Knowing what a room is mainly used for guides you to the best design.
Accessibility for Everyday Use
Think about how often you’ll use the items in your organizers. Placing them where you can easily see or reach them makes your day go smoother. Having your stuff visible and at hand helps you stay organized and efficient.
Step-by-Step Guide to Building Your Organizer
Making your own DIY wall organizer is a rewarding task. It makes your space better while giving you storage options. This guide will show you the key steps to make a wall organizer that’s both useful and stylish. Follow these steps to make sure you do a great job.
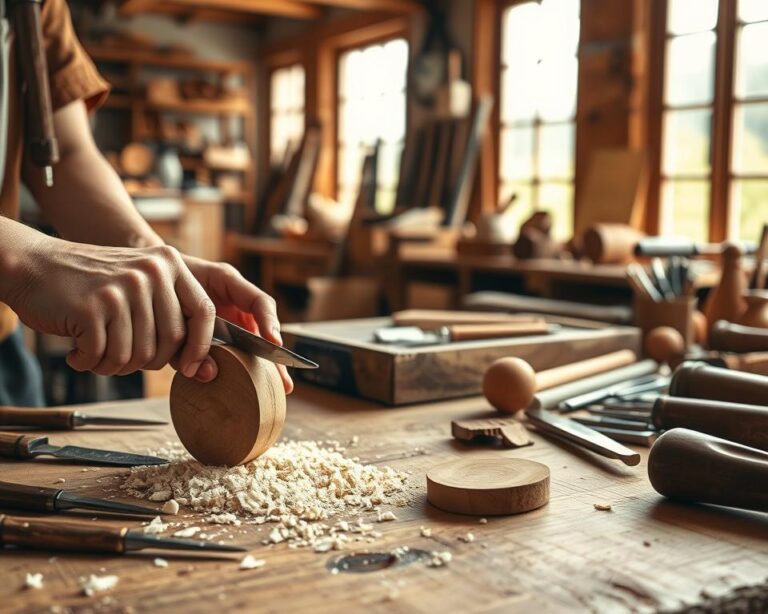
Crafting the Base Frame
First, pick the right materials for your frame. Plywood or reclaimed wood are great choices for their strength and look. Measure your wall space where the organizer will go. Then, cut the wood to fit, making sure the frame can hold hooks and shelves well.
Attaching Hooks and Shelves
After your frame is ready, it’s time to add hooks and shelves. Put the hooks at different heights to hang various items like keys and bags. Attach the shelves tightly so they can hold bigger items. This way, everything stays organized and easy to get to, using your space well.
Customizing with Paint or Finish
The last step is to paint or finish your organizer. Pick colors that go with your room or something bold to stand out. A protective finish will help it last longer. This is your chance to be creative and make something that shows your personal style.

Ideas for Customizing Your Wall Organizer
Customizing your wall organizer is an exciting way to show off your style and improve your home. You can add special touches, choose colors, and use recycled items in your design. This makes your space both beautiful and useful.
Adding Personal Touches
Personalizing your wall organizer makes it more than just a tool. You might add:
- Photos that bring back memories
- Decorative magnets that showcase your interests
- Your favorite quotes to inspire you daily
These details make the organizer special and truly yours.
Incorporating Color Schemes
Picking a color theme can make your wall organizer pop. It should match the room’s decor for a unified look. You can choose soft pastels or bold colors, depending on your taste. Your choice will help the organizer fit perfectly in your space.
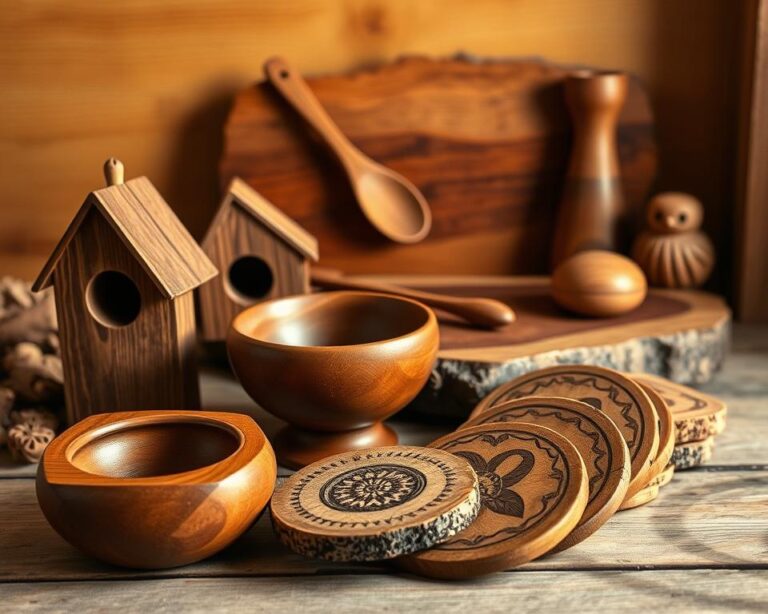
Using Upcycled Materials
Using recycled items adds creativity to your project. You can use things like old wood, scraps of fabric, or tin cans. This approach is not only eco-friendly but also gives your piece a unique story. Your wall organizer becomes not just useful, but a piece of art.
Tips for Maintaining Your Wall Organizer
To keep your wall organizer looking good and working well, you’ll need to care for it regularly. This helps it keep your space organized and efficient. Use these tips to keep your organizer in top shape.
Regular Cleaning and Upkeep
Dust and dirt can gather on your wall organizer, making it look bad and hard to use. Clean it once a month. Use a wet cloth for wood and a gentle cleaner for metal. This keeps it clean, lasting longer, and looking nice.
Organizing Items for Efficiency
Sort things by how often you use them for better organization. Put things you use a lot within easy reach. Label sections to find things fast. This helps keep things in order and cuts down on mess.
Making Adjustments as Needed
Change your wall organizer as your needs change. Check regularly what you’re storing. Remove items you don’t use and add new ones as needed. Staying flexible helps your organizer work better.
| Maintenance Tip | Frequency | Benefits |
|---|---|---|
| Regular Cleaning | Monthly | Prevents damage and maintains visual appeal |
| Item Organization | As Needed | Enhances efficiency and decreases clutter |
| Adjustments | Quarterly | Ensures it meets current needs |
Creative Uses for Wall Organizers in Your Home
Wall organizers bring neat solutions to your home’s various areas. They keep things tidy and add beauty. Here’s how you can use them creatively around your house.
Home Office Solutions
Wall organizers are perfect for a home office. They store papers, supplies, and tech items well. You can use hooks for headphones, shelves for books, and pouches for documents. This setup boosts your productivity and makes your space look good.
Kitchen Wall Organizers
Kitchens can become messy fast. Using wall organizers keeps utensils, cookbooks, and herbs in order. Try magnetic strips for knives or a pegboard for pans. These ideas add order and style to your cooking area.
Entryway and Mudroom Ideas
Entryways and mudrooms stay tidy with wall organizers. They’re great for keys, bags, and hats. Wall racks make items easy to grab, reducing mess. This method improves the flow in busy homes.
Utilizing Wall Organizers in Small Spaces
Organizing a small space brings its own challenges. Wall organizers are great for using vertical space wisely. They turn empty walls into useful spots, giving you more room to store and show off stuff. By picking the right design, you can make your small space both pretty and practical.
Maximizing Vertical Space
When space is tight, think vertical. Use tall shelves or hanging organizers to keep the floor free. Picking organizers that go up, not out, helps you store and decorate more. This way, you get more air and less mess.
Functionality in Compact Areas
In small spots, being practical is important. Choose wall organizers that do more than one thing. A shelf with hooks, for example, is good for holding kitchen tools or showing off plants. With these, you get more from every inch and it’s easier to get around.
Multi-Purpose Solutions
Multi-purpose designs are great for small areas. Find organizers that store things and look good doing it. A wall organizer that’s also art catches the eye and keeps clutter down. This shows you can be stylish and neat, even in a small space.

Inspiring Examples of Multifunctional Wall Organizers
Looking at inspiring wall organizer examples can spark new ideas for those wanting to improve their spaces. These organizers not only look creative but also serve useful functions. We will look at how they are used in real life, combining practicality with good looks.
Real-Life Applications
Multifunctional wall organizers are key in keeping spaces tidy and looking good. Here are some cool examples:
- A home office that uses a pegboard wall system. It has shelves and hooks for keeping supplies and decorative plants.
- A kitchen with a rustic feel. It has a wooden wall organizer for spices and cooking tools, mixing style with usefulness.
- An entryway that has a wall rack for keys, a small shelf, and a hook for coats. It’s welcoming and neat.
Design Trends to Consider
As styles change, wall organizers change too, to stay fresh. Here are some current design trends:
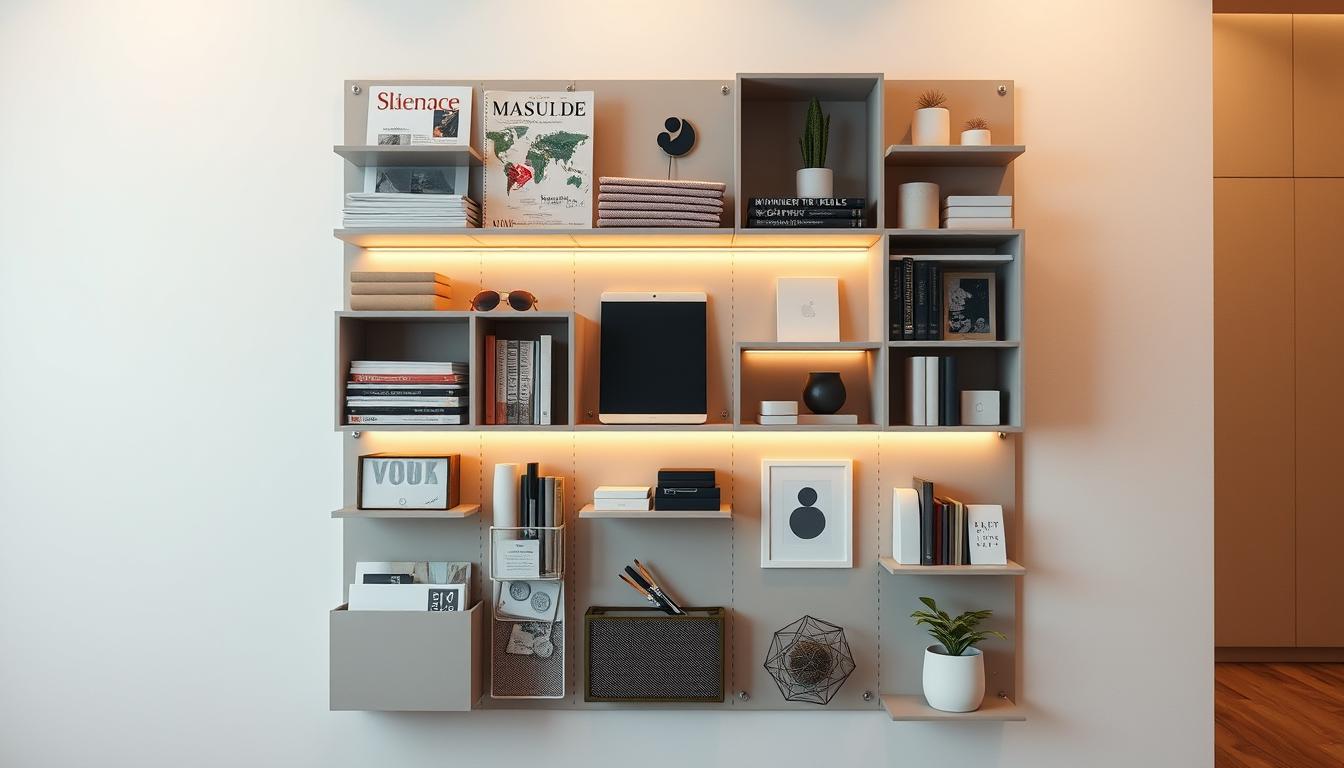
- Minimalism: Simple designs and neutral colors make organizers look good without causing clutter.
- Rustic Styles: Using natural materials, like reclaimed wood, adds warmth and a cozy feeling to rooms.
- Vibrant Colors: Using bright colors can liven up spaces, making organizers not just useful, but also eye-catching.
In short, these inspiring examples show how creative designs can change everyday areas. Following the latest trends can help personalize your space. By using these ideas, you can make organizing at home more effective and stylish.
Conclusion and Next Steps
Making your own wall organizers combines style and use in a great way. We’ve looked at the benefits, materials, and cool ideas for making custom organizers. These organizers not only help keep things tidy but also make your home look better.
It’s time to get your tools and materials ready and let your imagination take the lead. Whether it’s fixing up a messy home office or making an entryway nifty, each project is rewarding. It can make where you live better. The most important part of any project is to have fun and inject your personality into what you make.
Looking for more ideas? Check out tutorials, magazines, and social media that focus on DIY. They’re great for finding new ideas and ways to do things. Start your DIY adventure today and see how your personal touch changes your space!