Did you know 72% of homeowners love DIY projects to improve their homes? Crafting a decorative ladder is a rewarding way to show your style. It adds character to your space by blending usefulness with beauty. If you’re ready to make your own escada decorativa com ripas, follow this guide to make it stand out in your home.
Understanding Decorative Ladders
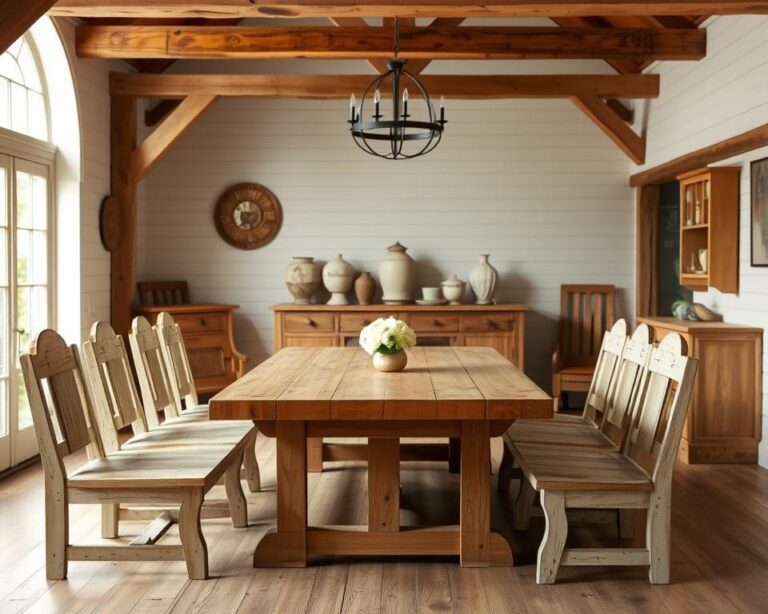
Decorative ladders add a special touch to different places in the home. These ladders work as more than just useful items. They become key pieces in making a space feel cozy and inviting.
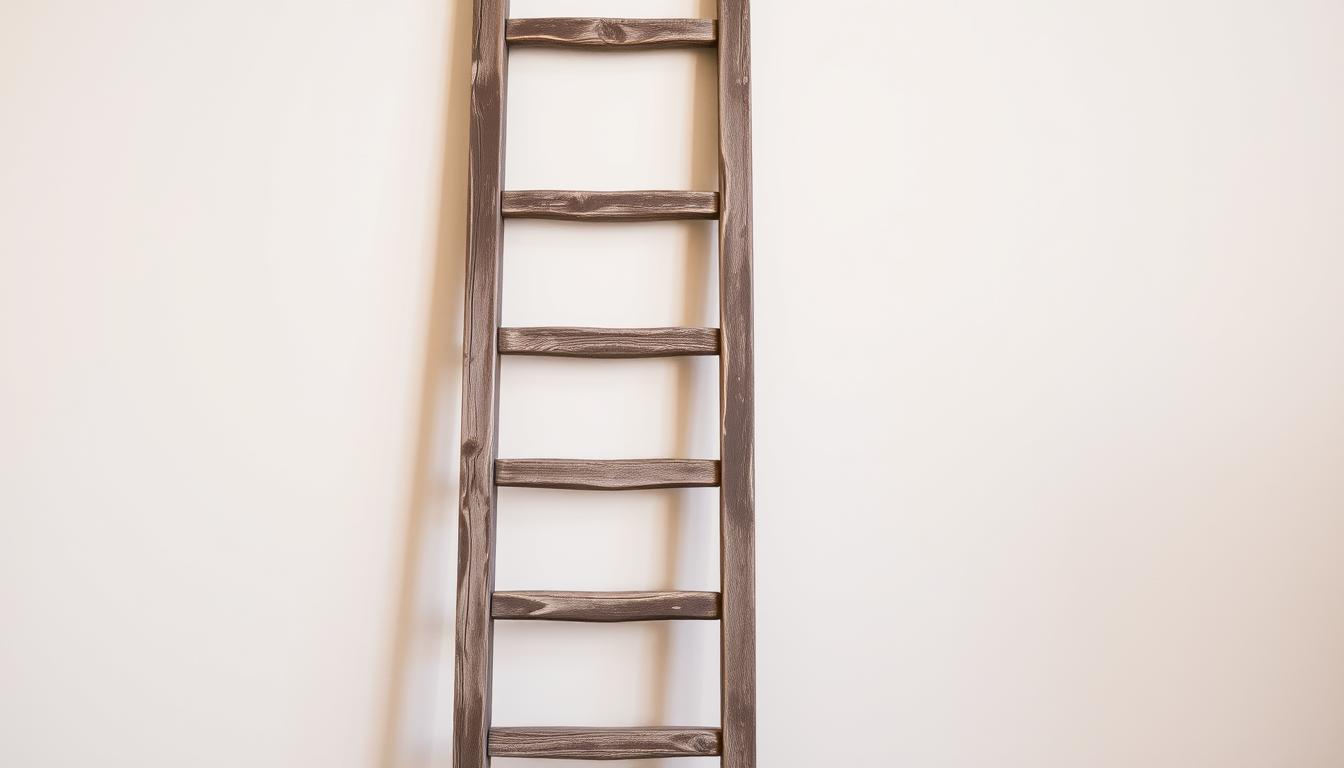
What is a Decorative Ladder?
A decorative ladder is often made of wood and meant more for looks than climbing. It’s perfect for hanging blankets, plants, or pictures, and it adds beauty while being useful. Its simple style fits well with many types of home decor, adding to its flexibility.
Popular Uses for Decorative Ladders
They’re used in various ways around the house. Here are a few:
- Showing off cozy throws and blankets in the living area.
- Setting up a green display in a room corner.
- Hanging photos or artwork, adding an artistic touch.
- Being a quirky shelf for books when you’re tight on space.
Benefits of Making Your Own Ladder
Building your decorative ladder lets you put your personal spin on it. DIY projects make you feel proud and can save you money versus buying one. Plus, creating it yourself means it will perfectly match your style and add a real, personal feel to your space.
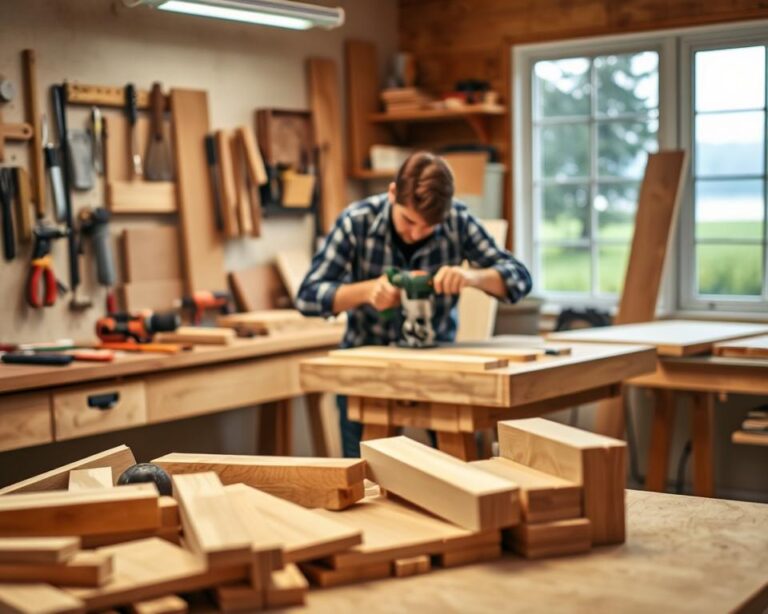
Materials Needed for Your Ladder
Need to make a wooden ladder for decoration? It’s crucial to pick the right materials and tools. The correct choices help ensure a smooth project and great outcomes. Here’s what you need for your DIY ladder decor.
Essential Tools for the Project
First, collect these tools:
- Saw
- Measuring tape
- Sandpaper
- Clamps
They help with precise measuring, cutting, and smoothing. Your ladder will not only look awesome but also be sturdy.
Choosing the Right Wood Type
Picking the best wood is key. Your options include:
- Pine: Lightweight and beginner-friendly.
- Reclaimed wood: Adds unique charm and a rustic feel.
Either choice adds beauty to your ladder decor and offers a solid foundation.
Additional Decorating Supplies
Want to customize your ladder? Think about these:
- Paint or stain for a custom finish
- Decorative hooks for extra usefulness
- Rope or twine for a rustic vibe
These additions make your ladder blend well with your home’s decor, turning it into an attractive highlight.
Planning Your Ladder Design
When designing your decorative ladder, think about its size, height, and look. This allows you to make a piece that matches your style and has a purpose. A farmhouse-style ladder can add to your decor and be useful too.
Determining the Size and Height
First, consider where the ladder will go. If it’s for decoration, choose a size that stands out but doesn’t take over the room. For storage, make sure it’s tall enough for your items. Ladders usually are five to six feet tall. Yet, you might need to change this to fit your space.
Design Inspiration for Your Ladder
Look for ladder designs that go with your home’s look. Farmhouse ladders often have a rustic feel, while modern ones might be sleeker. Checking design blogs or magazines can give you ideas and inspire original touches for your ladder.
Sketching Your Plans
Drawing your ladder design can help solidify your plans and give you a visual guide. Note down sizes, angles, and any special features. This sketch will assist in the build and ensure your ladder fits well in your space and stays functional.
Cutting the Wood Slats
Before making a wooden ladder, getting the right size of wood slats matters a lot. You need to measure carefully and mark clearly. This stops you from wasting materials. Use a square tool to make sure your lines are straight. This makes a good start for your DIY ladder project.
Measuring and Marking the Wood
First, figure out how tall and wide your slats should be. Use a pencil to mark those sizes clearly. A measuring tape helps with accuracy. Always double-check what you’ve measured. This way, your wooden ladder will look good.
Tips for Accurate Cutting
Cutting slowly and carefully ensures precision. Experts suggest using a miter saw or circular saw for wood projects. Also, make sure your wood doesn’t move while cutting. This gives you neat edges, which are key to building your ladder.
Safety Tips While Cutting
Working safely with power tools is important. Wear eye protection and gloves to protect against splinters and cuts. Keep your work area bright and tidy. Securing the wood prevents mishaps, making ladder-making safe and enjoyable.
Assembling the Ladder Frame
After you’ve prepared your wood slats, putting the frame together is an exciting step. Start by laying out the slats how you want them. It’s important to get the spaces and alignment right for stability and a good look in your rustic ladder decor.
Arranging the Slats
Put the slats in place according to your design. Make sure the spacing between each slat is even. After placing them, take a step back to check the arrangement. This helps avoid mistakes and makes sure everything looks right.
How to Secure Slats Together
Securing the slats well is key to making sure your ladder is safe to use. Use wood glue and screws or nails for a strong hold. First, apply glue where the slats meet. Then, add screws or nails with a drill or hammer for more strength. This way, you get a ladder that’s strong and fits well in a rustic style home.
Choosing the Right Fasteners
Choosing good fasteners helps your ladder last longer. Wood screws and metal brackets are good choices. Pick fasteners based on how much weight the ladder will hold. This keeps it safe and durable. Think about the ladder’s weight when picking materials for peace of mind.
| Fastener Type | Strength | Best Use |
|---|---|---|
| Wood Screws | High | Securing slats |
| Metal Brackets | Very High | Supporting heavy loads |
| Wood Glue | Moderate | Initial bonding of slats |
By arranging, securing, and choosing the right fasteners carefully, you can make a functional and pretty ladder for your rustic home.
Sanding and Finishing Touches
After you make your wooden ladder, paying close attention to detail can really make it stand out. Sanding is key to making sure the surface is smooth and safe. It improves the look of your ladder and gets it ready for staining or painting.
Importance of Sanding for a Smooth Finish
Sanding makes your ladder look professional. It gets rid of flaws and makes the surface even. This helps stain or paint stick better. Start with rough sandpaper and finish with a smooth one for the best results.
Selecting a Stain or Paint
The right color will show off your ladder’s beauty. Choose stains that enhance the wood or paint that fits your decor ideas. Think about your room’s look, the light, and what you like when picking a color.
Applying Finishing Coats
A finishing coat keeps your ladder looking good and lasting longer. It not only looks better but also protects the wood. Be sure to follow the instructions for putting it on and letting it dry. Wait for each coat to dry before adding another.

Decorating Your Decorative Ladder
Turning your decorative ladder into a standout feature improves its look and use. You can inject personality into your space with different ladder ideas while taking advantage of its practicality.
Ideas for Styling with Fabrics
Using fabrics can make a space feel warm and welcoming. Hang colorful throws or scarves over the rungs for a snug vibe. It’s an easy way to decorate the ladder shelf and add a splash of color.
Using the Ladder for Storage
A decorative ladder’s ability to offer storage is unique. It’s perfect for holding quilts, books, or plants. Place it in a corner of your room to add tidy charm. This clever combo of style and functionality makes it a standout piece.
Seasonal Decoration Ideas
Changing your ladder decor with the seasons keeps things interesting. You can use holiday ornaments, seasonal blooms, or lights. Tailoring ladder shelf decor for holidays or seasonal shifts gives it flair and catches the eye of visitors.
Mounting Your Ladder Safely
To make sure your DIY ladder decor works well, it’s crucial to mount it correctly. A well-placed wooden ladder can make the room look better and keep things safe. It’s important to follow the right steps when attaching your ladder to the wall.
Best Practices for Wall Mounting
Choosing strong anchors is key when mounting your ladder on the wall. Different kinds of walls need special anchors for the best hold. Use strong anchors for drywall or stone to keep the ladder stable. Always check that it’s straight before you secure it in place.
Choosing the Right Location in Your Home
Where you put your wooden ladder can really change how it looks in your home. Good spots are near a fireplace or in the living room where it stands out. Make sure it’s in a spot where lots of people walk by. This way, it can be both pretty and useful.
Safety Tips for Stability
Checking your ladder after you put it up is important for safety. Make sure it doesn’t wobble and is tightly connected. Fixing any issues helps keep your ladder decor safe and looking good. Regularly checking it can also make it last longer and work better.
Alternative Uses for Your Ladder
A rustic home decor ladder is not just for show. It opens up many creative ways to use it. You can turn your ladder into different things that are both pretty and useful for your home.
Using It as a Plant Stand
A ladder makes a perfect spot for showing off your plants. You can place pots at different levels on the rungs. This way, all your plants get sunlight and look good too. It’s a great way to add a touch of nature to your place.
Transforming It Into a Bookshelf
Think about turning your ladder into a one-of-a-kind bookshelf. Lean it against a wall and arrange books and decor items on its steps. This creates a charming bookshelf that adds a personal touch to your space. Plus, it keeps things neat without taking up too much room.
Creative Storage Solutions
Your ladder can also help organize your home in a stylish way. It’s perfect for hanging towels in the bathroom or showing off blankets in the living room. You can even use it for magazines and craft supplies. This piece makes your home look good while keeping it tidy.

| Usage | Description | Benefits |
|---|---|---|
| Plant Stand | Display pots on ladder rungs for a stylish look. | Adds greenery, enhances visual appeal. |
| Bookshelf | Converts ladder into an eye-catching bookshelf. | Maximizes space while offering rustic decor. |
| Storage Solutions | Utilize ladder for organizing items in various rooms. | Combines practicality with decorative flair. |
Maintenance Tips for Longevity
Keeping your wooden ladder looking great is easy and doesn’t take much work. Regular care helps it last longer and keeps its rustic look as home decor. Here are some key tips to keep your ladder looking great in your home.
Cleaning and Care Instructions
To keep your wooden ladder looking nice, clean it often with a damp cloth. This gets rid of dust and dirt. Don’t use strong cleaners—they can harm the wood. Use a soft soap and water mix for hard-to-clean spots.
Reapplying Finishes Over Time
As time goes by, put new finishes or stains on your ladder. This keeps the wood looking new and protects it from moisture and sun damage. Plan to do this every couple of years, depending on how much sunlight and moisture it’s exposed to.
How to Repair Minor Damage
If there are scratches, you can fix them with wood filler. Just follow what the label says. Let it dry completely, then sand and refinish the spot. This easy step keeps your ladder both looking good and in good shape.
Common Mistakes to Avoid
Creating your own decorative ladder is rewarding. But many face challenges. To succeed, know what mistakes to avoid, so you’re not left frustrated.
Miscalculating Measurements
Measurements are key for any project. If wrong, you might end up with a ladder that’s too tall or short. This can ruin both the look and safety. So, measure carefully to make sure your ladder fits your vision.
Underestimating Weight Capacity
Think about how you’ll use the ladder. For decor or storage, know how much weight it can hold. Overloading it can be unsafe or cause damage. Choose strong materials to support whatever you plan to put on it.
Skipping the Planning Stage
Don’t rush into building. Planning first avoids stress. A good sketch helps make decisions about materials and design. This way, your ladder decor will turn out just as you hoped.
Conclusion and Final Thoughts
As we finish this guide, let’s go over the steps to make your own decorative ladder. You found out how to pick materials, size them up, and put the ladder together. You also added your special touch. Every step was key to making the ladder both look good and work well.
Using your creativity in home projects can make your space unique and personal. Feel free to try out different ladder designs. The goal is to have your ladder reflect your style and enhance your home. It can be a cool way to show off decor or organize things, adding flair to any room.
Now, it’s your turn to inspire others by sharing your ladder project. By showing your work, you encourage more DIY lovers to start their own projects. Let’s create a community where we value and share home decor creativity!