Did you know maximizing your living space could boost your home’s value by 15%? An excellent way to add both function and flair to your dining area is with a canto alemão com banco em L. This chic L-shaped booth not only adds elegance but also increases seating and storage. We’ll walk you through creating your L-shaped corner bench, giving you both a beautiful and useful addition to your home.
Introduction to L-Shaped Corner Benches
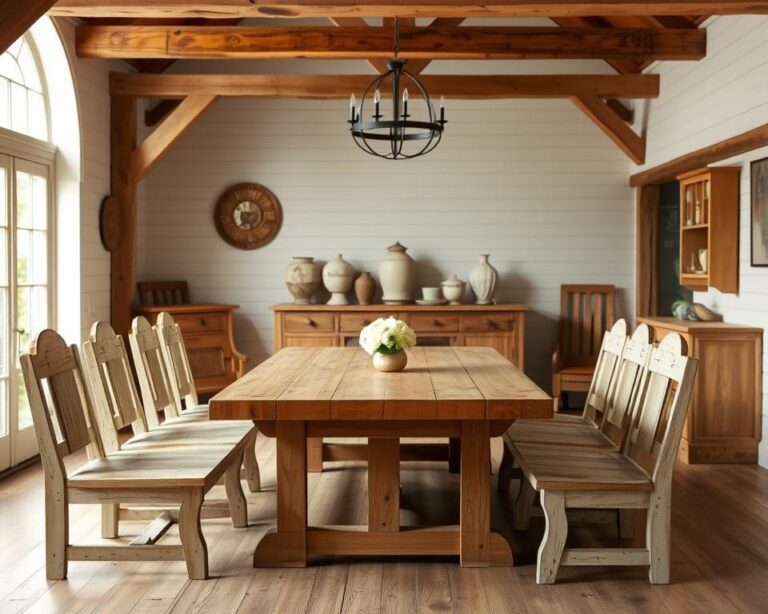
An L-shaped corner bench, or canto alemão, is stylish and functional. It’s perfect for homes and businesses. Originating from German design, it’s great for dining rooms, kitchens, and casual places to eat. It fits well with a table, offering a cozy spot for people to gather.
What is a Canto Alemão?
The canto alemão is a special corner dining nook with a bench. It mixes comfort with smart use of space. This furniture piece can seat many, perfect for meals with family or friends. The design adds a welcoming feel to any dining area.
Benefits of an L-Shaped Bench
The advantages of choosing an L-shaped bench are numerous:
- Space Optimization: It uses corner spaces well, offering more seating without taking up too much room.
- Comfort for Larger Groups: It can fit large families or groups, making everyone comfortable.
- Intimate Atmosphere: The cozy seating helps people relax and enjoy their time together.
Ideal Spaces for L-Shaped Benches
L-shaped benches work well in many home areas. Here are some perfect places:
| Space Type | Description |
|---|---|
| Dining Room | Creates a central location for family meals while accommodating extra guests. |
| Kitchen | Offers a casual dining area that encourages interaction during meal preparation. |
| Breakfast Nook | Transforms small spaces into cozy corners, perfect for morning coffee or light meals. |
Planning Your Project
Planning a kitchen corner bench seating requires careful thought. First, you must measure your space accurately. This tells you how much room you have for your dining nook.
Then, choose durable and aesthetic materials. There are many options to fit your needs. Lastly, look at design ideas to make your space both beautiful and functional.
Measuring Your Space
Start by figuring out the size of your bench area. Move anything in the way and measure carefully. Make sure there’s enough room for comfortable seating and movement around the nook.
This ensures your bench fits well and uses the space efficiently.
Choosing the Right Materials
For your corner bench, you can pick between MDF for saving money or real wood for durability. Consider the finish too.
Hardwood looks good, while laminates are easy to keep clean. Your choice should match your design goals and how much use the bench will get.
Design Ideas and Inspirations
When designing your bench, you have many creative options. You can choose a classic wood finish or go modern with bold colors and clean lines.
Adding accessories like throw pillows can make your dining nook inviting. Think about extra storage or designs that fit your décor and style.
| Material | Durability | Cost | Maintenance |
|---|---|---|---|
| MDF | Moderate | Low | Easy |
| Real Wood | High | High | Moderate |
| Laminates | Moderate | Medium | Very Easy |
Tools and Equipment Needed
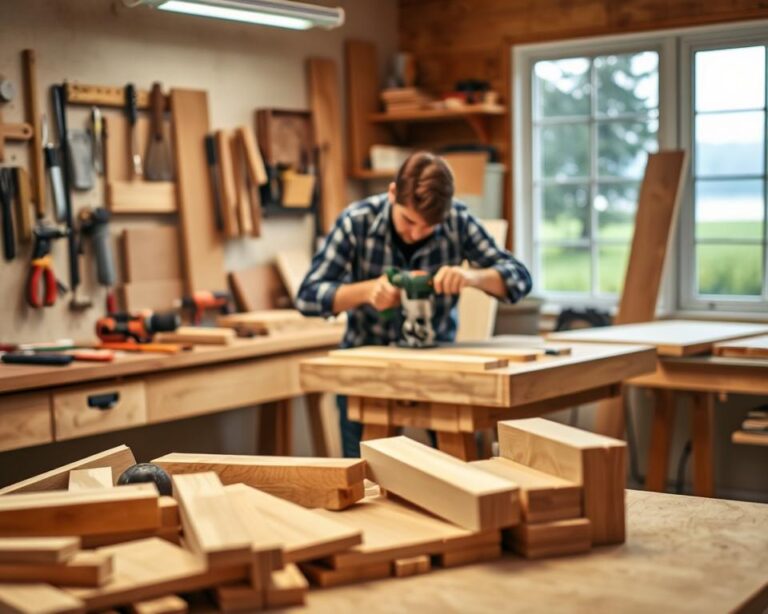
Making an L-shaped corner bench can be fun with the correct tools. If you have the key DIY tools, your work will go smoothly and end well.
Essential Hand Tools
Start with basic hand tools that are central to your work. You need to have:
- Saws – A handsaw or a miter saw is important for clean cuts.
- Screwdrivers – You’ll need both flathead and Phillips-head types.
- Measuring tape – For correct measurements to ensure a perfect fit.
- Square – It checks that your corners are angled right.
Power Tools for Efficiency
Using power tools can make you work faster and lessen hard work. You should consider getting:
- Drill – Perfect for making holes for screws and anchors.
- Sander – It smooths out wood for a fine finish.
- Jigsaw – Useful for cuts that hand saws can’t do.
- Circular saw – For easy, straight cuts.
Safety Gear Recommendations
It’s important to stay safe while DIYing. Wear the right safety equipment, like:
- Safety goggles – They protect your eyes from dust.
- Gloves – They keep your hands safe from cuts and splinters.
- Dust mask – Stops you from breathing in bad particles while sanding.
Step-by-Step Construction Process
Building a bench needs careful thought and action. We’ll go through how to make an L-shaped bench step by step. We’ll cover the important steps so your bench ends up both strong and good-looking.
Building the Frame
First, we build the frame. Measure your space to know how big your bench should be. Then, cut your wood to these measurements, making sure they fit well together. Use wood screws to put the frame together.
Make sure to use brackets at the corners for extra strength. Always check to keep the frame straight.
Adding the Seat
Next, we add the seat. Pick wood that’s comfy to sit on for the seat. Lay the wood planks across the frame, leaving a small gap between them for the wood to expand. Fasten them with screws to the frame tightly. This step makes sure your bench is comfortable.
Constructing the Backrest
Now it’s time for the backrest. Cut wood pieces for the backrest so they’re all the same length. Attach these pieces to the frame securely, tilting them for comfort. Make sure it’s strongly attached, as it will support weight. Double-check the alignment while you work to get a nice finish.
Finishing Touches
Last is the finishing touches. Smooth out any rough spots with sandpaper. Pick a stain or sealant that looks good in your space and shows off the wood. A protective finish will keep your bench looking great longer. It’ll be both useful and pretty.

Upholstery Considerations
Choosing the right upholstery for an L-shaped corner bench is key to creating a welcoming area. It not only makes the space look good but also ensures your seating is comfy. Picking strong and stylish fabric is important for your dining bench’s durability and appeal.
Selecting Fabric for Comfort and Style
When picking upholstery fabric, you need to think about both looks and usage. Go for sturdy materials like canvas, upholstery-grade leather, or microfiber. These choices are top-notch for a dining spot because they are durable, easy to care for, and look great.
Cushioning Options
Good cushioning adds comfort, making sitting enjoyable for longer periods. You can choose from high-density foam to softer memory foam. Think about how often the bench will be used to pick the right kind of cushioning.
Tips for Upholstering Your Bench
Getting your bench upholstered right involves some prep work. Start by measuring your bench area correctly to ensure everything will fit. Next, cut the fabric carefully, including extra for seams. Use a staple gun to attach the fabric tightly for a sleek look. Paying attention to these steps will help you achieve a well-upholstered bench that enhances your dining area.
Installing Your Corner Bench
Putting in your corner bench has a few key steps. This is to make sure it works well and looks good. First, get the space ready and make a few changes before you secure your bench. Doing this makes sure your corner bench is strong and looks great once it’s in place.
Preparing the Space
Begin by cleaning up where you’ll put the bench. Take out any furniture or things that might get in the way. Make sure the bench size matches the space with a tape measure. Also, the walls should be clean and free from stuff that could stop the bench from sticking well.
Securing the Bench to the Wall
After placing your bench right, it’s time to fix it to the wall. This makes it more stable and stops it from moving later. Use the right brackets or screws for attaching it to the wall. By drilling anchors into the wall supports, your bench will stay put when you use it.
Final Adjustments
With your bench fixed, do some last fixing up for a neat look. Use a level to make sure it’s not tilted. Adjust as needed so it’s right up against the wall. A well-set corner bench is practical and boosts your room’s appeal.
Maintenance and Care Tips
Taking good care of your corner bench is key to its longevity. By following some simple steps, you can keep your bench looking great for many years. We’ll go over how to clean, fix, and keep up your L-shaped bench.
Cleaning Your L-Shaped Bench
Keeping your corner bench clean is very important. The best cleaning method depends on what your bench is made of. Here are a few effective ways to clean:
- Wood Benches: Use a soft cloth with mild soap and water. Don’t soak the wood. Dry it quickly.
- Upholstered Seats: Vacuum to get rid of dust and debris. Use the right fabric cleaner for stains as the maker suggests.
- Metal Frames: Clean with a damp cloth. You can also apply metal polish to keep the shine and stop rust.
Repairing Minor Damage
Even with careful handling, your bench might get small damages over time. Fixing these issues quickly keeps your bench looking and working great. Here’s how to handle common small repairs:
- Scratches and Dents: For wood, sand gently then stain. For fabric, patch it up or get it professionally fixed if needed.
- Loose Joints: Tighten any loose screws or bolts. Use wood glue on wooden benches for a firmer hold.
- Rust on Metal: Gently use steel wool on rust. Then, paint with a rust-resistant primer to prevent more rust.
Seasonal Maintenance Tips
Year-round care keeps your bench in the best shape. Each season brings its own care needs:
- Winter: If you can, keep the bench inside. Otherwise, cover it well. Check for damage after winter.
- Spring: Look for winter damage. You might want to reseal wooden parts to keep moisture out.
- Summer: Protect your bench from too much sun to avoid fading. Clean it often to deal with humidity.
- Fall: Get ready for winter. Clean off any debris and fix minor issues.
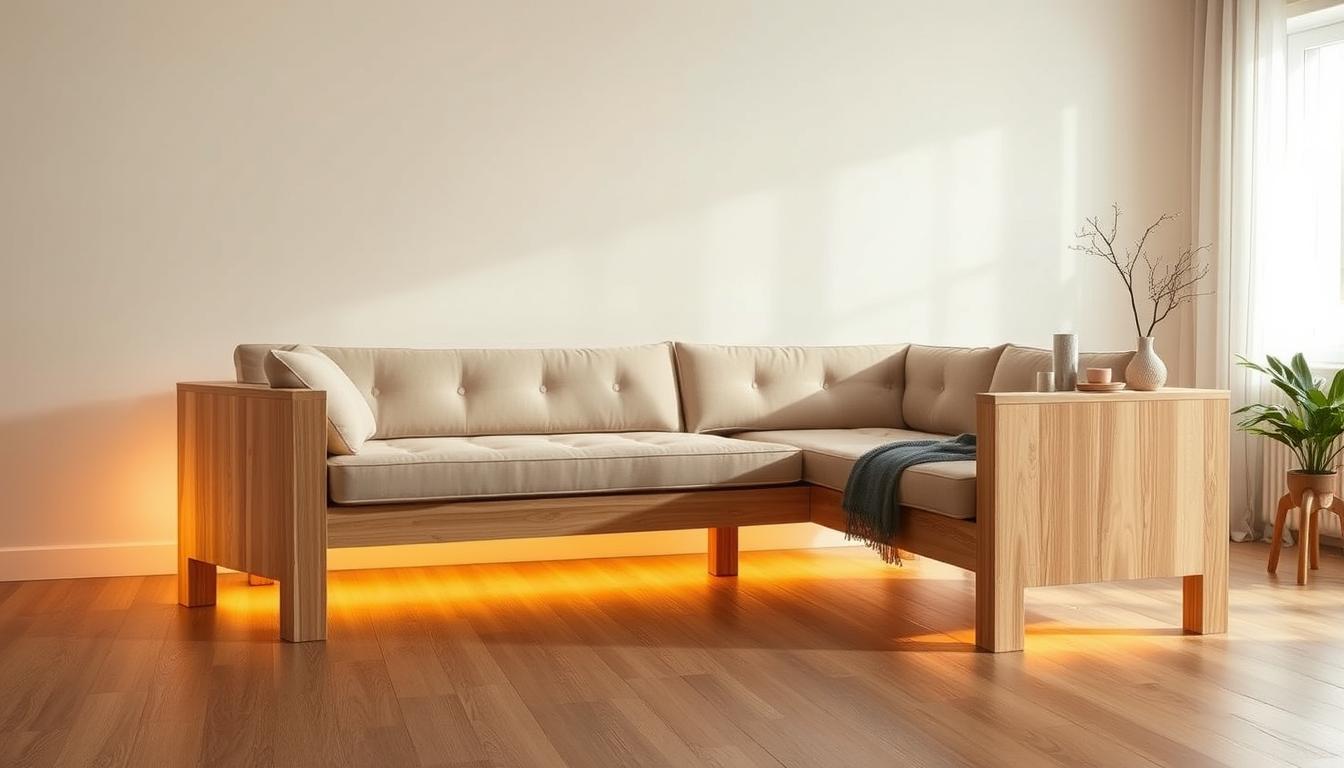
Incorporating Storage Solutions
Effective storage solutions for corner benches can turn a simple seating area into a multi-use space. Clever ideas can make the most of storage while keeping your living area stylish and comfortable.
Hidden Storage Ideas
Think about benches with hidden spots for keeping things like cushions, blankets, or decorations. A bench with a lift-top or a seat you can remove gives easy access to stored items. This smart storage keeps things neat and uses space well, fitting right in with your style.
Open Shelving Designs
Open shelving is another great choice. It lets you show off decorations and store books or everyday items. You can hang shelves over the bench, making an organized and pretty space. This mix of looks and usefulness makes the most of storage, without sacrificing beauty.
Decorative Storage Baskets
Using decorative storage baskets adds a stylish and adaptable way to keep things tidy. Place these baskets under the bench or on shelves for a fashionable declutter. They also bring in color and texture. Choosing baskets that match your decor can make your corner bench storage both useful and beautiful.

| Storage Solution Type | Advantages | Considerations |
|---|---|---|
| Hidden Storage | Transforms seating into storage space | May require more complex construction |
| Open Shelving | Offers display and storage | Requires regular organization |
| Decorative Baskets | Adds style and flexibility | Can take up additional space if not organized |
Personalizing Your Bench
Make your bench special by adding your own style to it. Choose colors, textures, and decor that match your home. This way, your bench will stand out in any room.
Paint and Stain Options
Picking the right paint or stain is key for your corner bench’s look. Here are some ideas:
- Bold Colors: Bright colors bring life to the space.
- Wood Stains: Wood stains highlight the grain and make it warm.
- Soft Pastels: Pastel tones help relax the mood.
Decorative Pillows and Throws
Add pillows and throws to make your bench comfy and unique. You can choose from:
- Textured Fabrics: Soft materials like velvet or knit feel nice and cozy.
- Vibrant Patterns: Mix different patterns to show your style.
- Seasonal Themes: Switch up your decor with the seasons or holidays.
Adding Decorative Accents
Adding extras can complete your bench’s look. Consider these:
- Artwork: Small art pieces can add personality that fits your theme.
- Plants: Plants make your space feel alive.
- Candles: Candles give soft light and a nice scent.
By choosing the right paint, comfortable textiles, and fun accents, you turn your bench into a cozy spot that shows off your style.
Cost Considerations
Starting a DIY project, like making an L-shaped bench, means you need a budget. It’s vital to know how much things cost so you don’t spend too much. Knowing the price of materials helps you plan how much to spend.
Budgeting for Materials
First, figure out what you need for your bench. This includes wood, screws, and fabric for covering it. Prices can change based on your design. So, get estimates from stores or online to understand the costs. Setting a budget early keeps surprises away.
Options for Affordable Alternatives
To save money, look for less expensive materials. Plywood or old wood can work just as well and cost less. Also, think about what you’ll use for the cushioning. Finding deals on fabric or using second-hand materials can keep costs down. But make sure it’s still good quality.
Value vs. Quality
Saving money by buying cheaper materials might be tempting. Yet, spending a bit more on key parts can make your bench last longer. Consider the benefits of quality over immediate savings. A bench built to last will be more cost-effective over time.
Conclusion
We’re wrapping up our guide on creating a corner bench. We’ve covered everything from planning and measuring to picking materials. We also talked about the construction steps and how to make your bench look and feel great. Adding your personal touch makes it perfect for any room.
Ready to start your corner bench project? It’s a great way to make your home look nicer and your dining area more useful. Turn a simple corner into a favorite spot for everyone to gather.
Finally, remember that corner benches are more than just seats. They enhance your home’s style and comfort. They fit well in many places, making them both useful and a key part of your decor. Start this fun project and enjoy making something special for your home.