About 60% of US homes have a bar or beverage spot. Building your mini bar de parede com palete not only makes your social space better, but also shows your unique style. A DIY mini bar from pallets blends looks and utility perfectly, making it a top choice for those wanting to wow and be creative.
This guide will show you how to make an amazing wall-mounted mini bar. We’ll cover everything you need, from pallet projects to materials, to style choices. Whether you like a cozy country vibe or something more modern, you’ll find great ideas here. So, let’s grab our tools and start this exciting project!
Introduction to Wall-Mounted Mini Bars
A wall-mounted mini bar is a great way to entertain at home. It’s both stylish and practical. You can show off your drinks while saving space. It lets you add your unique style to your home bar area.
What is a Wall-Mounted Mini Bar?
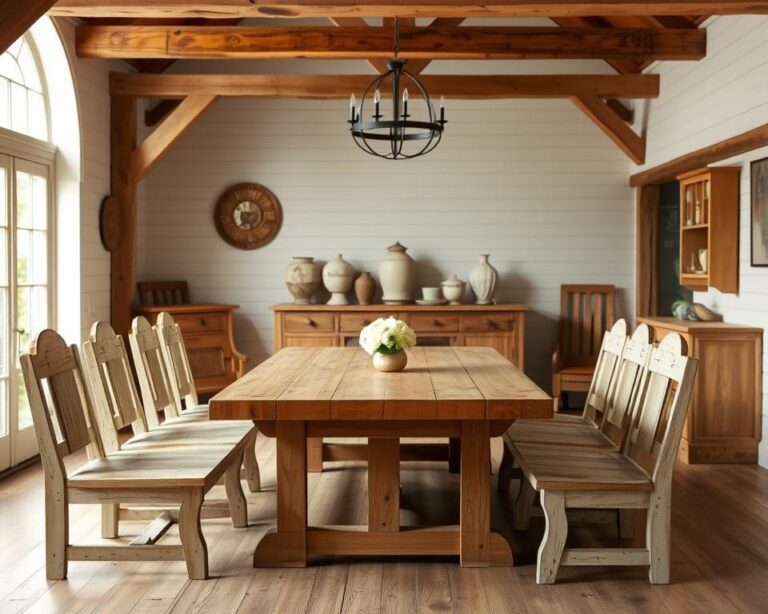
A wall-mounted bar saves space by using your wall. It’s a neat solution for storing drinks and accessories. Made from materials like reclaimed wood, it fits various styles. From rustic to modern, it’s perfect for small spaces or corners.
Benefits of Building One Yourself
Building your own mini bar has lots of perks. It lets you personalize your project. Pick your colors, finishes, and layout to match your home. Plus, you save money by doing it yourself and picking materials.
Overview of the Materials Needed
To make a wall-mounted mini bar, you’ll need several items. Key components include:
- Pallets or reclaimed wood for the structure
- Brackets to attach it to the wall
- Screws to keep everything together
- Wood finishers for a nice look and protection
Having these materials ready will help you build smoothly. It ensures a great looking bar at the end.
Choosing the Right Pallet for Your Project
To build a wall-mounted mini bar, picking the right pallet is key. This choice affects both the look and strength of your project. Knowing the various pallet types helps in making the right pick.
Types of Pallets: Which One to Use?
There are many pallet types to consider for your mini bar. Here are the most common ones:
- EPAL Pallets: These are backed by the European Pallet Association and are quite reliable, meeting high-quality standards.
- USDOT Certified Pallets: Meeting U.S. Department of Transportation criteria, these pallets promise durability and safety.
- Wooden Pallets: They are flexible, easy to use and add a classic, rustic look.
- Plastic Pallets: Being light and immune to moisture and chemicals, plastic pallets are a modern choice, yet might not look as nice.
How to Inspect Pallets for Quality
Checking a pallet’s quality before choosing it is crucial. Here’s what to look for:
- Check for intact wood: No broken or damaged boards should be present.
- Look for signs of chemical exposure: Stay away from pallets with a strong chemical smell or treatment signs.
- Examine for mold or pests: These can weaken your project and are unsafe.
- Assess the stability: No cracks should be visible, and the pallet must feel solid.
Knowing about different pallet types and how to check their quality sets you up for a successful mini bar project. Choosing the right pallet not only improves how your mini bar looks but also its longevity.
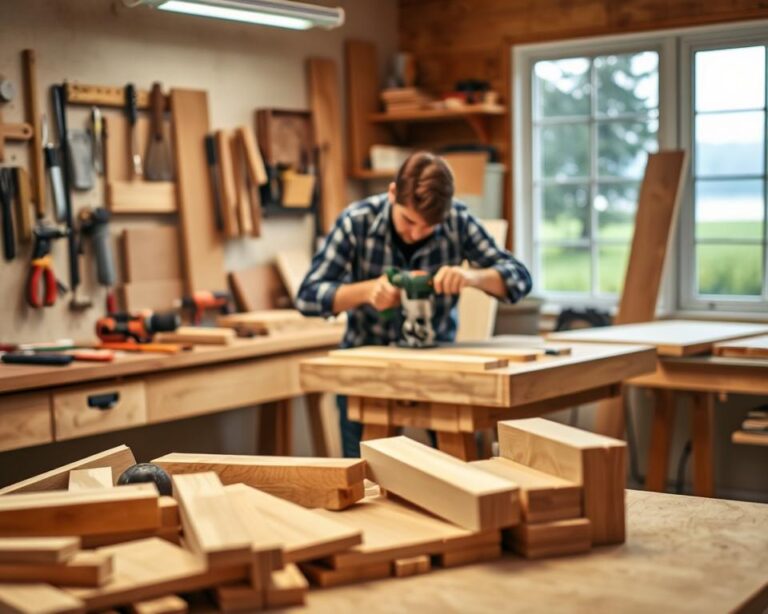
Tools Required for Building Your Mini Bar
Starting to build a wall-mounted mini bar is exciting. Picking the right tools can make a big difference in the project’s outcome. Having the right tools means you can work better and finish with a mini bar that looks great. Here is a list of the must-have tools for woodworking, and some optional ones to make the job easier.
Essential Tools List
- Hand Saw or Jigsaw: A reliable saw is fundamental for cutting your pallet wood precisely.
- Hammer: Essential for driving in nails, a hammer is a must-have in your toolkit.
- Screws: A variety of screws will be necessary to firmly assemble your mini bar.
- Drill: A power drill facilitates easy and quick assembly, making it one of the indispensable DIY tools.
- Measuring Tape: Ensuring accurate measurements is key to building your mini bar with a professional look.
Optional Tools That Can Help
- Power Sander: This tool delivers a smooth finish that enhances the natural beauty of the wood.
- Level: Important for ensuring that your mini bar is straight and properly mounted.
- Clamps: These can keep pieces secure while the glue dries or during assembly.
Get these essential and optional tools ready, and you’ll set the stage for building a beautiful mini bar. Your hard work will pay off with a stunning showcase of your skills.
Preparing the Pallet for Construction
Making your pallet ready for the mini bar project is crucial. It involves cleaning and taking it apart. This ensures you begin with top-quality wood. It makes your final product look good and stay safe.
Cleaning and Sanding Your Pallet
The first thing to do is clean the pallet. Use soap and water with a brush to scrub off dirt, stains, or harmful stuff on it. After cleaning it, let the pallet dry properly. Then, sanding is key. It smooths out rough spots and splinters, making the wood safe to touch and nice to look at.
Dismantling the Pallet: Tips and Tricks
Taking apart the pallet is crucial. Start with the pallet flipped over. Use a pry bar to gently remove the boards from the base. Be patient to keep the wood in good shape for your project. As you proceed, keep the boards in a safe spot.

Designing Your Mini Bar: Layout and Style
Designing a mini bar means thinking about layout and style that fits your space. It also boosts your home’s look. You can choose something cozy and rustic or sleek and modern. It’s all about finding what works for your environment.
Ideas for Configurations
When planning your layout, consider how it flows with your room. Here are some ideas to think about:
- Corner Bar: Great for making the most of small spaces.
- Wall-Mounted Options: Keeps the floor clear and looks stylish.
- Free-Standing Bar: Perfect for hosting and flexible in use.
- Multi-Functional Unit: Offers both storage and a place to serve drinks.
Choosing a Style: Rustic vs. Modern
What style you choose adds personality to your mini bar. A rustic theme means using items like distressed wood and vintage glass. This makes a warm, welcoming spot. A modern look goes for simplicity, clean lines, and trendy touches. Your choice should match your taste and your home’s theme.
Cutting and Assembling the Pallet Pieces
First, get your design plan ready. Efficient cutting makes sure all pieces fit perfectly together. Pay attention to precise measurements during cutting to get the best results. By cutting the pallet wood correctly, you use all the material without wasting any. After cutting, you’ll start putting together the mini bar parts. It’s important to use the right methods to make sure it’s strong and stable.
Step-by-Step Cutting Instructions
Lay the pallet wood flat on a secure area. Use a measuring tape to mark the pieces as your design shows. A miter saw is great for clean cuts. Or, you can use a circular saw for straight lines. Keep your hand steady and follow the lines to cut accurately. Always wear safety gear like goggles and gloves to protect yourself.
Assembly Techniques for Stability
When your pieces are ready, start putting together the mini bar. Use brackets to make it stronger. Make sure everything is even to avoid any wobble. It’s key to strengthen joints, so add wood glue and screws for more hold. These steps help make your mini bar sturdy. As you build, keep checking that all parts are lined up correctly.
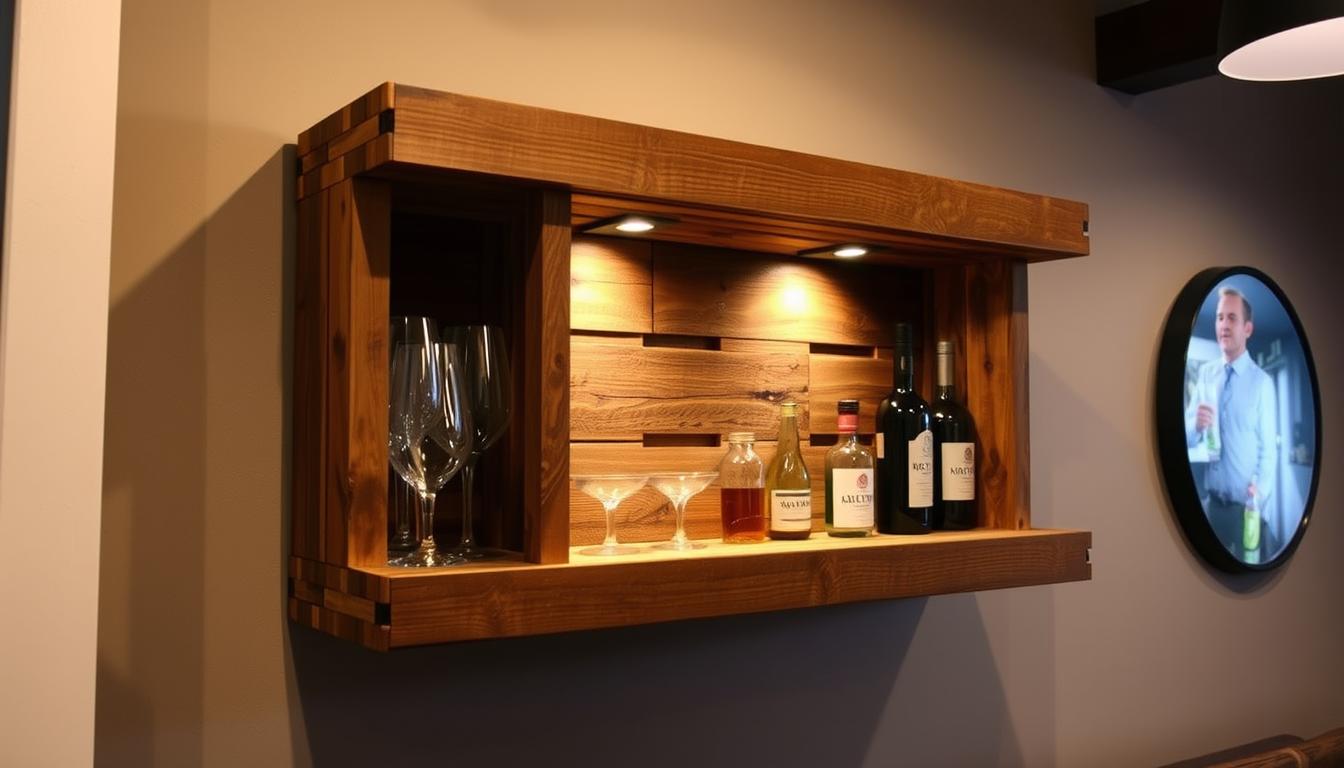
Adding Shelves and Space Optimization
Adding shelves to your mini bar makes it more functional and organized. It’s key to place these shelves well to get the most out of your space. By choosing the right spots for your shelves, you make sure everything is easy to reach and looks neat.
Best Practices for Shelf Placement
Keep these tips in mind when setting up your mini bar shelves:
- Make sure there’s enough space between shelves for different bottle heights.
- Keep the things you use most at eye level so they’re easy to grab.
- Wall-mounted brackets help support shelves and keep the floor clear.
- Put similar items together to make your bar look better organized.
Creative Storage Solutions
For better space use, try out these creative storage ideas:
- Interlocking shelf systems can be rearranged to fit your needs.
- Adjustable shelves let you change things up as your collection grows.
- Add hooks or racks for glasses to save shelf space and look nice.
- Use boxes or bins for a tidy way to hide small items.
Finishing Touches: Staining and Sealing
Adding the right finishing touches to your wall-mounted mini bar is key. Staining wood makes it look better and protects it too. Pick a stain color that fits your home’s style to blend well with what you already have.
Choosing the Right Stain and Finish
It’s essential to choose the right stain and finish. Water-based stains are good for the planet, while oil-based ones give deeper colors. Always do a test spot before staining the whole thing to make sure it looks good.
How to Properly Seal Your Mini Bar
Sealing your mini bar right is important for its life span. A clear finish can protect against spills and damage. Use two or three coats of polyurethane sealant with proper drying time in between. This keeps the wood looking great and your mini bar working well.
By staining and sealing correctly, you’ll create a mini bar that’s both beautiful and durable. It will better serve your needs and look great doing it.

Mounting Your Mini Bar on the Wall
Getting your mini bar up on the wall requires careful thought and the right approach. It matters whether you’re working with drywall or concrete. You need to pick the best anchors to ensure it stays put. Doing it right means your mini bar looks awesome and stays safe.
Tools and Techniques for Wall Mounting
You need to start by getting all your tools ready. A drill, level, and the right wall anchors are key. Here’s a list of what you’ll need:
- Power drill
- Level
- Stud finder
- Measurement tape
- Wall anchors and screws
First, find the wall studs for extra support. A stud finder makes this easy. Decide how high to place your mini bar and check that it matches your design. Then, attach your mounting brackets to create a strong base.
Safety Considerations for a Secure Install
Always keep safety in mind when mounting. Spread out the mini bar’s weight to avoid wall damage. Check that the wall can hold the weight and that your anchors fit the wall type. This prevents falls and keeps your wall strong.
Once installed, test the mini bar’s stability by pulling on it lightly. Fix anything that feels loose. A good install means your mini bar blends into your space and lasts for years.
Final Thoughts and Decorating Ideas
After you set up your mini bar, the fun really begins. Adding your own touch is key to making it feel like yours. You can use special decor that shows your style. Think about adding old glassware, interesting bottle setups, or cool LED lights. These things make your mini bar more than just useful. They turn it into a cool spot in your house.
Think about what makes you unique when decorating your mini bar. You can go simple or go all out with bold colors and designs. Try arranging your glassware in fun ways or picking bright colors. This makes your mini bar a fun place that reflects you. It’s all about making a spot for good times and relaxation.
Showing off your glasses and bottles can also make your mini bar look great and stay orderly. Try using shelves that go up in steps for showing off your best drinks and making them easy to get. You might also want to add special coasters, art, or themed items that share a bit of your story. The right decor doesn’t just make it look good. It also makes a welcoming place for friends and family to make great memories. Now, your mini bar shows off who you are and how you like to host.