Did you know over 30% of Americans feel their homes are too cluttered? A banco baú com dobradiças ocultas can make a big difference. It not only helps with storage but also adds beauty. It turns any space into something both useful and stylish.
We’ll show you how to make a storage bench yourself. By the end, you’ll have a cool new piece. It’ll help keep things tidy and express your style. Let’s get started!
Understanding the Benefits of a Storage Bench
A storage bench is key for any home. It hides clutter and boosts your room’s look. This handy piece can tidy up spaces, while adding comfort and style.
Practical Uses for a Storage Bench
There are many ways a storage bench makes life easier. For example:
- Extra seating for guests
- A stylish table for your decor
- Storage for toys in a child’s room
- Blanket and pillow storage in the living room
- Tool or gardening supply storage in the garage
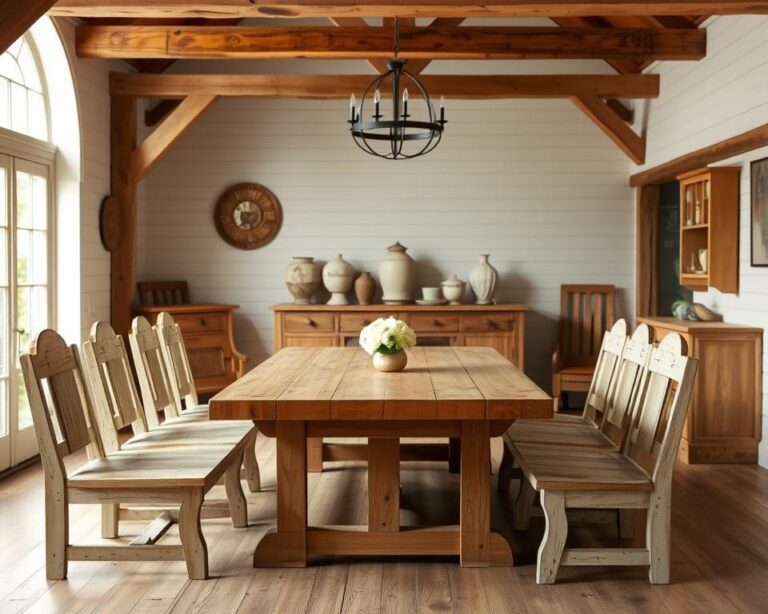
Design Versatility for Any Space
A storage bench fits many design styles, from cozy farmhouse to modern. It adapts well to your home’s style. It’s perfect for anyone looking for clever storage without sacrificing style.
Choosing the Right Location in Your Home
The right spot can make your storage bench stand out and be useful. Consider these spots:
- Entryways for convenient shoe and bag storage
- Living rooms to enhance seating and style
- Bedrooms as a unique storage solution for linens
- Patios for outdoor seating and tool storage
Getting a versatile storage bench is smart. It offers hidden storage and makes your home look better. Plus, it’s great for saving space.
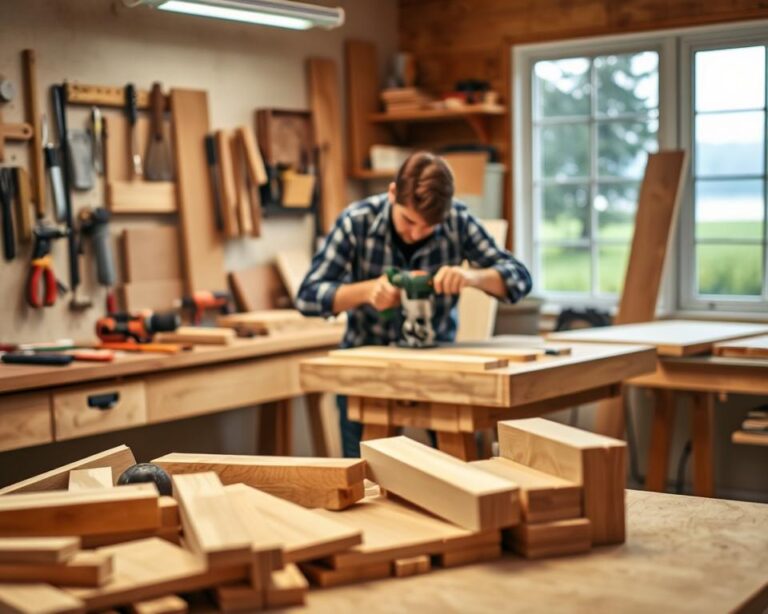
Materials You’ll Need for Your Project
Making a storage bench needs the right materials and tools. Having everything ready makes building easier. This guide will tell you about the tools, wood, and hardware needed for a strong and useful piece.
Essential Tools for Building
First, collect these important tools:
- Saw
- Drill
- Sander
- Measuring Tape
- Square
- Clamps
These tools help cut, shape, and put together your bench. They ensure your work is accurate and looks good.
Selecting the Right Wood Type
Choosing the right wood is key to your bench’s look and strength. Go for strong woods like oak or pine, known for their durability and beauty. Think about these when picking wood:
- Durability
- Aesthetic appeal
- Cost-effectiveness
Strong wood makes your furniture last longer. It’s a smart choice.
Hardware: Hinges, Screws, and More
Pick top-notch hardware for a well-working bench. You will need:
- Hidden hinges for a clean look
- Screws in various lengths
- Wood glue for extra hold
The right hardware: hinges, screws, and more ensures your bench works smoothly and stays strong.
| Material | Characteristics | Recommended Use |
|---|---|---|
| Oak | Strong and durable, with a prominent grain | High-traffic areas |
| Pine | Lightweight and cost-effective | Casual settings |
| Birch | Hardwood with a fine grain | Formal spaces |
Choosing the right materials and tools is crucial for a great storage bench. It lets you make a stylish and handy piece for your place.
Planning Your Storage Bench Design
Starting to plan your storage bench includes some main steps to make it fit well in your home. A modern storage option can boost both how useful and how nice your space looks. Planning your storage bench means you need to measure carefully, create smart design plans, and know how the bench will improve the area.
Measuring for a Perfect Fit
To begin, measure the spot for your bench accurately. You should think about:
- Height, width, and depth of the spot you picked
- Enough room to open the storage part
- How close it is to furniture you already have and walkways
By measuring right, you make a storage solution that fits without taking too much space but holds a lot.
Sketching Your Design
Then, draw your design to see how the bench will look in your place. This is key for making it and lets you change things easily. Look at things like:
- The size based on what you measured
- The shape and look it will have
- Where the storage spots will go
A good sketch makes building easier and helps guide you when you make it.
Considering Style and Aesthetics
Last, think about the style and look. Your storage bench should be useful and also look great in your home. Look at:
- The style you already have in your place
- Materials and finishes that will go well with your other furniture
- Colors that fit with your home’s look
Thinking about this carefully makes sure your new bench adds beauty and function to your home.
Step-by-Step Instructions for Building
Creating a storage bench with hidden hinges is a fun DIY project. These step-by-step instructions make it easy. You’ll learn how to construct the frame, add a storage compartment, and install hidden hinges for a sleek look.
Constructing the Frame
Start by cutting your wood to the needed sizes for the frame. Choose strong materials to make sure your bench lasts. Put the frame together using wood glue and screws for extra hold.
Make certain the frame is even and squared up. A well-made frame means a stable and stylish storage ottoman.
Adding the Storage Compartment
Once the frame is ready, add the storage part. Measure the frame’s inside to cut panels that fit right in. Secure them well but keep storage access easy.
Think about using dividers inside to keep things organized. This makes your ottoman not just stylish but also very handy.
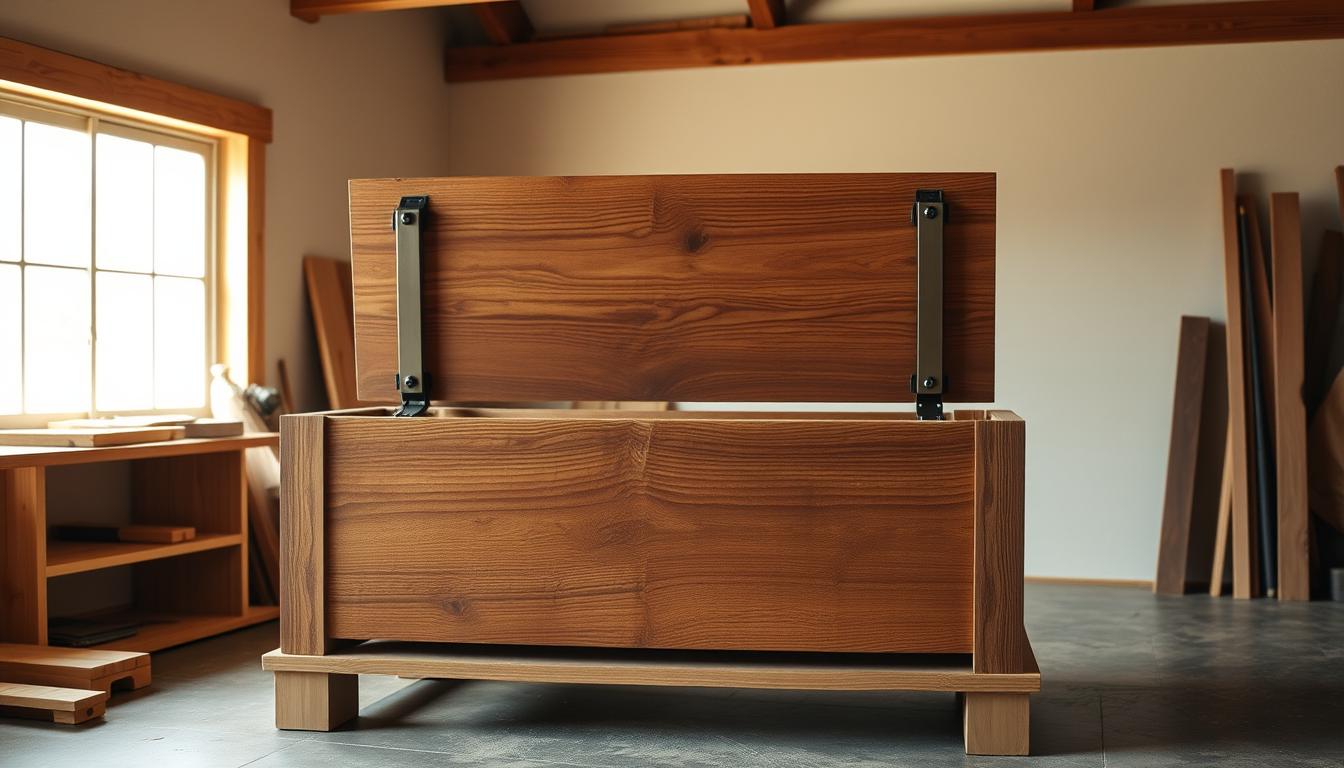
Installing Hidden Hinges Properly
The last step is putting in hidden hinges. These make your bench look cleaner and work well. First, mark where the hinges will go on the frame and lid.
Then, drill carefully and install the hinges so they line up right. This will make your storage bench look good and work smoothly.
Tips for Finishing Touches
Finishing your storage bench properly gives it a sleek and expert look. It’s not just about looks; a good finish also makes the bench last longer. Paying attention to detail now is key. We’ll go over how to sand, decide between paint or stain, and apply a protective layer.
Sanding and Prepping the Surface
Sanding is super important to get your bench ready for finishing. Start with rough sandpaper to remove any rough spots. Then, use finer sandpaper for a smooth finish. Remember to sand in the direction of the wood grain to prevent scratches. Once sanded, clean off the dust. This helps the final finish stick better and look amazing.
Painting vs. Staining: Which is Best?
Whether to paint or stain your bench makes a big difference in its look. Paint hides the wood’s grain but offers lots of color choices and protects well. Stain, however, brings out the wood’s natural beauty and texture. Think about the overall style you’re going for and choose accordingly.
Applying a Protective Finish
A protective layer is essential to keep your bench looking good. It can be a clear coat or sealant that protects against damage and wear. The right finish will make the bench’s color and texture pop and ensure it stays part of your home for a long time.
Common Mistakes to Avoid
DIY projects give you a proud feeling, but they come with their challenges. Knowing the common slips can really help you succeed. Spotting these errors early makes sure your storage bench is both useful and looks good.
Underestimating Measurements
Not getting measurements right is a common slip. If things aren’t sized right, they won’t fit together, which means more work and needing more stuff. Being spot-on with measurements means everything will fit as it should, making a solid piece. Always double-check your measurements and use a good tape measure.
Skipping the Plan Phase
Having a solid plan is super important. If you skip planning, you might end up with a design that doesn’t work and waste materials. Draw out your ideas and list what you need. This helps you keep on track and get the results you want for your bench.
Ignoring Safety Protocols
Safety is always crucial. Not following safety rules can lead to getting hurt. Make sure to wear things like goggles and gloves. Knowing and applying safety tips means a safer, smoother project.

| Mistake | Description | Solution |
|---|---|---|
| Underestimating Measurements | Inaccurate dimensions can lead to misfitting parts. | Measure carefully and verify before cutting. |
| Skipping the Plan Phase | Leads to inefficient designs and mistakes. | Create sketches and a materials list beforehand. |
| Ignoring Safety Protocols | Increases risk of accidents or injuries. | Use personal protective equipment and follow safety guidelines. |
How to Customize Your Storage Bench
Customizing your storage bench opens a world of possibilities. It lets you match your style and needs. You can add cushions, unique paint, and clever organization to make it special. This turns a simple bench into a piece that shows off who you are.
Adding Cushions for Comfort
Cushions make your storage bench comfy. Go for bright fabrics or patterns that fit your room’s look. Pick cushions with removable covers for easy cleaning. This keeps your bench both stylish and practical.
Personalizing with Paint or Stencils
Paint or stencils can make your bench stand out. Choose colors that go with your home. Stencils let you add your own style. This easy step can make your bench a one-of-a-kind art piece.
Creative Storage Solutions Inside
To make your bench more useful, add clever storage inside. Use dividers for different items. This makes things easy to find. Try labeled bins or baskets for a neat look and more storage space.
Maintenance Tips for Longevity
To keep your storage bench looking great, here are some key tips. Cleaning often and checking the hardware helps a lot. Doing this will make your furniture last longer.
Regular Cleaning Practices
It’s important to keep your storage bench clean. Dust and dirt can build up and cause damage. Use a soft cloth and gentle cleaner for regular cleaning. Steer clear of strong chemicals to protect the finish. Clean it every week to keep it looking good.
Inspecting Hinges and Hardware
Checking the hardware is key for a functional storage bench. Look for any loose screws and worn hinges. Tightening them up can prevent extra damage and makes sure it works well. If there’s any rust or corrosion, replace those parts fast.
Addressing Wear and Tear
Wear and tear will happen, especially with furniture you use a lot. Fix any damage right away to dodge bigger repairs in the future. This could mean fixing scratches or changing old hardware. Quick action helps keep your furniture in shape for longer.
| Maintenance Task | Frequency | Purpose |
|---|---|---|
| Dusting | Weekly | Prevents buildup and keeps the surface clean |
| Cleaning with solution | Monthly | Maintains the finish and appearance |
| Inspecting hardware | Every 6 months | Ensures functionality and prevents larger issues |
| Repairing damage | As needed | Addresses wear and extends furniture life |

When to Seek Professional Help
DIY projects are fun, but some need professional skills. Complex designs and advanced woodworking can be tough for beginners. Knowing when to ask for help can make your project turn out better.
Identifying Complex Design Issues
Sometimes, building plans throw curveballs. Look out for tricky joints or structures that might cause trouble. If you ignore these, you could make big mistakes that affect your project’s safety and look.
Understanding Advanced Techniques
Specialized joinery, custom finishes, and exact measurements are advanced skills. If these seem too hard, it’s time to seek expert advice. This ensures your work lives up to your hopes and quality standards.
Finding Local Woodworking Professionals
If you need help, finding skilled woodworkers near you is key. Check community directories, online platforms, or social media for pros. Working with experts helps keep your project on track and high-quality.
Conclusion: Enjoying Your New Storage Bench
Take a moment to feel proud of your new storage bench. It’s more than just extra seating—it boosts your home’s look by tackling clutter. It lets you arrange your space more neatly. Each time you use it, you’ll see how it perfectly combines looks with usefulness. Your bench turns your house into a prettier, more practical place.
Making the Most of Your New Space
Your storage bench is ready to make your life easier. Place it by the door to sit on while you put on shoes, or use it in the living room to keep blankets handy. Let its versatile design help you. Make sure it fits nicely into your day-to-day life to really benefit from it.
Sharing Your Creation with Friends
DIY projects like these are great because you can share them. Show your storage bench to friends and family to inspire them. Invite them to make something with you next time. This way, you create a circle of creativity and support. Your project can lead to fun, collaborative efforts with loved ones.