Did you know more than half of Americans live in houses with open layouts? This design makes rooms feel larger but can reduce privacy. A divisória de ambiente com madeira crua, or wooden room divider, can solve this. It’s a chic and useful way to change up your space.
Using raw wood to create an eco-friendly partition is a great move. It lets you customize your area, boosting both its looks and green credentials. This guide will show you how to make a wooden room divider. It’s perfect for anyone wanting to carve out a new study space or divide a big room.
Understanding the Benefits of Raw Wood Room Dividers
Raw wood room dividers are in demand for interior design. They offer privacy and add natural beauty to your home. Also, choosing a sustainable wood divider is good for the planet.
Enhancing Privacy in Open Spaces
A natural wood partition helps divide bigger rooms into private areas. This is great in homes where many things happen at once. It lets people talk or work without getting disturbed.
Adding Natural Aesthetic Appeal
Adding a rustic room divider brings warmth and character. Each piece’s unique grains and textures make your home stand out. They match many styles, creating a welcoming vibe.
Sustainable Building Material
Raw wood is an eco-friendly building choice. Using woods like Freijó, Cumaru, and Imbuia means choosing quality and sustainability. A sustainable wood divider reduces your carbon footprint compared to synthetic ones.
| Wood Type | Characteristics | Sustainability Rating |
|---|---|---|
| Freijó | Hardwood, beautiful grain | High |
| Cumaru | Dense, durable, weather-resistant | High |
| Imbuia | Rich color, great for furniture | Moderate |
Materials You’ll Need for Your Project
To make a wooden divider screen, it’s important to pick the right materials. This ensures it looks good and lasts long. Knowing the best types of wood and which tools to use helps a lot. The right finish will not only protect your wood divider but also show off its beauty.
Types of Wood to Consider
Choosing wood for your wooden partition? Think about these options:
- Pine: It’s cheap and easy to handle.
- Oak: Super strong, it gives a timeless look.
- Birch: It’s great for a modern look because it’s smooth.
- Cedar: Ideal for damp areas because it resists moisture.
Tools Required for Assembly
Putting your divider together needs these tools:
- Saw: Needed for cutting the panels correctly.
- Screwdriver: For joining pieces securely.
- Sanding Block: Makes surfaces smooth.
- Measuring Tape: Keeps sizes perfect for a good fit.
Finishing Materials for Preservation
The final steps keep your divider looking great. Use these to finish:
- Wood Stain: It brings out the wood’s color and grain.
- Sealant: It guards against water and damage, so it lasts longer.
Measuring Your Space for the Divider
Before making a wooden room divider or an eco-friendly partition, getting precise measurements is key. These accurate measurements ensure the divider fits well in your chosen area and works as expected.
How to Take Accurate Measurements
Begin by using a measuring tape to find out the width and height of where you’ll place the divider. When measuring height, go from the floor to the ceiling. Remember to note any baseboards or things in the way that might affect where the divider sits. Writing these measurements down will help you picture the finished product.
Creating a Blueprint for Your Project
Drawing up a blueprint helps put your ideas in order and clarify details. A clear plan lets you make changes easily and keeps everything straightforward during construction. Include your measurements and sketch out how you want your wooden room divider to look. Make sure the design is balanced and looks right.
Considering Ceiling Height and Room Layout
The height of the ceiling matters a lot for your room divider’s design and impact. A taller divider can give more privacy, but a shorter one can be more open. Think about the room’s overall layout to figure out the best spot and height for your divider. This way, it will work best and look nice too.
Designing Your Room Divider
Starting your wooden room divider design means considering a few key things. First, your style choice is important. It decides if you’ll have a rustic feel or a sleek, modern look. The size matters too, making sure it fits and looks right in your room. Adding shelves or storage can make it more useful and attractive.
Choosing a Style: Rustic vs. Modern
Deciding on a rustic or modern style shapes your room divider’s feel. Rustic dividers show off wood’s natural beauty, with knots and flaws adding character. Modern ones, however, have clean lines and a simpler look for a current vibe. Your personal taste plays a big role in choosing the style that feels right for your room.
Width and Height Considerations
The size of your room divider affects its use and look. A wider divider makes distinct areas, while a narrow one keeps the room open. Height is important too. A tall divider offers more privacy, but a shorter one keeps the space light and open.
Adding Functionality: Shelving or Storage
Adding shelves or storage to your divider is smart. A wooden divider with shelves is perfect for displaying books, plants, or decorations. It turns the divider into a key part of your room’s look. It also uses the space well, making your room look better.

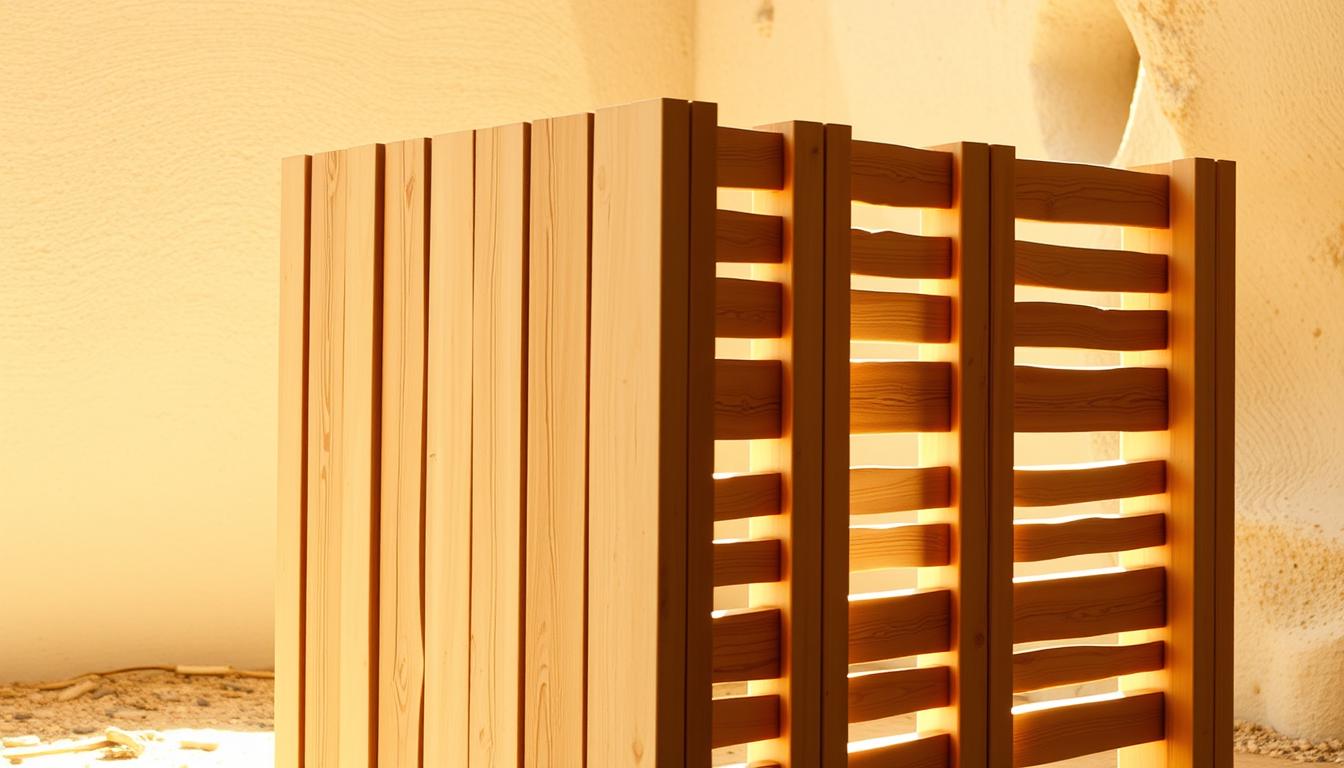
Preparing the Raw Wood
Getting the raw wood ready is key for a top-notch natural wood divider. It takes a few important steps that help in both use and look. Good prep makes sure your eco-friendly wood divider not only stands out but also lasts long.
Selecting the Right Cuts
First, pick the best wood cuts for your design. This choice depends on what you’ve imagined for your natural wood partition. Think about the style and size to ensure both strength and beauty. Different cuts give the divider a unique look, boosting its appeal.
Sanding and Smoothing the Surface
After picking your cuts, it’s time to sand and smooth them. This makes the wood safer by removing sharp edges and splinters. A smooth surface also makes your eco-friendly divider look better, fitting nicely in any room.
Treating the Wood for Durability
With your wood sanded, next, protect it to last longer. Use finishes like sealers or stains to shield against moisture and damage. This keeps your natural wood partition strong, even with changes in the environment. It also helps maintain the divider’s beauty for more time.
Step-by-Step Assembly Process
Building a wooden divider screen takes several key steps. First, we frame it. Then, we attach the panels. Lastly, we make sure it’s stable. Each step helps you make a great divider for any room.
Creating the Frame
Begin by trimming your wooden beams to size. Use strong joints and screws or nails to put together the frame. This frame is what your divider will rely on.
Attaching the Panels
Now, set the wooden panels into the frame. They should fit without any spaces. Secure them with brackets or glue. This step makes your divider not only look good but also stay solid.
Ensuring Structural Stability
Lastly, test the divider by giving it a gentle push. If it moves too much, strengthen the joints or add braces. A firm divider gives you the privacy and space division you want.

Finishing Touches for Your Room Divider
Adding those final touches to your custom wood divider improves both its use and look. Choosing the right stains or paints, adding unique decorations, and sealing it right, makes your wood divider standout and last long in your room.
Staining or Painting Options
Picking between stain and paint can change your divider’s appearance a lot. Stains show off the wood’s natural beauty and add a touch of color. Paint allows for bold colors that can match or stand out in your room. Trying out samples helps you see how colors look together in your space.
Incorporating Decorative Elements
Making your wood divider unique with decorative touches adds style and use. Think about including detailed carvings or shelves for displaying books or decor. These additions not only look good but also make the divider useful at home.
Sealing for Protection
Sealing your custom wood partition is key for keeping it around long. A good sealant fights moisture, scratches, and wear. This keeps the wood looking great over time. Regularly taking care of this part is important to maintain your divider’s appearance, no matter where it’s used.
Installing Your Room Divider
Installing your wooden room divider the right way is key. It helps in making the room both useful and beautiful. Here are some top tips for setting up your divider just right.
Deciding on the Placement
Find the perfect spot for your wooden room divider by looking at your room’s layout. Think about where people walk and where you need privacy. Avoid busy areas but consider corners to create inviting spaces.
Securing the Divider to the Floor or Walls
To keep your room divider steady, attach it to the floor or walls. Use sturdy brackets or anchors. For a flexible setup, consider hinges. This lets you move the divider without mess.
Tips for Easy Removal if Desired
Want to move your wooden room divider easily? Use removable hooks and choose light materials. This makes it easy to change your space from open to private whenever you want.
Maintaining Your Raw Wood Divider
Keeping your raw wood divider in top shape is key. It not only looks good but also lasts longer when taken care of. Have a regular care routine to keep it both useful and beautiful.
Keeping it Clean and Dust-Free
To keep your wood partition clean, dust it off with a microfiber cloth every week. Stay away from strong cleaners that harm the wood. A gentle soap mix works if needed. This keeps its natural look shining through.
Protecting Against Moisture and Damage
Wood doesn’t do well with moisture. Use a furniture wax or conditioner every few months to shield it from dampness. This also brings out its shine. Fix any scratches or dents quickly to keep it in perfect shape.
Periodic Re-finishing Tips
Give your divider a new life every so often by refinishing it. Start with a light sanding, then apply a high-quality stain or sealant. Pick products that enhance its natural beauty and showcase its texture.
Creative Ways to Use a Room Divider
A rustic room divider crafted from natural wood is both practical and stylish. It offers great ways to divide your space. By using these dividers creatively, homeowners can give their living areas a new look. This can enhance both the look and usefulness of their spaces.
As a Temporary Partition
Using a rustic room divider as a temporary partition is really smart. It makes changing your space easy and quick. You can create separate areas for different activities. This is perfect for things like parties or making a part of your living room a dining area.
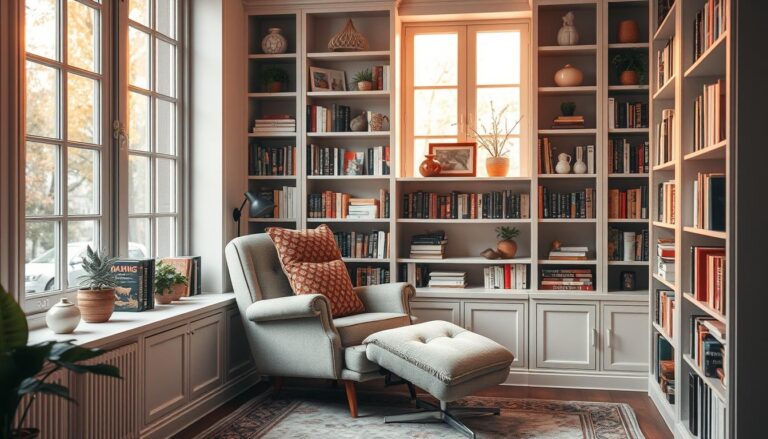
Designing a Cozy Reading Nook
Design a cozy reading nook with a rustic room divider. It helps to create a special spot just for reading and chilling. Add a comfy chair, good lighting, and your favorite decorations to make it welcoming.
Showcasing Art and Decor
Use a natural wood partition to display art and decor. You can hang up your favorite pieces or set up decorative shelves. This not only makes the space yours but also encourages creativity in design.
Conclusion: Transforming Your Space with Wood
Adding a divisória de ambiente com madeira crua to your home boosts its look and practicality. Making a DIY wood divider lets you shape your space your way. You feel a real connection with your decor choices. Wood’s flexibility allows for unique partitions that blend into any design easily.
Building your own wood divider offers more than just beauty. It supports sustainability, making it a green choice. This project lets you creatively interact with your environment. It strengthens your bond with your living space.
A well-crafted wood divider changes your home’s feel. Whether you want a cozy or sleek style, a divisória de ambiente com madeira crua improves your area. Your home becomes a source of inspiration and creativity.