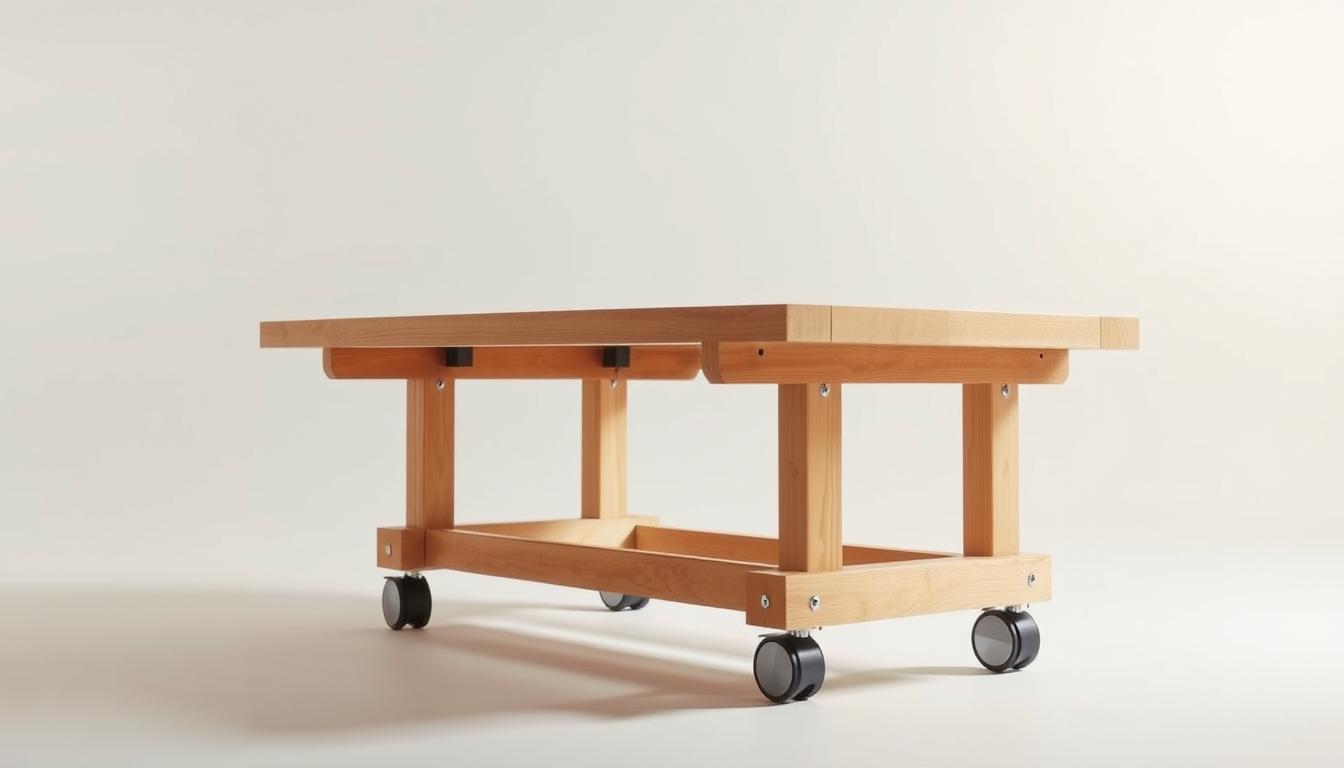
Did you know more than 40% of American homes have mobile furniture to improve their spaces? Whether it’s for extra space in your home office or a handy spot for crafts, a rolling support table can be ideal. This DIY project adds both style and versatility to your rooms.
In this article, we’ll show you easy steps to make a mobile side table. Get ready to be creative and make something that perfectly fits your home’s look.
What is a Rolling Support Table?
A rolling support table is also known as a wheeled side table or mobile end table. It is made to be flexible and easy to use in different places. It offers an extra space that makes daily tasks more manageable.
Definition and Purpose
This table is small but mighty, helping you in many ways. It can be a desk, a place to serve food, store things, or even stand by your bed. Its main goal is to make your life easier by letting you move it wherever you need.
Benefits of Having One
Having a mobile end table means you can move it easily. It fits in tight spaces but still helps a lot. It’s great for hobbies, working at home, or when you have people over. A wheeled side table meets many needs in daily life.
Common Uses
Rolling support tables are great in many spots. You’ll see them in home offices holding important stuff or in garages keeping tools in reach. They’re also perfect in crafting spots, giving a portable space for your projects.
Essential Materials and Tools Needed
To build a rolling support table, first, pick the right materials and tools. Being prepared makes building easier and leads to a great end result.
List of Materials
- Wood: Pine or plywood is an excellent choice for the tabletop and legs.
- Screws: Use wood screws for sturdy assembly.
- Caster wheels: Opt for durable casters for mobility.
- Wood glue: This adds extra strength to joints.
Recommended Tools
- Saw: A circular saw or miter saw will provide clean cuts.
- Drill: Cordless drills facilitate easy assembly.
- Sander: A power sander helps achieve a smooth surface.
Safety Gear Suggestions
It’s key to stay safe while working on woodworking projects. You’ll need some important safety gear:
- Gloves: Protect your hands from sharp edges and splinters.
- Goggles: Safeguard your eyes from flying debris.
- Dust masks: Prevent inhalation of harmful dust particles.
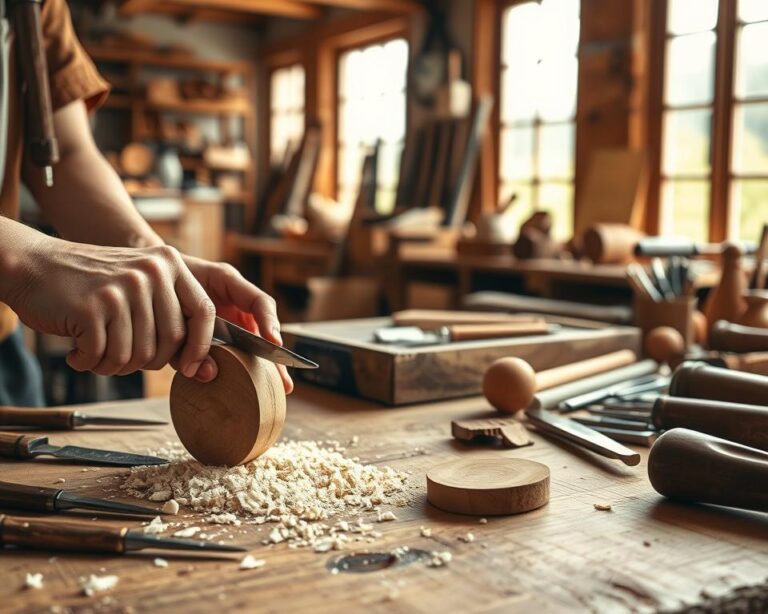
Step-by-Step Guide to Building Your Table
Starting a DIY table project means you need to measure, cut, and assemble with care. This guide will break down the steps to make a solid rolling table. Following these steps will make you efficient and boost your wood cutting skills.
Measuring and Planning
First, measure your space and decide how big your table should be. Getting the measurements right is key for a perfect fit. Draw up a plan with the tabletop size and leg height. Mark your wood with a pencil and tape for cutting.
Cutting the Wood
With your marks made, it’s cutting time. A circular saw works best for straight cuts, and a jigsaw for curved ones. Always wear safety gear while cutting. Go slow to make sure your cuts are neat for easy assembly later.
Assembling the Tabletop and Legs
After cutting, put together the tabletop and legs. Attach legs with wood screws from the bottom of the tabletop. Pre-drill holes to stop the wood from splitting. Keep checking that everything is lined up so your table is level and sturdy.
How to Add Wheels to Your Table
Adding wheels to a table makes it much more useful. You can move it wherever you need, making it great for any space. Picking the right wheels means looking at how much weight they can carry, what you’ll use the table for, and how long they’ll last. To make your table move smoothly and stay strong, follow these key steps.
Choosing the Right Wheels
It’s important to think about your table’s weight and what you’ll use it for when picking wheels. Wheels have different sizes, materials, and styles, affecting how well they work:
- Material: Rubber wheels are easier on floors and provide more grip, while hard plastic ones are good for outside.
- Size: Big wheels work better on rough floors, and small ones are for smooth floors.
- Weight Capacity: Make sure the wheels can carry your table’s heaviest load to avoid mishaps.
Installing the Wheels
To make sure your table moves well and evenly, follow these jobs:
- Mark where you want to put the wheels on the table legs.
- Drill pilot holes at those spots.
- Screw in each wheel tightly, making sure they’re even with the legs.
Ensuring Stability
For a stable table, remember these tips:
- Make sure all wheels are the same size and attached well.
- Use wheels that lock when you don’t want the table to move.
- Check the wheels often for wear and tear, and change them when needed to keep your table working right.
Adding Finishing Touches
Adding the right final touches can make your rolling support table both look better and last longer. Learning about different finishing techniques is key. These techniques include sanding, painting, and sealing. They ensure your table looks polished and remains durable.
Sanding for a Smooth Finish
Start finishing by sanding the table to get rid of rough spots. Begin with coarse sandpaper (60-80) and move to finer grits (220 or higher). This step by step smoothing avoids splinters and keeps the wood strong. Make sure to sand the corners and edges well, as these parts need extra attention for a uniform finish.
Painting or Staining Options
Choosing the right paints or stains is crucial for painting a wooden table. Stains bring out the wood’s natural beauty and offer many color options. For painting, acrylic or oil-based paints are best for furniture. They last long. Both staining and painting allow you to express your style, making your table a unique piece in any room.
Sealing for Protection
Sealing your project is a must after you finish painting or staining. It protects against moisture and wear. Use a good sealant like polyurethane or varnish to create a strong barrier. Apply several thin coats rather than a few thick ones, and let each coat dry as recommended. A properly sealed tabletop can handle daily use and stays looking great for years.
| Finishing Technique | Benefits | Recommended Products |
|---|---|---|
| Sanding | Creates a smooth surface free of splinters | Sandpaper (various grits), sanding block |
| Painting | Adds color and style to the table | Acrylic/ oil-based paints |
| Sealing | Protects against moisture and wear | Polyurethane, varnish |
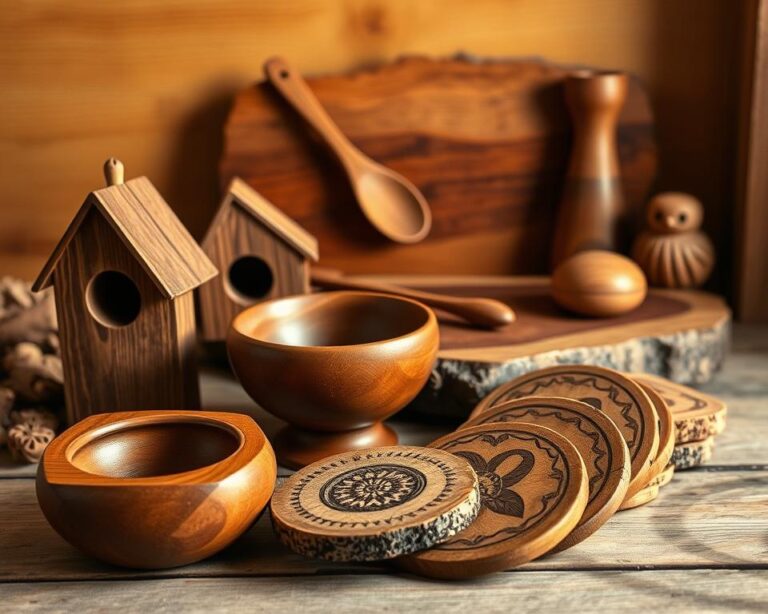
Customizing Your Design
Customizing furniture allows it to reflect your individual style and needs. For unique wooden tables, exploring various designs can create a standout piece. You can pick from modern styles or rustic looks, depending on what you love.
Various Styles and Shapes
There are many shapes and styles to choose from for your table. Rectangular tables fit well in big rooms. Round tables are perfect for conversations. And square or oval shapes are ideal for tight spaces. Each choice lets you show off your personal taste.
Personalizing with Décor
Decorations can add charm to your table design. A striking centerpiece, maybe flowers or candles, grabs attention. Adding personal items, like family photos or handmade pieces, makes your table more special. You could also try unique finishes or paints for something different.
Functional Features to Consider
Functional elements can make your custom table more useful. Think about adding storage, like shelves or drawers. This mix of style and function can make your table both eye-catching and practical for everyday use.

Budgeting for Your Project
Making a budget for your DIY project is key. Knowing how much materials like those for your rolling support table cost helps you make smart choices. We’ll help you figure out these costs, find ways to save money, and point you to where you can get cheap supplies.
Estimated Costs of Materials
Keep these estimated costs in mind for your materials:
| Material | Estimated Cost |
|---|---|
| Plywood | $30 – $50 |
| Wood screws | $5 – $10 |
| Wheels | $20 – $40 |
| Sandpaper | $5 |
| Paint or stain | $10 – $25 |
Cost-Saving Tips
- Reuse wood from previous projects or furniture.
- Shop during sales at local home improvement stores.
- Utilize discount coupons available online or in-store.
- Consider purchasing bulk materials to lower unit costs.
How to Source Affordable Supplies
Looking for affordable supplies can cut costs. Check out local thrift stores, flea markets, or community boards for used materials. Online marketplaces are good for deals on tools and supplies too. Search local ads to find budget-friendly options near you.
Troubleshooting Common Issues
Troubleshooting keeps your rolling support table in top shape. When working on your project, you might face issues with tables. This part talks about fixing wobbly legs, making wheels align right, and fixing scratches on the surface.
Fixing Wobbly Legs
Wobbly legs can shake your table’s stability. First, see if the legs are tight to the table top. Tighten any loose screws or bolts. If the floor is uneven, use furniture coasters or adjust the legs to make it steady.
Correcting Wheel Alignment
Wheels that don’t line up make moving hard. Check each wheel to make sure it’s on right. If a wheel is off or loose, put it back on as the maker says. Checking wheels often stops more issues, letting your table roll smoothly.
Repairing Surface Scratches
Scratches can show up with normal use. For small scratches, a wood filler or touch-up pen in the right color works. For big scratches, lightly sand the spot. Then, add matching stain or paint. Seal it after for protection. These tips keep your table looking good and useful.

Maintenance Tips for Longevity
To make sure your rolling support table stays both useful and nice to look at for years, proper care is key. You’ll need to clean, check, and sometimes fix up your durable wood tables to keep them in top shape. Follow these tips to keep your table looking and working great.
Cleaning and Care Guidelines
Cleaning your table regularly is important to keep its finish looking good. Wipe it down with a soft, damp cloth and gentle soap. Don’t use rough materials that could scratch it. If you have stubborn stains, try water and vinegar, but test a small spot first.
Regular Inspection Practices
Check your table every few months to catch any damage early. Look for signs like loose legs, cracks, or scratches. Fix any loose screws or bolts to make sure the table stays stable and safe.
Routine Refurbishing Techniques
Sometimes, your wood tables will need a little refresh to keep them looking their best. Lightly sanding can get rid of small scratches. Then, apply some polish or wax to bring back the shine and protect the table from more damage.
| Maintenance Task | Frequency | Materials Needed |
|---|---|---|
| Cleaning | Weekly | Soft cloth, mild soap |
| Inspection | Every 3 months | None (just your eyes) |
| Refurbishing | Annually | Sanding paper, polish or wax |
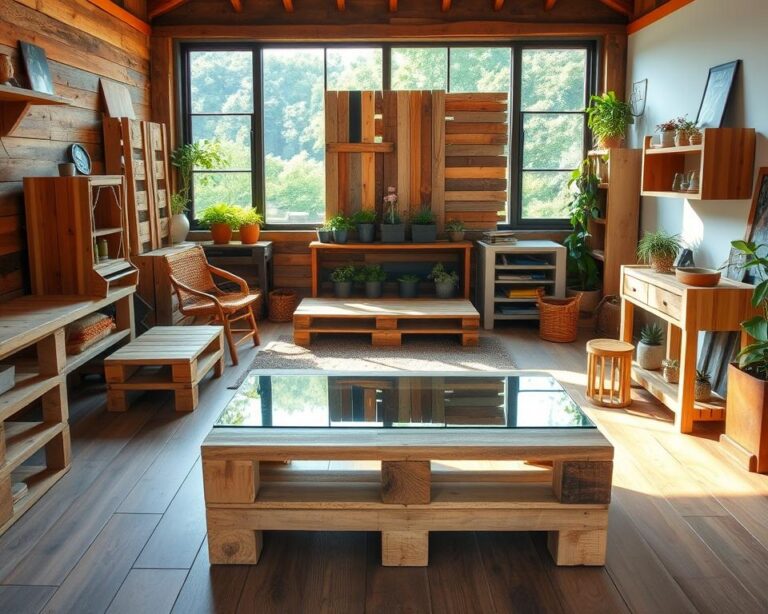
Where to Use Your Rolling Support Table
A rolling support table is super useful in many situations. It’s great in home offices to boost work productivity and perfect for arts and crafts spaces. You can even use it outside for fun activities. Let’s explore some specific rolling table applications and see how they fit into different places.
Home Office Applications
Rolling tables are great for moving your work spot around the house. You can have meetings in one room and do projects in another. This is awesome for small spaces where you need to make the most of every corner.
Craft and Hobby Uses
If you love crafts, a rolling table gives you plenty of space for your stuff. It turns any spot into a creative zone. Whether it’s scrapbooking or building models, this table is a must-have for artists.
Outdoor Activities
Take your rolling table outside for picnics, BBQs, or craft fairs. It’s easy to move and works for all sorts of rolling table applications. Use it for serving food or drinks, making any outdoor event better.
| Use Case | Description | Benefits |
|---|---|---|
| Home Office | Mobile workspace for remote work | Increases productivity and saves space |
| Crafting | Sturdy surface for various arts and crafts | Enhances creativity and organization |
| Outdoor Events | Setup for dining or activities outside | Convenience and versatility for gatherings |
Conclusion and Additional Resources
Starting a DIY project like making a rolling support table is rewarding. You learn to pick the right materials and measure correctly. Each step lets you practice your craft skills. By following our guide, you can approach this project feeling confident.
Looking for more? Reading up on table projects can give you lots of new ideas and skills. You’ll find tutorials about advanced woodworking, unique designs, and cool materials. This can make your next projects even more amazing.
Also, think about joining online forums or groups for DIY fans. These places offer great support. You can talk about your projects, ask questions, and connect with others who like building things. It’s a great way to improve your skills and meet creative people. Enjoy your building projects!