Did you know over 30% of homeowners in the U.S. go for wall-mounted options to save space? This is especially true for a floating TV rack made of MDF. It doesn’t just free up space but also makes your living area look better. In this DIY guide, we’ll show you how to make a rack de TV flutuante em MDF. Our aim is to help you create a modern floating TV rack. It will not only show off your entertainment setup but also offer extra storage. Let’s dive in and upgrade your space with this simple guide.
Introduction to Floating TV Racks
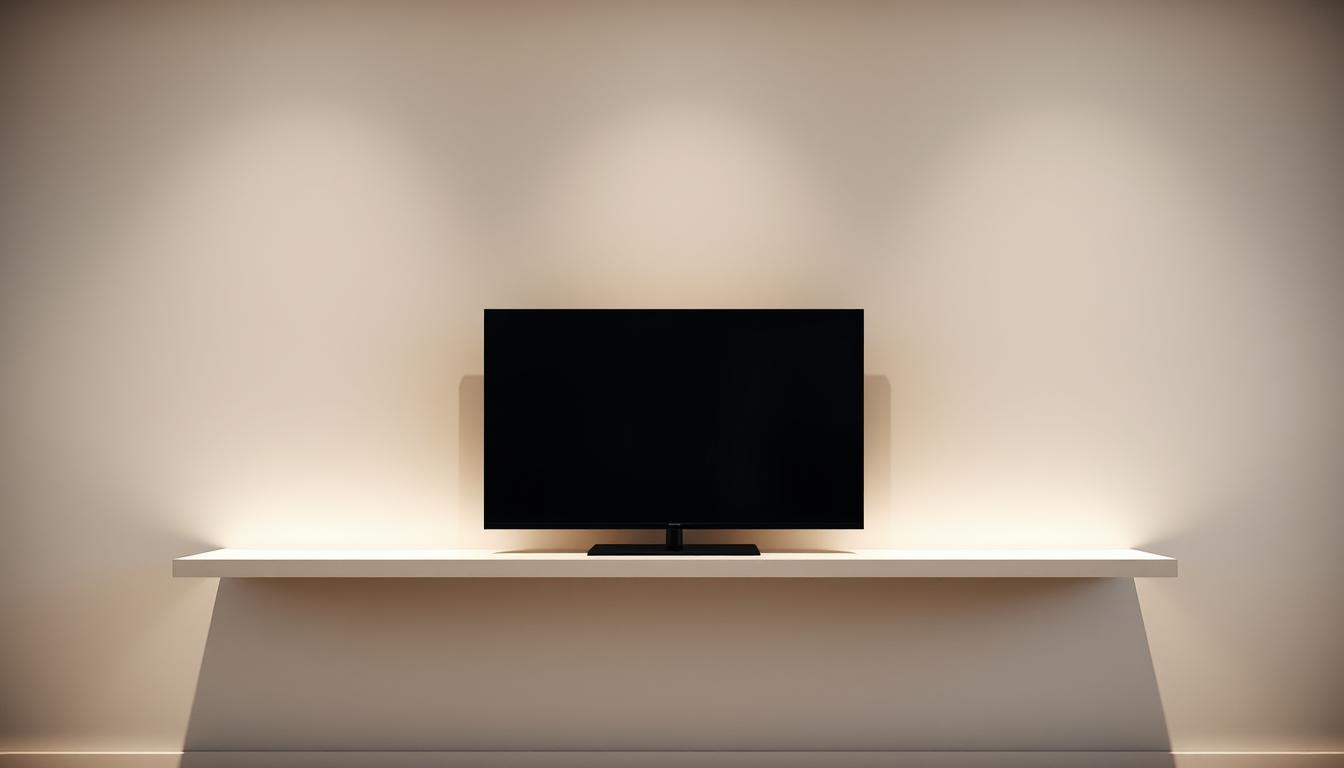
A floating TV rack provides a modern way to display TVs and reduce clutter. It mounts on the wall, making your space look bigger and giving it a clean, minimalist look. It makes your living area look better and helps keep things organized.
What is a Floating TV Rack?
A floating TV rack is a shelf that goes on the wall and holds TVs. It does away with large furniture. This modern choice not only displays your TV but also improves your room’s look. Its seamless style blends with the wall, perfect for those who like a neat and simple home.
Benefits of Using MDF for Your Rack
MDF, or medium-density fiberboard, is great for making floating TV racks. Let’s look at some benefits of MDF:
- Affordability: MDF is cheaper than solid wood and other options.
- Versatility: You can paint it any color to fit your decor.
- Smooth Surface: Its fine finish is easy to clean and looks good.
Using MDF for your floating TV rack is smart. It’s practical and stays looking good for a long time.
Design Considerations for Your Space
When planning your minimalist entertainment unit, think about a few things. The size of your room matters, as bigger spaces can fit larger units and more shelves. For smaller rooms, choose slim, compact designs. Pick colors that go well with your furniture and walls. This will make sure your floating TV rack adds to your home’s style.
Tools and Materials Needed
When you make a floating TV rack, picking the right tools for MDF rack projects is key. You’ll also want top-notch materials. Knowing what MDF to use and eyeing decorative touches makes your project stand out. Here’s what you need to begin.
Essential Tools for Building Your Rack
- Saw: A circular or table saw is essential for accurately cutting MDF.
- Drill: Use a power drill for making holes and driving screws.
- Level: This tool ensures that your rack remains straight and flush against the wall.
- Measuring Tape: Accurate measurements are crucial for aligning and cutting your MDF.
Recommended MDF Types and Specifications
Choosing the right MDF is about more than just durability. It also makes the job easier. Here are the types you should consider:
- Standard MDF: Ideal for most projects with a smooth surface for painting.
- Thick MDF Boards: Provide superior strength and support, especially for heavy items.
Optional Decorative Materials
Decor details can really make your rack pop. To add your personal touch, try these:
- Edge Banding: Use this for a polished finish on exposed edges.
- Paint or Stain: Apply color or wood finishes that match your room decor.
- LED Lights: Incorporating lighting can enhance the visual appeal and functionality.
Planning Your Floating TV Rack Design
Designing a floating TV rack needs both careful thought and a strategic plan. It’s important to plan your TV rack design in a way that adds to your room and covers practical needs.
Sketching Your Ideal Design
Start with drawing your dream layout. Use graph paper or digital tools to plan where your TV, gaming consoles, and decor will go. This step helps you perfect your idea and see if it fits your wall space.
Determining the Size and Dimensions
Then, figure out the size your floating rack needs to be. Measure your TV and think about how deep the shelf must be for your stuff. Make sure your design allows room for air flow and easy access. You want to avoid making things too crowded or placing them awkwardly.
Plotting Wall Placement for Support
Getting the wall support right is key for your rack’s stability. Use a stud finder to locate wall studs and mark them before you start setting up. This ensures your rack can safely hold your TV and other devices. Planning this carefully makes your setup both safer and better looking.
| Aspect | Details |
|---|---|
| Sketching Design | Use graph paper or a digital tool to layout your design. |
| Dimensions for Floating Rack | Measure your TV and equipment, ensuring dimensions allow for accessibility. |
| Wall Support | Locate and mark wall studs for adequate support during installation. |
Preparing the MDF
Getting MDF ready for a project is key. This step involves cutting it to size and sanding it down. This makes sure your floating TV rack will come together smoothly.
Cutting MDF to Size
Cutting MDF accurately is critical for a perfect fit. Start by measuring carefully. Then, use a straight edge and a saw to make precise cuts. Remember, safety first to prevent accidents.
Sanding the Edges for a Smooth Finish
Smooth edges are next after cutting. Begin sanding with coarse-grit paper, then switch to finer grits. This ensures a smooth, safe edge all around.
Preparing for Assembly and Installation
After cutting and sanding, it’s time to prep for putting everything together. Organize all pieces and tools like screws and a drill. This way, assembly will go smoothly, without mistakes.
| Preparation Task | Description | Tools Needed |
|---|---|---|
| Cutting MDF | Measure and cut MDF to the desired size for each section. | Circular saw, measuring tape, straight edge |
| Sanding Edges | Sand all edges to remove rough areas and create a smooth finish. | Sanding blocks or electric sander, sandpaper |
| Assembly Prep | Gather tools and organize MDF pieces for easy access during assembly. | Drill, screws, brackets, level |
Assembling the Floating TV Rack
Building a TV rack can make your living space better. Start by installing the support bracket firmly on the wall. This ensures your rack will be stable. Then, connect the MDF sections. Doing this right means your rack will both work well and look good.
Step 1: Attach the Support Bracket
First, decide how high you want your floating TV rack. Make sure your lines are level. Attach the support bracket to the wall with strong wall anchors. They need to support the weight of your TV and rack. Getting this right is key for balance and stability.
Step 2: Attaching MDF Sections Together
After setting the bracket, join the MDF sections next. Screw and glue them for a strong build. Make sure everything is properly lined up. Keep an eye on the squareness as you go. This affects how your TV rack looks and works.
Tips for a Strong Connection
For a steadier build, use clamps when joining the MDF sections. Clamps hold pieces tight while glue sets. Always check for levelness while you move forward. Adjust as needed for a smooth finish.
Finishing Touches for the MDF Rack
After you set up your floating TV rack, how you finish it is key. It can make your rack a star in your room. Think about painting, adding edge banding, and using LED lights for a personal touch.
Painting or Staining Options
Picking the right paint or stain can change your MDF rack’s look. Colors should match your room’s style. A smooth paint job looks good and keeps the MDF safe. Stains bring out wood’s beauty, giving a deep finish.
Adding Edge Banding for a Polished Look
Edge banding covers MDF’s raw edges nicely. It makes your rack durable and looks sharp. You can pick PVC or wood veneer, depending on your style, for a professional edge.
Incorporating LED Lighting or Other Fixtures
LED lighting can make your floating TV rack pop. Well-placed LEDs offer a cozy feel and spotlight your TV or decor. Try under-shelf or backlighting for a modern, inviting space.

Installing the Floating TV Rack
Getting your floating TV rack set up right needs careful prep. It’s crucial to know where the wall studs are for a strong mount. This part will show you how to find studs, level the rack, and ensure it’s safely attached.
Finding the Right Wall Studs
It’s super important to find wall studs for a secure rack. A stud finder makes it easy to spot them behind the drywall. Mark the studs with a pencil. This helps during the install, making sure your TV and rack are well supported.
Leveling and Mounting Techniques
Make sure the rack is level before attaching it. Use a spirit level to ensure it’s straight. This stops your TV from looking tilted. Then, fix the rack in place. Use solid anchors with the studs for a strong hold.
Safety Tips for Secure Installation
Focus on safety when installing. Pick anchors that can hold your rack’s weight. Always check the rack’s sturdiness as you secure it. These safety steps mean your TV setup will be reliable and safe for use.
Styling Your Floating TV Rack
Creating a visually appealing and practical display on your floating TV rack enhances the overall ambiance of your living space. Thoughtful decorating of the TV rack can transform a simple shelf into a statement piece. Incorporating display ideas that blend aesthetics with function allows you to showcase your personal style while keeping clutter at bay.
Ideas for Displaying Your TV and Accessories
Consider integrating various elements to elevate the visual interest of your TV rack. Here are some effective display ideas:
- Incorporate decorative boxes to store remote controls and miscellaneous items.
- Use a mix of heights; stack books horizontally and vertically to create layers.
- Add indoor plants for a touch of greenery, which can soften the hard edges of the electronics.
- Incorporate art pieces or photographs to personalize the space.
- Utilize space-efficient shelving to arrange gaming consoles and media devices neatly.
Choosing the Right Decorative Elements
Selecting complementary colors and textures contributes to a cohesive appearance. When choosing decorative items, consider the following tips:
- Stick to a color palette that aligns with your room’s overall scheme.
- Mix materials like wood, metal, and glass for added depth and interest.
- Opt for smaller decorative items that won’t overshadow the TV or your viewing experience.
Balancing Functionality and Aesthetics
Maintaining a balance between functional design choices and decorative elements ensures your TV rack serves its purpose without compromising style. Here are some strategies:
- Use cable management solutions to keep wires hidden.
- Choose display items that double as storage to minimize clutter.
- Arrange items in a way that allows easy access while making the display visually appealing.

Maintenance and Care of Your MDF Rack
It’s important to take good care of your MDF rack to keep it looking great and lasting longer. This includes cleaning it often, fixing any issues right away, and knowing when it’s time to replace parts. Read on for helpful tips to keep your MDF rack in top shape.
Cleaning Tips for Longevity
Keeping your MDF rack clean is key to its look and longevity. Clean gently using a soft cloth and mild soap mixed with water. Stay away from rough cleaners that can scratch the surface. Dusting often will also help keep it looking new. Here’s how to do it right:
- Use a microfiber cloth for daily dusting.
- Use a damp cloth with mild soap for thorough cleans.
- Avoid strong chemicals that can ruin the MDF’s look.
Addressing Common Issues
Scratches and dents can happen, but fixing them quickly can stop more damage. Here are some ways to fix your MDF furniture:
- Fill small scratches with wood filler.
- Gently use sandpaper to smooth out rough areas.
- Use steam on deeper dents to make the MDF puff back up.
When to Consider Replacing Parts or Materials
Sometimes, parts of your MDF furniture need replacing to keep it working well. Look out for these signs:
- Signs of warping or serious damage.
- Joints that are loose and can’t be fixed.
- Lasting moisture damage that ruins its strength.
Conclusion
Creating a floating TV rack can be a rewarding task. It improves both the look and usefulness of your living area. The steps include choosing the best MDF and adding special final touches. Everything is important, from planning to cutting, to assembly, making sure your rack is both solid and good-looking.
It’s important to make this project your own. You can pick a bright paint, add special decorations, or use LED lighting. Every choice brings your personality into the piece, making it special. It’s how you make the space truly feel like it’s yours.
This project teaches you valuable home improvement skills. Working on a floating TV rack not only adds value but also gives your place a personal flavor. Enjoy the process and be proud of making something both useful and stylish for your home.