Did you know nearly 90% of homeowners focus on storage when upgrading their homes? Making a drawer unit with wooden slides not only organizes your space but also makes it unique. This guide will show you how to build a custom drawer unit, giving you great DIY storage solutions.
Making your drawer unit lets you pick designs and sizes that meet your needs. With wooden slides, your design will look good and work well. Let’s start building a stylish and useful drawer unit together!
Understanding the Need for a Drawer Unit
Drawer units are crucial for both organizing and styling spaces. They can be compact wall-mounted units or traditional cabinets. They hold items efficiently and add style with wooden slides for durability and elegance.
Why Choose a Drawer Unit?
Drawer units are multifunctional. They keep things organized and make use of available space. They range in style and finish, helping you find one that fits your taste.
Benefits of Wooden Slides
Wooden slides improve drawer units greatly. They operate smoothly and quietly compared to metal. The wood adds a cozy feel and helps the unit last longer.
Common Uses for Drawer Units
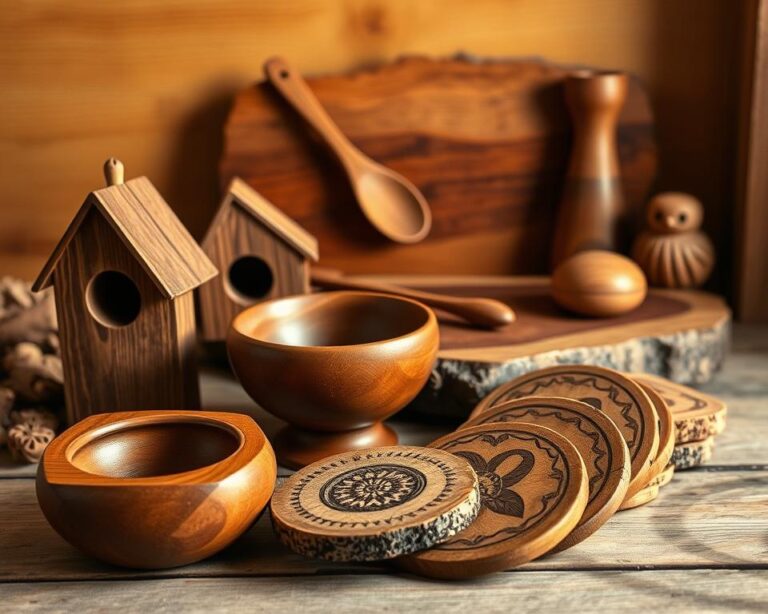
Drawer units are useful in many areas. They help store clothes in bedrooms and supplies in offices. In kitchens, they’re perfect for keeping utensils. Their versatility makes them vital for organized living.
Gathering Your Materials and Tools
Before starting your drawer unit project, make sure to gather the right materials and tools. Preparing properly is key to a smooth building process. Having everything you need ready will prevent stops and keep your project moving forward.
Essential Materials for the Project
The success of your woodworking project starts with choosing the right materials. Here are some items you’ll need:
- Wood (plywood, hardwood, or MDF)
- Screws for assembly
- Wooden slides for the drawers to move smoothly
- Wood glue for extra hold
- Finish (stain or paint) to look nice
Tools You Will Need
The right tools are crucial for detailed and efficient woodworking. Be sure to gather these tools for your drawer project:
- Table saw or circular saw
- Power drill with drill bits
- Measuring tape for correct measurements
- Clamps to secure pieces together
- Sandpaper for smooth finishes
Safety Gear Recommendations
Never ignore your safety while doing any woodworking project. Wear the right safety gear, including:
- Safety goggles to protect eyes from dust
- Hearing protection for loud tools
- Dust mask to not breathe in dust
- Work gloves to protect your hands
Designing Your Drawer Unit
Creating a custom drawer unit is a mix of art and practicality. First, it’s key to measure space for furniture just right and plan your design. Paying close attention to details makes for a perfect fit and a functional drawer unit.
Measuring the Space
Begin by getting exact measurements of where you want your drawer to go. Remember to think about any things like doors or other furniture. Doing this makes sure your drawer fits perfectly and becomes a key part of the room.
Sketching Your Design
Making a draft of your design helps see your idea in real life. Use squared paper or a design app to picture the drawer’s size, shape, and layout. Aim to plan your designs in a way that uses space well and looks good.
Tips for Drawer Dimensions
When thinking about drawer dimensions for small spaces, remember what you’ll store in them. Some sizes are better for different items. For example, thin drawers are good for small items, while bigger drawers hold heavier things. Here are useful drawer design tips:
- Make drawers about 18 to 24 inches deep for easy use.
- A width of 24 to 30 inches looks nice and balanced.
- Drawer height varies, but usually goes from 4 to 8 inches.
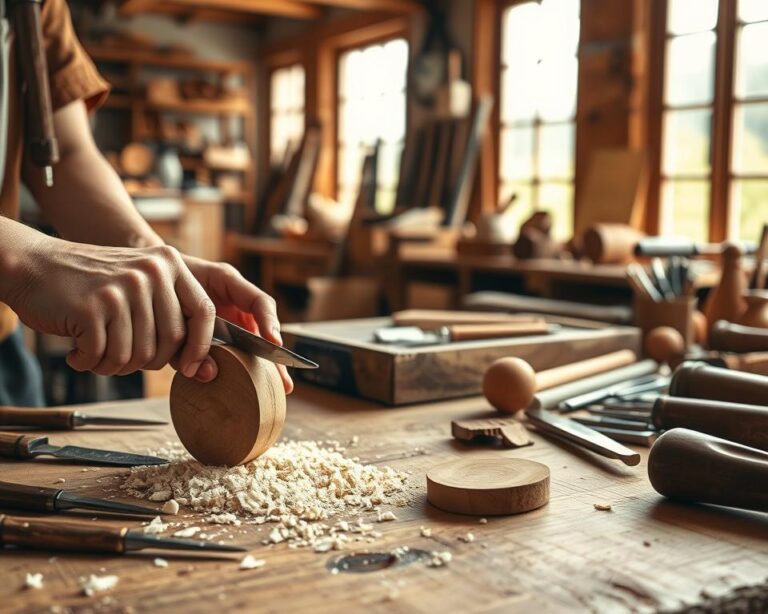
Preparing the Wood
Getting the wood ready is key to making a great drawer unit. Picking the right wood affects how it looks and lasts. Using good cutting tips helps make your pieces the right size. And smoothing the edges makes your furniture look good and safe. Let’s dive into these steps.
Choosing the Right Type of Wood
Different woods like pine, oak, and birch are popular for furniture. Pine is cheap, light, and easy to use. Oak is strong, looks great, and is perfect for quality pieces. Birch is strong with a fine look, great for drawers. Think about what you like and need before choosing.
Cutting the Wood to Size
Making accurate cuts ensures pieces fit well. Measure carefully and cut once. Use tools like a miter saw or circular saw for precise cuts. Make sure to use straight edges and clamps to keep wood steady while cutting.
Finishing the Edges for Smoothness
Smoothing edges is important to avoid splinters and look neat. Use sanding techniques that go from rough to fine sandpaper. Start with a tough grit and end with a softer one for smooth edges. This care makes your drawer unit safer and more appealing.
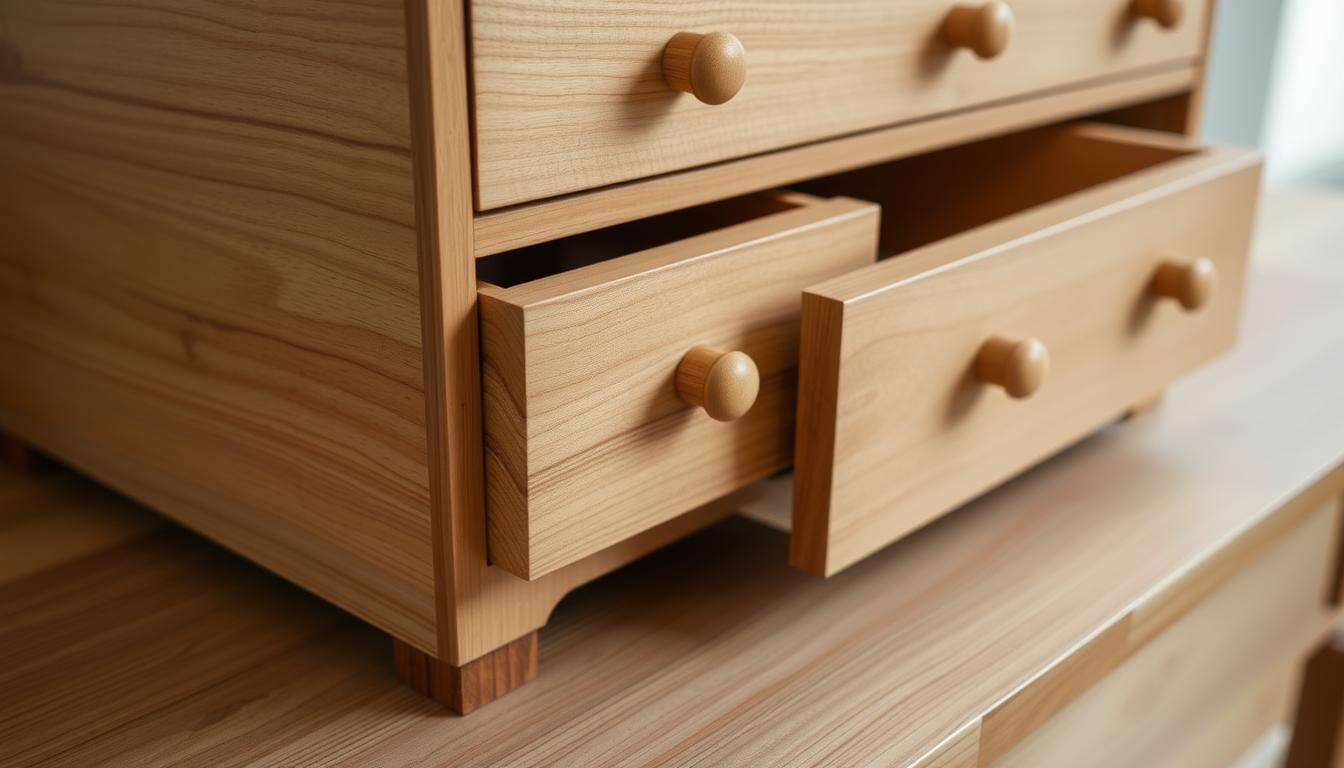
Assembling the Drawer Box
Putting together a drawer box is very important for its durability and function. This involves making strong sides, adding a stable bottom, and strengthening the corners. Using the right techniques ensures the drawer can last for a long time.
Creating the Drawer Sides
First, cut the wood to size for the sides. Make sure the wood is tough to hold up what you put inside. Most people use plywood or solid wood for this. You should glue the edges and use clamps to keep them in place. Then, screw them together for extra firmness.
Attaching the Bottom Panel
Now, it’s time for the bottom panel. This is usually a thinner wood piece that fits right inside the sides. You need good fasteners to attach it well. When done right, this bottom panel helps the drawer stay strong and last longer.
Reinforcing Corners for Durability
To make the drawer even sturdier, strengthen the corners. You can use corner brackets for extra support. Or, you might use dowels or blocks to keep these key spots strong. These methods highlight the value of sturdy furniture building that stays in great shape over time.
Installing Wooden Slides
Putting in wooden drawer slides is key for drawers that open smoothly and last long. Learning about how these slides work improves your project. This part talks about how to attach them properly and how to make sure they slide well.
Understanding Slide Mechanisms
Wooden slide systems have two important parts: the slides and the runners. The slides go on the drawer sides, and you fix the runners inside the cabinet. Knowing how these parts fit together helps your drawers work better.
How to Attach the Slides Securely
It’s important to put the slides on very carefully. First, measure and mark where they’ll go on both the drawer and cabinet. Then, use a power drill to screw them in place, making sure they’re straight. If they’re not straight, the drawers might stick or not open.
Tips for Ensuring Smooth Operation
To keep your drawers running smoothly, follow these tips: always check that the slides are aligned, keep them clean, and lightly wax the slides for better sliding. Doing these things regularly keeps your drawer slides working well for a longer time.

Constructing the Outer Cabinet
The outer cabinet is key for keeping your drawer unit stable. A well-made frame offers essential support, ensuring it lasts long. Paying close attention when building furniture frames greatly affects their quality. Start by creating a solid construction plan.
Building the Frame for Stability
Start by measuring and cutting the wood for your frame. Use sturdy, high-quality materials for a lasting cabinet. Assemble the frame with strong joints for more durability. Keep corners square for a stable foundation.
Attaching the Back Panel
Adding a back panel adds to your cabinet’s stability. This panel stops the cabinet from swaying, key for effective securing. Go for plywood or solid wood for durability. Secure it with screws or nails to keep it in place.
Securing the Structure
Once the back panel is on, strengthen the whole cabinet. Use corner brackets or extra supports to increase stability. With these reinforcements, your cabinet will support weight and stay in shape. These tips ensure your cabinet stays useful for a long time.
Adding Drawer Fronts
Drawer fronts are key to making your cabinets look great. Picking the right ones means your project will not only work well but look good with the rest of your room. It’s important to choose the right material, know how to attach them, and align them perfectly.
Selecting the Right Drawer Front Material
Choosing the right material for your drawer fronts affects both look and durability. There are many options like hardwood, laminate, or painted MDF. Pick materials that match your style, but also fit your budget and needs.
Attaching the Drawer Fronts
After picking your materials, it’s time to attach them. Start by making sure the drawer front is centered and level on the box. Use wood glue and screws to secure it well. Pre-drilling holes for the screws will stop the wood from splitting.
Aligning the Drawers Properly
Proper alignment ensures your drawers work smoothly. All drawers should have the same space between them. A spacer can help keep this gap even. Check the alignment often as you install them, so everything looks clean and professional.
Finishing Touches
Making your drawer unit look great takes some know-how in finishing wood. The right finish not only looks good but also lasts long. It turns your furniture into a durable part of your home.
Sanding for a Smooth Finish
Starting with sanding is key for prepping your wood. Move from a rough to a fine grit for smoothness. This makes your wood perfect for staining or painting.
Choosing the Right Stain or Paint
Deciding between stain or paint? Think about the look you want. Stains show off the wood’s beauty, and paint covers up the flaws. It’s smart to test them out to match your decor.
Sealing the Surface for Protection
Adding sealant is vital for keeping your furniture strong. It fights off moisture, scratches, and color fading. Choose a sealant that fits your stain or paint. It will help your drawer stay in good shape for years.

Installing Drawer Handles and Knobs
Choosing the right drawer handles or knobs is key to making furniture both beautiful and easy to use. It’s all about picking ones that match your style and work well too. Here are some essential tips to help you get great results.
Deciding on a Style
Picking handles that match your furniture’s look is crucial. You can opt for modern, rustic, or vintage styles. Think about using metal, wood, or ceramic to create a unique look. The style should reflect what the drawer is used for.
Proper Placement for Functionality
Putting handles and knobs in the right spot is key for easy access. They usually go in the center of the drawer for comfort. Make sure they’re spaced well for a good look and easy use.
Fixing Hardware Securely
When installing hardware, it’s important to fix the handles firmly. Use screws that fit the drawer front’s thickness. Always check the screws are tight after installing to keep everything secure.
Maintenance and Care Tips
Keeping wooden furniture in shape needs regular care. It helps them last longer and look better. Here are key tips for your drawer unit’s care.
Routine Care for Longevity
Clean your wooden furniture every week with a damp cloth. This removes dust and keeps the wood looking fresh. Also, lubricate the slides with dry silicone spray or beeswax to reduce friction. This helps them work smoothly and last longer.
Troubleshooting Common Issues
If drawers stick, it could be due to humidity. First, check for blockages or misalignments. Then, make sure the slides are straight. Putting furniture wax on the sides can also stop drawers from sticking, especially when it’s humid.
When to Consider Refurbishing
Refurbish wooden drawers if they have big scratches or water damage. A light sanding and a new finish can make them look new again. Doing this not only improves their look but can also make them last longer. It’s smart to check their condition once a year to decide if they need refurbishing.
| Issue | Solution |
|---|---|
| Sticky drawers | Lubricate slides or apply furniture wax. |
| Scratches or dings | Sand lightly and refinish. |
| Water damage | Refurbish by sanding and applying sealant. |
| Loose hardware | Tighten screws or replace as needed. |
Conclusion: Enjoying Your Custom Drawer Unit
Making your own drawer unit is rewarding. It shows off your woodworking talent. And it turns a simple furniture piece into something special. When you look at what you’ve made, you’ll love both how it looks and its DIY benefits. You saved money and made it fit your own space perfectly.
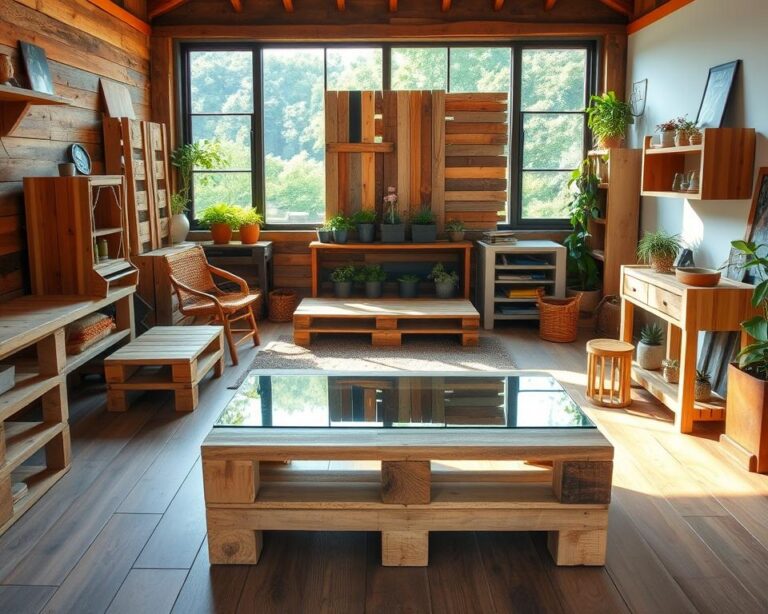
Think about how your new drawer unit makes your home better. It could keep your craft stuff neat, add a cool look to your living room, or give you extra space in your bedroom. Every drawer shows your hard work and creativity. It changes how you use your space every day.
Feeling proud of this project should push you to do more DIY work. Each project improves your skills and adds something unique to your home. So, pick up your tools, decide on your next project, and keep enjoying the process of making beautiful things yourself.