About 70% of homeowners say they’re drowning in stuff at their houses. If that’s how you feel, it’s time to try making your own wood shelves! With just a drill and some screws, you can build shelves that fit your space perfectly.
These do-it-yourself shelf ideas are not only easy on your wallet, but they also add a unique touch to your home. This guide will show you how to make strong, beautiful shelves. They’ll give you back your space and make your home look better.
Introduction to DIY Wood Shelves
Making your own wood shelves is a fun journey. You get to express your personal style and gain useful storage. By doing it yourself, you transform design ideas and the space you have into reality. You save money and feel proud seeing your own creation.
Benefits of Building Your Own Shelves
Building your own shelves has many perks:
- Customization: Adjust the size and style to match your space perfectly.
- Cost-effective: It’s cheaper than buying pre-built shelves.
- Satisfaction: There’s a great feeling in making something on your own.
What You Will Need for This Project
Before starting your DIY wood shelf project, get these materials ready:
| Item | Purpose |
|---|---|
| Wood Planks | Choose these based on the look and strength you want. |
| Screws | They keep the shelves attached to the wall and stable. |
| Drill | You’ll need this to drill holes cleanly for the screws. |
| Level | This ensures your shelves are perfectly horizontal. |
Choosing the Right Wood for Your Shelves
Choosing the right wood for DIY wood shelves matters a lot. It affects both how they look and work. Different woods have different strengths, looks, and finishes. This impacts how your shelves will look in your space. Knowing your options helps make a good choice for your wood shelving projects.
Popular Wood Types for DIY Shelving
- Southern Yellow Pine: It’s strong and budget-friendly, great for shelves that need to hold a lot.
- Oak: Oak is durable and looks nice, making it a top choice for a classic look.
- Plywood: Plywood is practical and adaptable, offering a sturdy shelf with various finishing options.
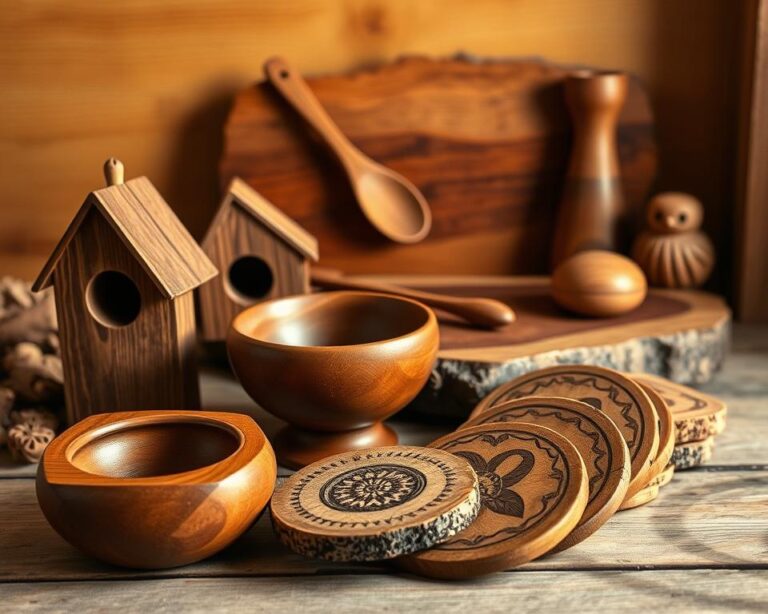
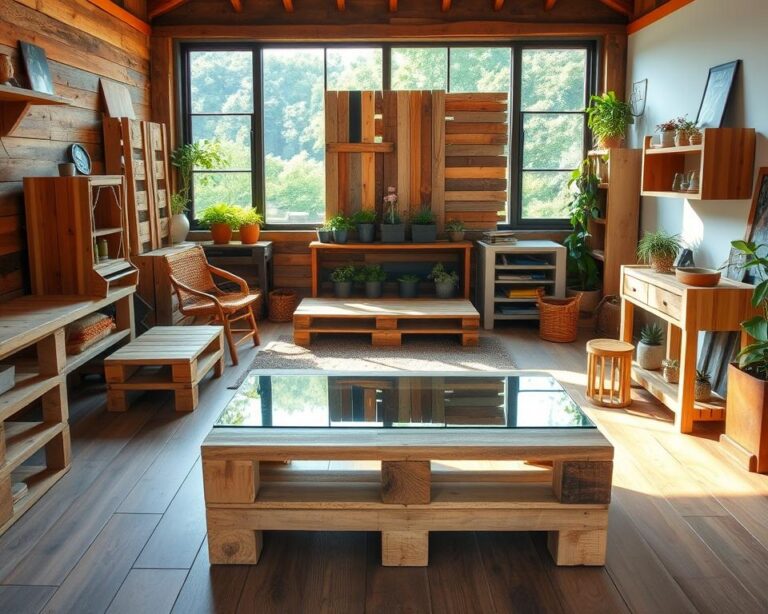
- Reclaimed Wood: Reclaimed wood brings a rustic charm and is eco-friendly, adding personality to your area.
How to Select the Best Wood for Your Space
Think about a few things when picking wood for your shelves:
- Weight Capacity: Figure out how much weight your shelves will need to hold.
- Appearance: Pick a wood that looks the way you want and matches your other furniture.
- Finish: Choose if you want to stain, paint, or leave your wood natural to get the look you’re after.
Thinking carefully about your choices lets you make beautiful, strong DIY wood shelves. They’ll make your space look better.
Essential Tools for Building Wood Shelves
Making your own wood shelves can be rewarding and enjoyable. You’ll need the right tools to ensure everything goes smoothly. Let’s talk about the key tools you should have. This will make your project better and the outcome more impressive. Whether you’re starting out or already experienced, some tools are crucial, while others can enhance your work.
Must-Have Tools for Beginners
- Drill: Needed for drilling holes. It can be either battery-powered or plugged in.
- Tape Measure: For making sure your shelves will fit right where you want them.
- Level: This ensures your shelves don’t tilt and everything stays straight.
- Circular or Miter Saw: Great for cutting wood to your needed size and shape.
- Sandpaper: To smooth out edges and surfaces before finishing.
Optional Tools for a Professional Finish
- Orbital Sander: Makes sanding quicker and the finish smoother.
- Wood Glue: Strengthens the hold of your shelves when used with screws.
- Kreg Jig: For creating hidden holes and a clean look in your projects.
Measuring Your Space for Shelves
Before starting your easy DIY shelf projects, getting the right measurements is crucial. First, take a tape measure to figure out the wall space you have. Then, mark where you want your shelves to go. This lets you see how they’ll look in your space.
How to Accurately Measure Wall Space
To start, measure your wall’s width where you’ll hang the shelves. Look out for windows, doors, or outlets that could get in the way. Write down the distance from the ground to the top of where you want your shelves. Doing this helps you picture the setup better. Always measure twice to avoid mistakes.
Tips for Determining Shelf Height
Choosing the right height for your shelves depends on what you’ll put on them. Different items need different space. For example, books need taller shelves than pieces for decoration. Pick a height that makes everything look good and works well. For larger items, leave 12 to 15 inches between shelves. Smaller items don’t need as much space.
Designing Your DIY Wood Shelves
If you’re diving into a DIY project to create wood shelves, there are many styles to pick from. The right design can make your space look great and meet your needs. Learning to design shelves can make the project fun. It ensures the final product fits well with your home’s style.
Different Shelf Styles to Consider
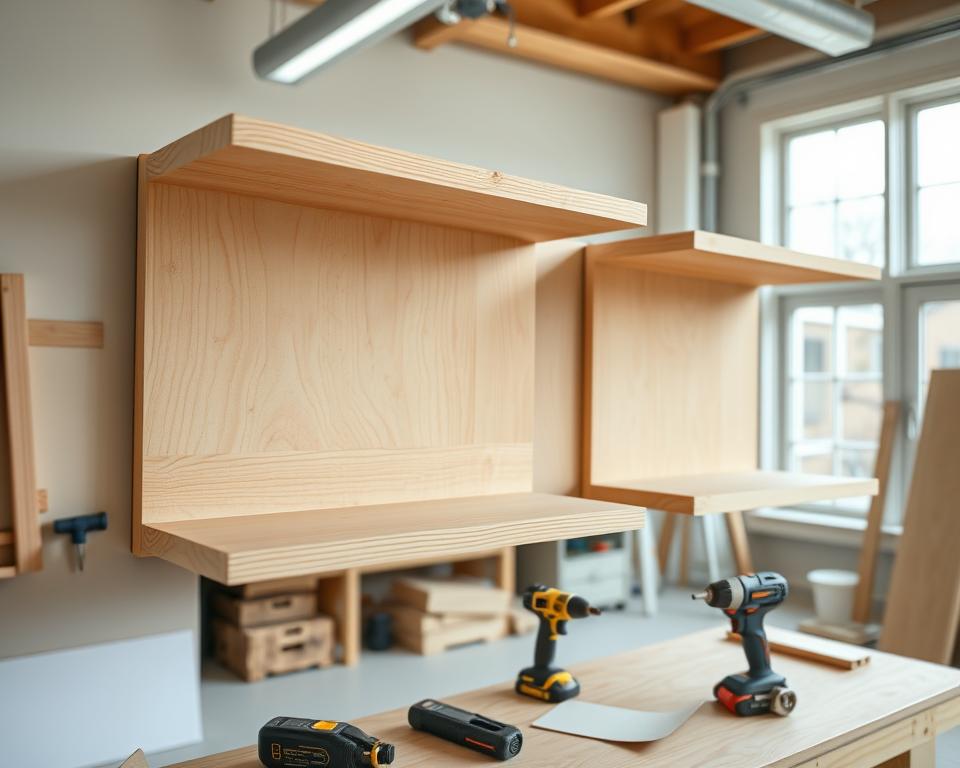
- Floating Shelves: These have a modern appearance. They mount directly to the wall and seem to float.
- Corner Shelves: Great for saving space. These shelves are striking and practical.
- Built-In Units: They blend into the wall for a smooth look. They’re often custom-made.
- Open Shelving: Best for showing off decor items. This style makes a room feel open.
- Adjustable Shelves: These let you change shelf height based on what you need to store.
How to Create a Custom Design
To start a custom design, first picture what you want your shelves to look like. Sketch your ideas. Think about the size of your wall and what you’ll display. Include ideas that fit your taste, like colors and finishes. This plan will guide you as you build, helping keep your original vision in sight.
Preparing Wood for Shelving
Getting the wood ready is crucial for a smooth-finished DIY shelf. Whether it’s old wood or new, cutting and sanding right matters a lot. By following detailed woodworking plans, every step, from cutting to finishing, is easier.
Cutting Wood to Size
To start, cut the wood to the size you need. Use a miter or circular saw for best results. Measure carefully to avoid wasting any wood. Being precise in this step is key for a solid shelf foundation. Choosing reclaimed wood adds a unique, eco-friendly touch.
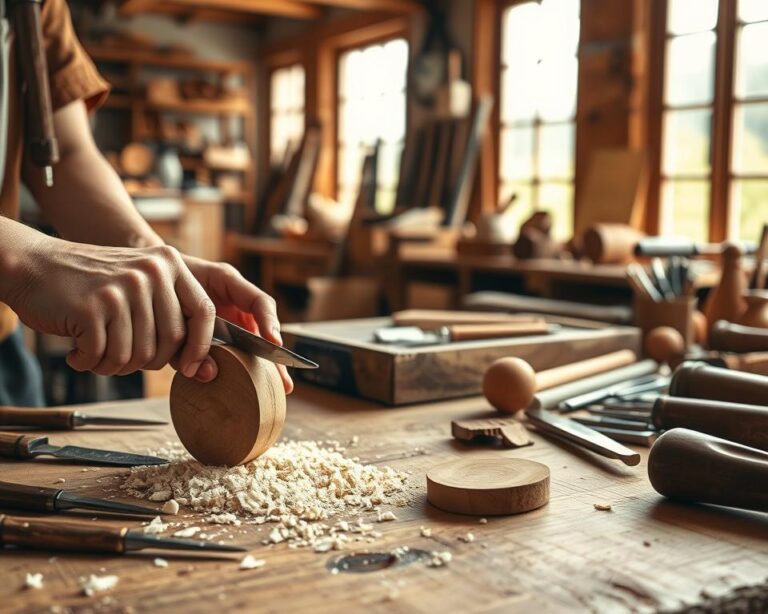
Sanding and Finishing Techniques
Once cut, it’s time to sand the wood’s edges and surfaces well. This makes the wood smooth by removing splinters and rough areas. For a better look, consider staining, painting, or sealing with polyurethane. These methods protect the wood and add to your design.

For steps on using reclaimed wood, check these instructions. They’ll help improve your wood preparation skills for shelving projects.
Installing Brackets for Wood Shelves
Putting up wood shelves starts with picking the right brackets. You want them to be sturdy and look good with your shelves. First, choose brackets that go well with your design, like fancy ones or hidden supports for floating shelves.
Types of Shelf Brackets
- Standard Brackets: Great for many shelf sizes, these give strong support.
- Floating Brackets: They make shelves look like they’re hanging by magic, for a sleek look.
- Corner Brackets: Perfect for shelves in corners, adding extra hold.
- Decorative Brackets: These brackets add beauty and are still strong for your shelves.
How to Properly Mount Brackets
Start by finding the wall studs with a stud finder; this is key for a strong set-up. Then use a level to mark where you’ll install the brackets to keep everything straight. Fasten the brackets securely with screws to hold up your wood shelves well.
Assembling Your DIY Wood Shelves
Moving ahead with your DIY wood shelf project is a big deal. It’s the step where you get to see your creation come to life by combining wood pieces with the brackets you’ve set up. Paying close attention to the build instructions is key. This ensures your shelves are not just good-looking but also sturdy.
Step-by-Step Assembly Process
- Begin by laying out all your wood pieces and hardware to ensure everything is within reach.
- Position your first shelf on the lower support brackets. Make sure it fits snugly.
- Use clamps to hold the shelf in place as you drill in screws to secure the connection. This adds stability to your assembly.
- Continue attaching the remaining shelves similarly, verifying that each shelf remains level as you progress.
- After all shelves are secured, do one last check for level alignment across all shelves. Adjust as needed.
Tips for a Secure Fit
- Take care to use screws that are appropriate for the weight of your shelves and items to be stored.
- Consider using a level to check alignment frequently throughout the assembly.
- Choose quality brackets that can support the load while maintaining aesthetic appeal.
Finishing Touches for Your Shelves
When you finish your project, think about the extras that make your wood shelves stand out. Putting on stain or paint protects the wood and makes it look better. Pick a finish that goes well with your home to make everything look unified.
Painting or Staining Your Shelves
Start with sanding for a smooth finish. Begin with coarse sandpaper and move to finer ones for a professional look. Stains bring out the wood’s natural patterns, making it more beautiful. For more color, paint is a great option to match your style. Try different paints to see what looks best in your space.
Adding Decorative Elements
To make your shelves look better, add some decoration. Support beams not only add strength but also beauty. Using fancy brackets or different shelf lengths adds interest. Label your shelves with stylish tags for both style and order.

Look for more home decor ideas to include your finished wood shelves. Aim to make them a key part of your home, not just for storage.
| Finish Type | Benefits | Best For |
|---|---|---|
| Stain | Enhances natural wood grain | Traditional and rustic decor |
| Paint | Offers a burst of color | Modern and eclectic styles |
| Sealant | Protects from moisture and damage | All wood shelving |
Organizing and Styling Your Shelves
Organizing and styling your shelves can change any room. It makes the space useful and nice to look at. Starting with practical organization helps you find things quickly and keeps mess away.
Best Practices for Shelf Organization
Make the most of your shelf area by sorting your things. Here are some tips to do it right:
- Group similar items together based on how often you use them or their size.
- Use baskets or bins for small items to keep things looking neat.
- Place books or decorative boxes upright for a streamlined appearance.
- Don’t fill every space. Leave some empty areas to prevent a crowded look.
Tips for Styling Your Shelves
Styling your shelves lets your personality shine and ties your decor together. Here are some ideas to get you started:
- Create interest with items at different heights.
- Stick to a matching color scheme for a unified look.
- Add personal items like pictures, artwork, or plants to make the display special.
- Combine useful items with decorative ones for both beauty and function.
Maintenance Tips for Wooden Shelves
It’s important to take care of wood shelves to keep them looking good and strong. Regular care makes them more beautiful and helps them last longer. Using some basic tips can keep your shelves in top shape.
Cleaning and Caring for Wood Surfaces
When cleaning wood, use a soft, lint-free cloth to avoid scratches. Stay away from strong cleaners that can harm the finish. Use a gentle soap solution for tougher spots. Dusting regularly helps keep the wood clean and looking great.
How to Prevent Warping and Damage
Keep an eye on humidity to stop your wood from warping. Try to keep your home’s humidity between 30-50%. This keeps shelves stable. Polish your shelves every few months to protect them and make them shine. Always check your shelves for any signs of damage so you can fix them early.
Conclusion and Encouragement to DIY
Making your own wood shelves is not just useful; it’s a great chance to show off your creativity and skills. When you finish, take time to see how much your space has improved. Diving into DIY projects lets you put your own touch on everything while you enjoy the pride of your work.
Final Thoughts on Your Wood Shelving Project
This project doesn’t just make your home look better; it lays the groundwork for more projects in the future. There are so many wood shelf ideas out there to inspire your next project. Each time you take on a new task, you get better at working with different materials and techniques. The more you do, the better you get at making things yourself.
Inspiration for Future DIY Projects
As you get better at woodworking, think about all the things you could make. You could create furniture, art, or solutions to organize your home. Look for inspiration in magazines, online, or from friends. This will help your unique style show through in everything you make. Your adventure is just starting, and there’s so much you can do.