Did you know nearly 40% of DIY fans say disorganization stops them from finishing projects? With more people doing home improvements, having a good organizador de ferramentas portátil is key. Whether you’re doing small projects on weekends or big ones all the time, a well-made DIY tool organizer is a must. It makes sure you can easily find and use your tools.
Next, we’ll talk about the perks of having a portable tool organizer, choosing the best materials and design tips. Plus, we’ll show how to make your organizer perfect for you. Get ready to make working on projects more efficient!
Introduction to Portable Tool Organizers
Having an organized tool collection boosts productivity for DIYers and pros. Understanding the benefits of portable tool organizers can improve job efficiency. These organizers sort tools and make them easy to grab. This means you can easily carry your tools to different places, like workshops and job sites.
Benefits of Using a Portable Tool Organizer
Using a portable tool organizer makes moving tools easy. It saves time and reduces clutter in your work area. A cleaner workspace is safer and more efficient. Plus, giving each tool its own spot keeps them in good shape, ready for whenever you need them.
Different Types of Tool Organizers
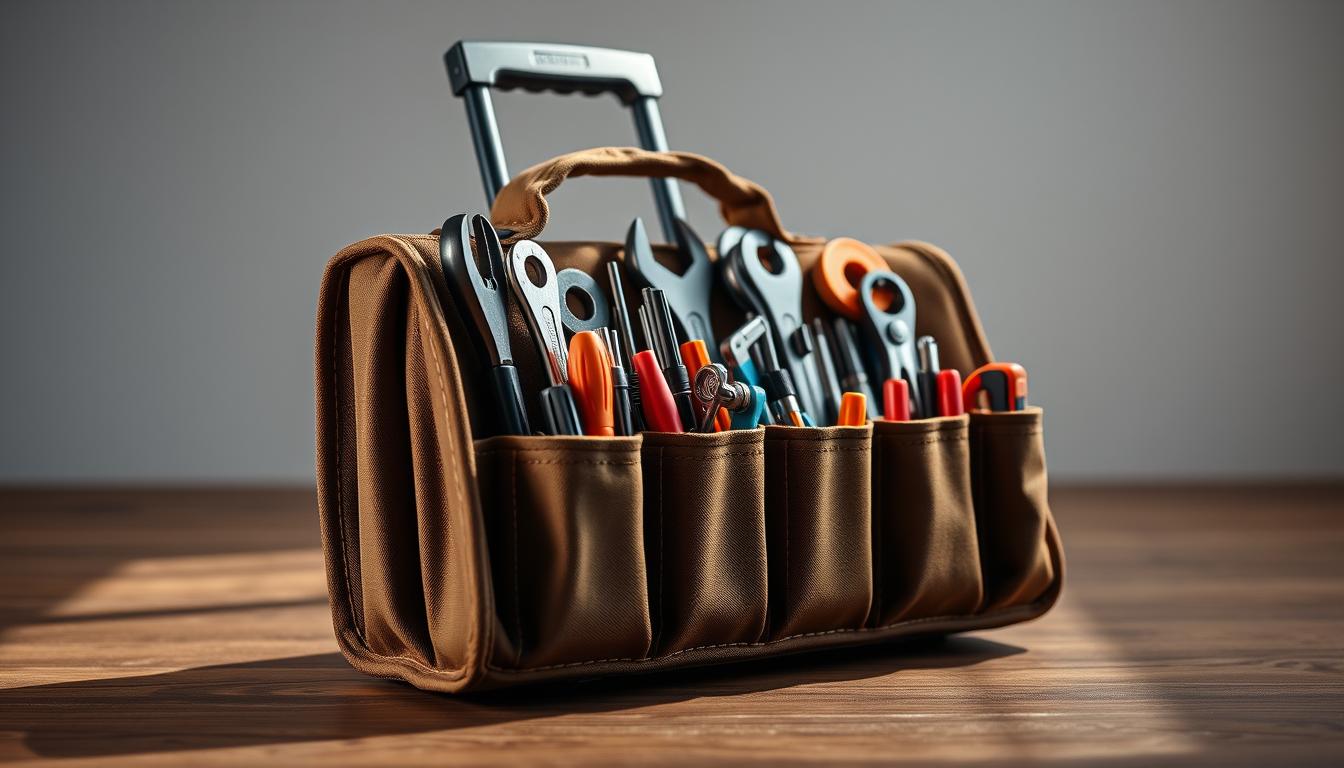
There are many tool organizers, each with its benefits. Some popular choices include:
- Caddies: They have many compartments and are easy to move around.
- Tool boxes: These are strong and help keep your tools safe and organized.
- Tool bags: Light and flexible, they are perfect for carrying tools.
Knowing about different tool organizers helps pick the best one for your needs.
Choosing the Right Organizer for Your Needs
Choosing the best tool organizer can be tough. First, think about how many tools you have. Decide if you need a small organizer for basic tools or a bigger one for many tools. It’s also important to pick one that makes grabbing tools easy during work. Taking the time to consider your options helps ensure you find the best organizer for you.
Materials Needed for Your DIY Project
To make a portable tool organizer, you need to pick the right tools and materials. It’s important to make sure your organizer lasts, especially for regular use. Here’s a list of must-have tools, suggested materials for a durable organizer, and some extra features to make it even better.
Tools You’ll Need
- Saw (hand saw or circular saw)
- Drill (cordless recommended)
- Tape measure
- Safety goggles
- Clamps
- Sandpaper
Recommended Materials for Durability
To build a strong tool organizer, picking the right materials is key. Here are some durable materials to consider:
- Wood (plywood or hardwood for strength)
- Metal (for added support in high-stress areas)
- Plastic (for lightweight and weather-resistant options)
Optional Accessories to Consider
Adding accessories to your tool organizer can really boost its usefulness. Consider these cool add-ons:
- Inserts for organizing small tools and fasteners
- Lockable wheels for easy portability
- Magnetic strips for holding metal tools
Planning Your Organizer Design
Designing a portable tool organizer takes good planning. First, you need to check all the tools you have. You must understand what tools you have to plan your organizer well. By knowing your tools, you can make sure there’s enough space for everything. This way, you create a storage solution that meets your needs.
Assessing Your Tool Collection
Start with listing your tools. Group them by size and what they do. This tool collection assessment helps you figure out how big each section should be. Make sure your favorite tools are easy to get to. This step makes sure you use your space well and keep things handy.
Sketching Your Design Ideas
After understanding your tools, begin sketching your design. You can use paper or a computer to map out your organizer. Think about layout and how it affects getting to your tools. Drawing your design lets you be creative and spot any issues early.
Ensuring Accessibility and Space Efficiency
The last part of planning is making sure tools are easy to reach. Add features like open spaces or marked drawers for quick access. Aim for a design that uses space wisely without being too crowded. This approach boosts both use and function in your tool organizer.
Building Your Portable Tool Organizer Frame
Making a strong tool organizer frame is key to keeping your tools in order and easy to find. Picking good materials, building a firm base, and adding walls and dividers makes your organizer work better.
Selecting the Frame Material
It’s important to choose strong materials for your tool organizer for it to last longer. Here are some choices:
- Wood: Looks classic and is simple to use.
- Metal: Very strong and lasts a long time.
- Plastic: Light and doesn’t mind water but might not be very strong.
Constructing the Base
The base is what holds up your tool organizer. Measure it according to your tools and cut your material. Use screws or brackets to hold everything together tight. This makes sure it doesn’t shake and stays strong.
Adding Walls and Dividers
After the base, you put up the walls. They help keep your tools in place. Adding dividers makes organizing better. You can keep different tools apart so they don’t get damaged. Measure and fix the dividers well to use the space smartly.
Incorporating Storage Solutions
Starting off with the right storage solutions is key for tool organization. Knowing your tools’ sizes and purposes helps pick suitable compartments. This makes arranging them easier. Let’s look at ways to make your tool storage both functional and simple to use.
Understanding Compartment Sizes
Choosing the right compartment sizes is crucial for space optimization. Small tools like screwdrivers fit well in tighter spaces. Bigger tools like drills need more room. Measuring your tools’ sizes should help design your storage, making every tool easy to reach and secure.
Adding Drawers vs. Open Compartments
The choice between drawers and open compartments matters a lot. Drawers hide tools, keeping them free from dust. Open compartments offer easy access. Consider both options to find what works best for your workflow and needs.
Using Inserts for Small Tools
Adding inserts helps keep small items organized within your storage system. They keep your tools from getting mixed up. Custom inserts ensure every tool has its place, which improves organization and makes finding tools easier.
Customizing Your Tool Organizer
Making a tool organizer that’s uniquely yours improves its function and adds a personal vibe to your space. Customizing lets you show your style and stay organized. Topics covered include choosing colors, making labels, and adding a removable tool board.
Personalizing with Colors and Finishes
Picking your favorite colors and finishes can turn a basic organizer into something that shows off your style. Choosing bold or soft colors, and the right paint or wood finish can make it look good and last long. Pick water-resistant paints to keep it looking great, especially in places like workshops or garages.
Adding Labels for Easy Identification
Putting labels on your tools helps keep everything organized. Clear labels make it easy to find what you need, saving you time and trouble. Choose strong labels that can handle wear and tear. Color coding is also a great idea to make things even simpler to spot.
Creating a Removable Tool Board
Having a removable tool board gives you flexibility, making it easy to get to your most-used tools. This is handy in small areas or when you’re on the move. Adding a removable tool board to your organizer means you’re ready for different tasks and locations.

Ensuring Portability and Functionality
Portability is essential when making a tool organizer. Choosing the right parts makes it easy to move and access. Think about handles, wheels, balancing weight, and securing tools for travel.
Selecting the Right Handles and Wheels
When picking handles and wheels, focus on those that last and are easy to use. Look for rubber wheels that grip well and roll smoothly. Handles should be comfy to hold, making heavy lifting simpler. Together, they make moving heavy things look easy.
Balancing Weight for Easy Transport
How you spread out weight is crucial for easy use. Keep heavier tools at the bottom for stability. Put lighter items up top for quick access without tilting your organizer. Balanced weight prevents it from falling over while moving.
Securing Tools for Movement
It’s important to keep tools in place when moving. Use dividers, straps, or Velcro to stop them from shaking around. This keeps everything neat and prevents damage on the go. Securing tools makes carrying them easier and keeps them safe.
| Feature | Description | Benefits |
|---|---|---|
| Handles | Ergonomically designed for comfort and leverage | Reduces strain, improves control |
| Wheels | High-quality, durable wheels suitable for various terrains | Enhanced mobility and smoother transport |
| Weight Distribution | Strategically placing heavier tools lower | Prevents tipping and improves stability |
| Tool Securing | Using dividers and straps | Keeps items organized and protected |
Final Assembly of Your Tool Organizer
The last steps of putting together your tool organizer are key. It’s not just about connecting the parts. You also need to be careful and follow the best ways of doing things. Using a guide can help make the process smoother and improve your results.
Step-by-Step Assembly Guide
- Prepare all pieces and tools needed for the assembly.
- Begin by securing the base of the organizer, ensuring it is leveled and sturdy.
- Attach the walls and dividers, making sure they fit snugly and are supported.
- Install any drawers or compartments you have designed.
- Finish by adding handles and any final touches to enhance usability.
Common Mistakes to Avoid
- Avoid incorrect measurements that can result in uneven components.
- Ensure all fasteners are adequately tightened to prevent wobbling.
- Do not overlook the balance of the organizer, as improper weight distribution can make it difficult to transport.
- Double-check that all pieces fit before final assembly to avoid disassembling later.
Safety Tips During Assembly
Keeping safe while you assemble is important. Always wear protective gear like eyewear and gloves to avoid injuries. Keep your space organized to prevent accidents, and put tools away when not in use. This not only protects you but also ensures your tool organizer lasts longer.

Testing Your Finished Product
After you build your portable tool organizer, you must test it thoroughly. This step checks if the design works well and meets user needs. These tests help make your tool organizer better, making your projects easier to manage.
Evaluating Tool Fit and Accessibility
First, see if your tools fit well in the organizer. You might need to adjust the spaces for different sizes. Make sure you can get to each tool easily. A good organizer reduces the time you spend looking for tools, making you more efficient.
Making Adjustments as Needed
Be ready to adjust things as you test. Even small changes can make a big difference. You might change the size of the dividers or the depth of the compartments. This helps you make a custom organizer that perfectly fits your tools.
Gathering Feedback from Users
Ask others what they think about your tool organizer. Feedback from friends, family, or other DIY fans can reveal what’s great and what’s not. Their advice can help you improve your design, making an even better organizer.
Maintenance of Your Tool Organizer
Keeping your tool organizer in good shape makes it work better and last longer. It’s key to clean it often, check for wear, and think about upgrades as needed. This way, your portable tool organizer stays useful for more time.
Cleaning Tips for Longevity
Cleaning helps keep your tool organizer in top shape. Here’s how to clean it right:
- Use mild soap and water to wash the outside. Steer clear of strong chemicals that can damage it.
- Empty the compartments often to get rid of dust and dirt.
- For wooden organizers, a wood cleaner and conditioner will keep the wood looking good.
- Inspect for stains and clean them quickly to avoid permanent marks.
Regular Checks for Wear and Tear
Checking your organizer often helps catch issues early. Pay attention to:
- Check hinges and closures to make sure they work right. Oil them if they’re stiff.
- Inspect compartments for any cracks that might need fixing.
- Examine handles and wheels to ensure they’re sturdy and help you move it easily.
Upgrading Features Over Time
As you get more tools, think about upgrading your organizer to fit them:
- Add more compartments or shelves for extra tools.
- Incorporate new materials for better strength and to withstand the weather.
- Include modular elements for a setup that changes with your projects.
Maintaining your tool organizer means it will support you better and for longer. Clean it well, check it often, and upgrade when needed to boost its use.
Conclusion: Enjoy Your Custom Tool Organizer
Making your own tool organizer is just the start of your DIY adventure. With your own design, you can make it truly yours. Add your favorite colors or finishes to show your style. This makes your workspace look better and helps keep your tools organized. It also makes working on projects more fun.
After finishing your tool organizer, don’t be shy to show it off. Sharing your projects online can inspire others and spark new ideas. You can use social media or DIY forums to share. This builds a community of learning and sharing. You’ll likely find the feedback you get very rewarding.
Being organized in your DIY projects has many benefits. A neat tool setup improves both efficiency and creativity. It helps you do your best in everything you tackle. Dive into making your own tool organizers. Enjoy every step of your creative journey.