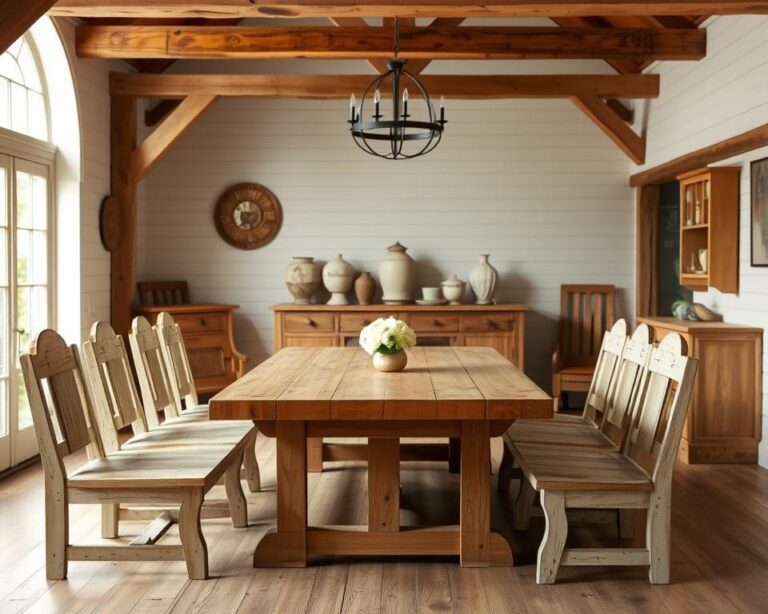
Did you know more than 60% of Americans are starting DIY woodworking projects? They do this to save money and boost their creativity. If you want to learn how to build your own wooden box, you’re at the right spot! Making a wooden box without power tools is rewarding. It’s also a great way for beginners to start with woodworking.
This guide will show you how to make a wooden box that’s both useful and looks good. You’ll get to practice your craft skills and learn new ones. Whether you’re looking to tidy up your space or give someone a unique gift, this wooden box DIY is ideal!
Introduction to Wooden Box DIY
Making a wooden box at home is fun and rewarding. This guide helps you create a box for either storage or decor. When you build your own, you can add personal touches that you can’t find in stores.
Benefits of Making Your Own Wooden Box
DIY wooden boxes have many pluses. You can make it just the right size and style for you. As a beginner, you learn a lot about woodworking. Plus, it’s cheaper than buying one, and you control the quality.
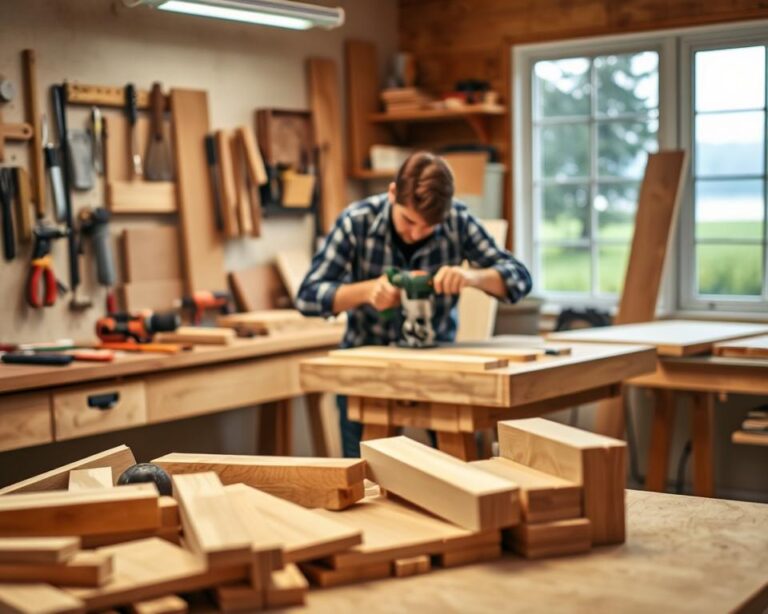
Tools You Need for the Project
You’ll need some basic tools to start:
- Hand saw
- Measuring tape
- Clamps
- Wood glue
- Sandpaper
These are key for beginners. They help you cut accurately and finish smoothly. Knowing how to use them is important for your project’s success.
This tutorial is a great way to start woodworking. Whether for useful storage or beautiful art, begin your crafting adventure here!
Selecting the Right Wood for Your Box
Choosing the right wood is key for your wooden box DIY project. It affects how your box will look and last. Knowing about different woods will improve your project. So, it’s vital to pick wisely.
Types of Wood Suitable for DIY Projects
There are many choices for your box. Here are a few good ones:
- Pine: It’s a softwood that’s simple to use, great for starters.
- Oak: A strong hardwood with fine grain, ideal for a durable box.
- Maple: Offers a refined look with its smooth texture, a top hardwood pick.
- Birch: A favorite for its strength and lovely pale hue, fit for various projects.
Sourcing Affordable Lumber
Getting lumber at a good price is easier than you think. Check local hardware stores for deals or discounts. You might also find unique reclaimed wood from old pieces or buildings. Always choose wood without big flaws for the best finish and strength.
https://www.youtube.com/watch?v=wWeTmtM2bsU
| Type of Wood | Classification | Durability | Typical Uses |
|---|---|---|---|
| Pine | Softwood | Moderate | DIY projects, furniture |
| Oak | Hardwood | High | Furniture, cabinetry |
| Maple | Hardwood | High | Cabinetry, flooring |
| Birch | Hardwood | Moderate | Furniture, plywood |
Planning Your Wooden Box Design
Designing a wooden box needs careful thought. Before starting, think about your box’s purpose. Is it for storage, display, or as a gift? Understanding its use will help shape your design. It’s key to measure and sketch your plan early. This ensures a smooth project flow.
Measuring and Sketching Your Design
First, measure where your box will go. You need it to fit just right in its spot. Then, draw your box on paper, showing important features like the lid and size. This is really helpful for beginners. It makes starting your woodworking project easier.
Choosing the Right Dimensions
Size is super important for your box design. Think about what you’ll put inside. Items like toys or jewelry need boxes of different sizes. Focus on making your box useful but also nice to look at. A good design makes your DIY project stand out.
Cutting Wood Without Power Tools
Getting the cut right is key for any wood project. Hand sawing lets you make exact cuts, improving your project’s look. Tools like a miter box make edges smooth and prevent splinters. With these skills, you’re on your way to DIY success.
Hand Saw Techniques for Precise Cuts
To do well with hand saws, remember these steps:
- Start with a clean, straight edge, using a square or ruler for guidance.
- Apply consistent pressure, allowing the saw to do most of the work.
- Use a back saw for more control and precision on detailed cuts.
Tips for Safe and Effective Hand Cutting
Safety is crucial when woodworking. Keep these tips in mind:
- Wear protective eyewear to protect your eyes from dust and debris.
- Keep your space clean to avoid accidents.
- Clamp your wood well to keep it steady while you cut.

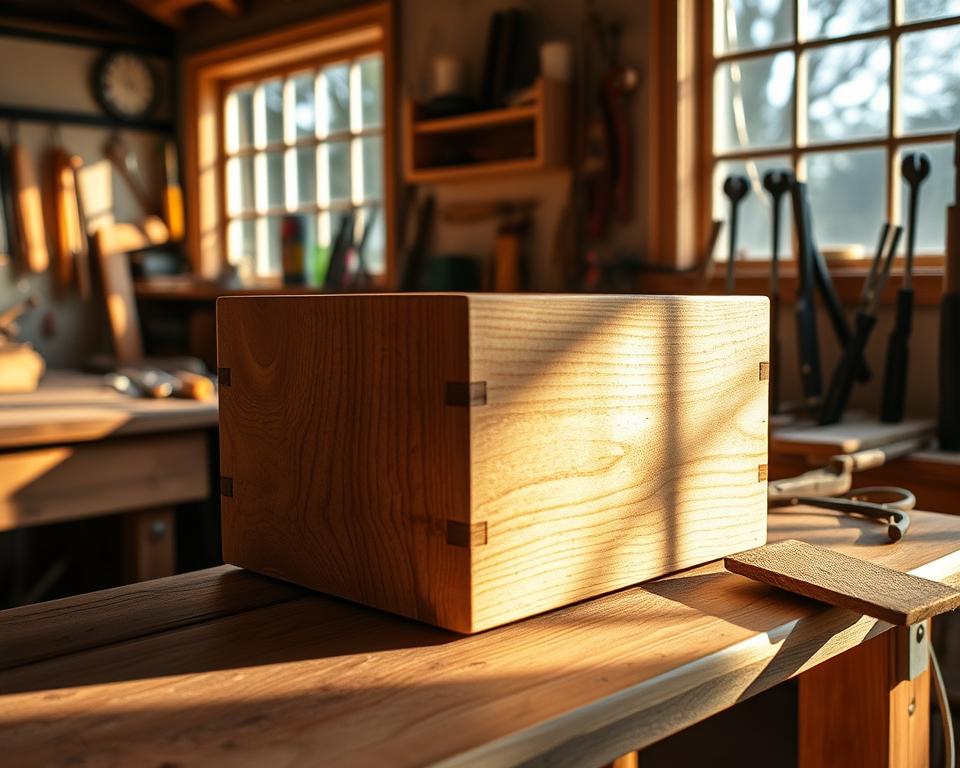
Joining Wooden Pieces
Making a strong wooden box involves knowing how to join pieces together well. The joints you pick are key to how tough and nice your box looks. Depending on what you like and how skilled you are, you can choose from many types of joints.
Types of Joints for Your Box
Here are some joints often used in making wooden boxes:
- Butt Joint: This is a simple joint where two wood pieces meet end to end. It’s easy but might need extra support.
- Lap Joint: By overlapping two pieces, this joint is stronger, great for box corners.
- Miter Joint: Angled cuts come together at a corner for a neat finish. Best for fancy edges, but getting it right needs careful work.
Using Wood Glue Effectively
Wood glue makes joints hold better, keeping your box strong day in, day out. Here’s how to do it right:
- Spread wood glue smoothly on both surfaces you’re joining.
- Line up the pieces just right so they fit snug.
- Keep the pieces clamped tight while the glue sets.
- Wipe off any extra glue with a wet cloth before it dries.
Getting these joining methods right will help you build a wooden box that’s both strong and good-looking.
Sanding and Smoothing Your Wooden Box
Sanding is key to making your wooden box look better. You can use different techniques to get a smooth, refined surface. Hand sanding works well for edges and detailed parts, giving you more control.
Hand Sanding Techniques
Start with a coarse-grit sandpaper, like 80 or 120 grit, to remove rough spots. Be sure to apply even pressure and move with the wood grain. This prevents scratches that could ruin your finish.
Move to a finer grit, such as 220, after the first sanding. Finer grits polish the surface. It’s best to sand in circles to prevent flat spots and get a uniform finish.
Best Grit Sandpaper for Wood
Choosing the right sandpaper is important in woodworking. The best type depends on the sanding stage:
| Grit Number | Purpose | Recommendation |
|---|---|---|
| 80 | Initial sanding to remove material | Use for rougher surfaces |
| 120 | Intermediate smoothing | Good for general purpose |
| 220+ | Final sanding for a smooth finish | Essential for wood finishing |
Using these sanding methods will make your wooden box much better. The correct sandpaper makes sure your project looks and feels good.

Finishing Your Wooden Box
Making your wooden box look and last longer involves finishing it properly. You can choose from different finishing methods like staining, painting, or oiling. Each method changes how your box looks and protects it. Think about what look you want and how the box will be used before picking a finish.
Selecting the Right Finish for Wood
When you’re doing a DIY project with your wooden box, picking the right finish is crucial based on your design goals. If you want to show off the wood’s natural beauty, stains are great. Paints add a splash of color, while oils give a natural finish. Consider where the box will be to decide on the best protection.
How to Apply Stain or Paint
Getting the wood ready is key before staining or painting. Start by cleaning the wood well to take off any dust or dirt. Paint or stain smoothly and carefully for a flawless look. Put on several layers if needed, letting each one dry fully. This makes your piece strong and shows off your hard work.
Adding Personal Touches
Personalizing your custom wooden box turns it into a special keepsake. It shows off your unique style. You can choose from many ideas to make it your own.
Decorating Ideas for Your Wooden Box
Why not paint it with bright colors or patterns you love? Consider adding fabric inside for a touch of softness. You could also use stencils for cool designs or messages.
This might include flowers, shapes, or something personal. Adding textures can make the wood look even better.
Engraving or Stenciling Your Design
Putting your initials or a special symbol on your box makes it more meaningful. With stencils, you can create designs that show off your personal style. Check out creative techniques to add beauty and detail.
Assembly Tips for a Sturdy Box
Starting to put together your wooden box may seem tough at first. Yet, having a steady plan helps achieve lasting results. These tips will guide you to make sure your box stays intact. It’s important to focus on building a strong box from the start.
Step-by-Step Assembly Instructions
- Begin with the box’s bottom. Lay it out flat and arrange the sides around it so they fit well.
- Next, spread wood glue on the side piece edges before fixing them to the bottom. Clamps should then secure them as the glue dries.
- Then, add the top pieces, ensuring they fit tightly with the sides. Use clamps again for a firm hold.
- Look for any gaps and fix them before the glue hardens completely.
- After securing everything, wait for the glue to dry fully, following the manufacturer’s guidelines.
Common Pitfalls to Avoid
- Misalignment: Always check your measurements to prevent uneven joints.
- Excessive glue: Use glue sparingly to avoid messes.
- Rushing the drying process: Give the glue plenty of time to strengthen.
- Neglecting to sand edges: Smooth edges stop splinters and make the box look better.
Avoiding these woodworking errors can save you both time and materials. By taking your time and focusing on the details, your wooden box will turn out great. This reflects your skill and creative effort.
Final Touches and Quality Check
After you build your wooden box, it’s crucial to check its quality thoroughly. This guarantees your work meets high-quality woodworking standards. Inspect every joint and edge, fixing any rough spots or errors in alignment.
This extra care not only boosts the box’s strength but also gives it a sleek look.
Ensuring Your Box is Well-Made
When inspecting your box, watch for leftover glue and take it off for a neat look. If needed, sand areas gently to smooth out the surface. A well-crafted box shows off your skill and eye for detail.
Check that every part fits just right and looks good together. Getting these details right affects how the final product looks.
Tips for a Professional Look
To give your box a pro touch, think about these points:
- Use fine-grit sandpaper for a smooth finish.
- Apply a suitable wood stain or paint consistently for uniformity.
- Ensure that all finishes dry completely before handling.
- Maintain clean lines when decorating or personalizing.
By following these suggestions, you’ll turn a simple DIY box into a beautiful piece. Take pride in your precision and make every detail perfect for an impressive result.
Conclusion and Inspiration for Future Projects
As you finish your wooden box, take a moment to be proud. You have learned a lot. This box is just the start of your woodworking adventure. Try making wooden planters, toy chests, or even furniture to grow your skills.
For more ideas and to get better at woodworking, check out some resources. Woodworking books and online tutorials offer great tips. Joining woodworking communities lets you share and learn. You can get advice from experienced woodworkers.
Keep enjoying your woodworking journey. Every project helps you grow. Let your creativity lead you to make unique things that show off your skills. Have fun with woodworking, and let your next project be as rewarding as this one!