About 1.5 million American households enjoy woodworking as a hobby. This shows that woodworking is for everyone, not just those with lots of tools. Even if you don’t have fancy equipment, you can still start making simple wood projects. All it takes are basic hand tools and some imagination.
Woodworking isn’t just about creating things. It’s also about experiencing the satisfaction of making something by hand. You can create either useful or decorative items. Start with a plan and eagerness to try new things. Soon, you’ll be making crafts without needing any power tools.
What Are Beginner Wood Crafts?
Beginner wood crafts are simple, fun projects for anyone new to the craft. You start with basic skills and hand tools. These projects are a great first step into woodworking. They let you be creative and make useful items. With patience and practice, you can enjoy this rewarding hobby.
Introduction to Wood Crafting
Wood crafting turns raw wood into lovely things. For newbies, it’s best to start with easy projects. You won’t need fancy tools, just basics that are easy to use. Working on these projects helps you get better and appreciate the art of woodworking.
Benefits of Wood Crafts for Beginners
Starting with wood crafts has many benefits. It’s more than just finishing a project. It improves your hand skills and boosts creativity. Woodworking teaches you to solve problems. It gives you confidence. Finishing a project makes you proud. It motivates you to try harder crafts.
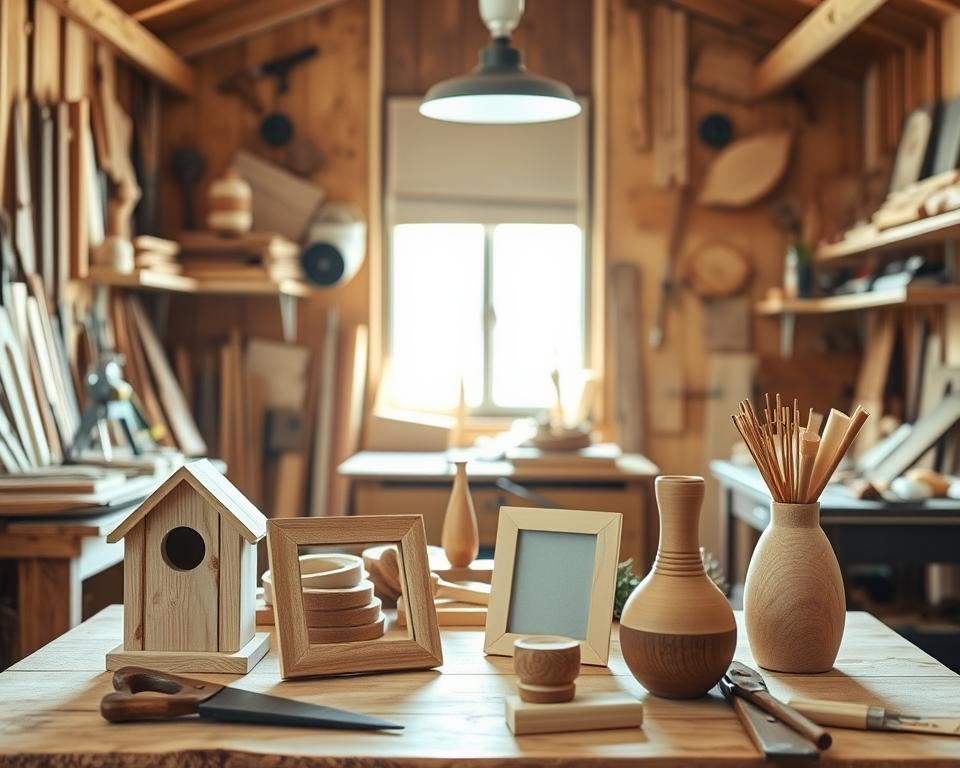
Essential Materials for Wood Crafts
To start making wood crafts, you need the right materials and tools. Learn about the types of wood, hand tools, and safety gear. This knowledge is key for beginners in woodworking.
Types of Wood to Use
Choosing the right wood is important for your projects. For beginners, softwoods like pine are easy to use and affordable. You can also pick cedar or fir for outdoor projects. For something fancier, try hardwoods like maple or oak. They are tough and give a nice finish, great for all sorts of crafts.
Recommended Hand Tools
Knowing about hand tools is a must for starters. You’ll need some basic tools to begin. Must-haves include a handsaw for cutting and chisels for shaping. A hammer is vital for putting pieces together. Use a square for accurate measures and a clamp to keep parts in place while gluing. These tools help you work with confidence on your projects.
Safety Gear for Crafting
Safety is crucial when making wood crafts. Always wear gloves to protect your hands and safety glasses to guard your eyes. A dust mask is good against sawdust when sanding. The right safety gear makes your workspace safe, letting you enjoy crafting.
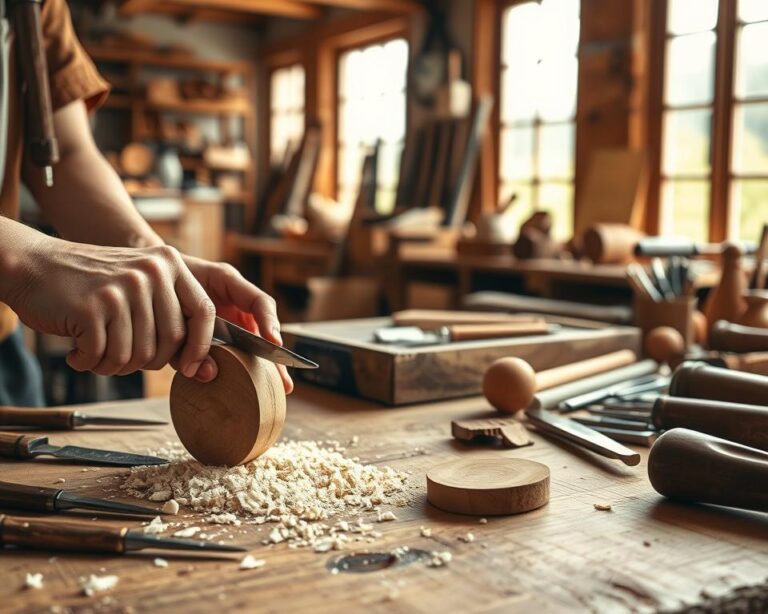
Simple Techniques for Working with Wood
Starting with basic woodworking skills is vital. It boosts your confidence and enables you to create beautiful work. Learn how to measure, mark, cut by hand, and sand wood. These steps are key for precise and great-looking projects.
Measuring and Marking Wood
Good woodworking starts with precise measuring and marking. Always measure twice before you cut. This saves you from making costly errors. Use a tape measure and a square to draw straight lines. Make sure your marks are clear. This careful prep work leads to quality in your final piece.
Cutting Wood by Hand
Cutting wood by hand is a great skill to learn without power tools. A handsaw is essential for beginners. Cut slowly along your lines for better control. Let the saw work for you for cleaner results. Hand cutting gives you more control and can improve your craftsmanship.
Sanding for a Smooth Finish
Sanding is key for a polished finish. Start with rough sandpaper and move to finer grits. This removes imperfections. Always sand in the direction of the wood grain. A smooth finish will make your project look better. Proper sanding really makes your work stand out.
Popular Beginner Wood Craft Projects
Starting with woodworking is thrilling and rewarding. You develop skills and make something nice by doing simple projects. Here are a few easy woodworking projects for beginners. They are made to spark your creativity and improve your skills.
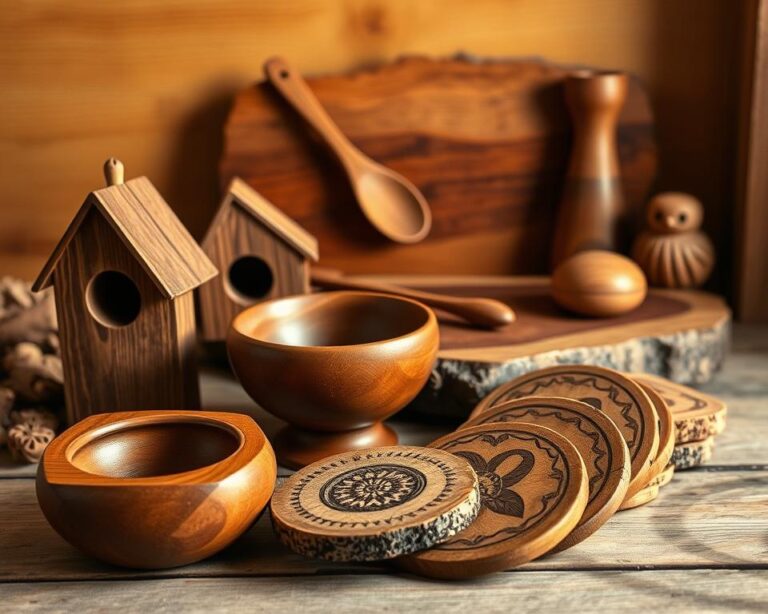
Birdhouses: A Classic Beginner Project
Making a birdhouse is a great start. It’s a simple project but very rewarding. It lets you be creative and helps birds find a home. You can choose the size and style you like, making birdhouses loved by many. They need few materials and tools, making them perfect for beginners.
Wooden Coasters for Home Decor
Wooden coasters are excellent for mixing art with usefulness. These projects suit beginners and can match your style or house decor. Try different woods, shapes, and finishes for unique pieces. Coasters are quick to make, encouraging you to do more.
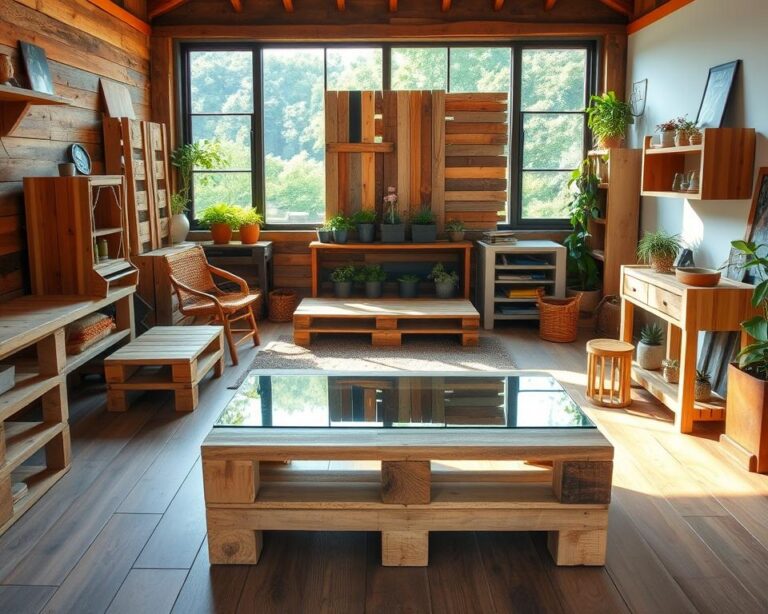
DIY Plant Stands
Making a DIY plant stand lets you show off plants and decorate your space. Plan a bit, and you can make a stand that looks great in your home. Projects like this are great for starting woodworkers. They also let you get better at crafting with wood.
Step-by-Step Guide to Making a Birdhouse
Want to build a birdhouse? It’s a fun, rewarding project that’s perfect for beginners. This guide will show you how to start. You’ll pick your materials and add those last details. You’ll learn to work with wood and end up with a great decoration for your garden.
Choosing the Right Wood
First, you need to choose the right wood. Go for weather-resistant types like cedar or redwood. These woods last outside, making your birdhouse durable. Don’t use pressure-treated wood; it’s bad for birds. Picking the best wood is the first step in this beginner project.
Construction Steps
Here are the steps to make your birdhouse:
- Measure and cut your wood pieces to fit your design. A saw will help make clean cuts.
- Glue and nail the base, walls, and roof together for a solid structure.
- Cut a door that fits the birds you hope to attract. Make sure they can get in easily.
- Drill holes in the bottom for water to escape and keep the house dry.
Finishing Touches: Painting and Sealing
Now, make your birdhouse stand out. Use safe paint or wood stain to make it look good and protect the wood. Seal it with a weatherproof sealant to keep it safe from the rain and sun. These steps make your birdhouse look great and last long in your garden.
Creating Decorative Wooden Coasters
Making wooden coasters is not only fun but also adds a special touch to your home’s look. These projects are perfect for beginners and offer a great way to practice woodworking. You’ll learn about the materials needed and the steps to make your own coasters.
Materials Needed
- Wood: Choose softwoods like pine or poplar for easy handling.
- Wood Glue: A strong adhesive to keep your pieces together.
- Sealant: This protects your coasters from water damage.
- Sandpaper: For smoothing edges and surfaces.
- Tools: A hand saw, a measuring tape, and a straight edge ruler will be helpful.
Designing Your Coaster
When designing your coasters, pick themes or patterns you love. You might like simple shapes or something more personal like painted or wood-burned designs. Using stencils is a fun way to make crafting your coasters more exciting. Let your creativity shine here.
Assembly Instructions
- Measure and cut the wood into your desired coaster size, typically 4×4 inches.
- Sand the edges and surface until smooth to avoid splinters.
- Apply wood glue to the pieces if you’re making multi-layer designs.
- Let the glue dry completely before applying a sealant to protect your coasters.
- Once dry, finish with an additional sanding to ensure a perfect touch.

Building a Simple Wooden Plant Stand
Make your own DIY plant stand to add style and function to any room. This easy project is great for beginners in woodworking. Follow these easy steps to enhance your home and boost your woodworking skills.
Gathering Your Supplies
Make sure you have these items before you start:
- Wood boards (1×4 or 2×4 are great choices)
- Wood screws
- Wood glue
- Sandpaper (medium and fine grit)
- Pencil and measuring tape
- Handsaw or hand saw
- Drill
Step-by-Step Assembly Guide
Here’s how to put your stand together:
- Measure and cut your wood pieces to the size you want for the stand.
- Attach the sides to the top piece with wood screws to make a frame.
- Put the bottom shelf in place, making sure it’s strong enough for your plants.
- Smooth any rough edges with sandpaper to prevent splinters.
- Paint or stain your stand as you like.
Tips for Personalizing Your Stand
Make your stand unique with these ideas:
- Add decorative wood carving or patterns.
- Try different colors or finishes.
- Add hooks or extra shelves to make it more useful.
Maintaining Your Wood Crafts
Keeping your woodcrafts in top shape means you can enjoy them longer. It is key to ensure they look good and work well. Here, we’ll show you how to clean, fix common problems, and keep your wood projects safe. This way, your creations will last longer and stay beautiful.
Cleaning and Care Tips
It’s important to clean your wood crafts regularly. Wipe them gently with a soft cloth to remove dust. This stops dirt from harming the finish. If needed, lightly dampen a cloth with mild soap for a deeper clean. But, be careful not to soak the wood because it can change shape. Always dry it right after to prevent water damage.
Repairing Common Issues
Wood projects can get damaged over time. You might see scratches, dents, or parts that come loose. Fix scratches by softly sanding the spot and adding wood finish. For dents, try using a damp cloth and iron to raise them. Loose parts might need new glue or a dowel to make them strong again.
Preserving Your Crafts
Keeping your wood projects safe is essential. A protective sealant or wax keeps them safe from water and dirt. A great choice is natural beeswax. It feeds the wood and makes it look shiny. Check your items often for damage. And use preservatives when necessary to keep them looking great.

Expanding Your Skills Beyond Basic Crafts
As you get better with simple wood crafts, think about improving your skills. Learning advanced woodworking techniques opens up new ways for creativity and quality work. Joining a woodworking group will help you share and learn with others. Also, there are many online resources to help you get better and take on harder projects.
Exploring Advanced Techniques
Advanced woodworking lets you make complex designs and useful furniture. Skills like dovetail joints, mortise and tenon, and using veneers can make your work better. Knowing these techniques not only boosts your skills but also makes you love woodworking more.
Joining a Woodworking Community
Being in a woodworking community is very helpful. You can share ideas and skills with other woodworkers. Joining local clubs or online forums gives you support and new ideas. This love for woodworking creates a friendly place that helps everyone grow and learn.
Online Resources for Learning
Online tools let you find expert advice and video lessons at home. Websites like YouTube, blogs, and special courses provide lessons from basic tips to complex skills. This means you can learn at your pace and keep improving your woodworking abilities.
Conclusion: Embrace Your Wood Crafting Journey
Wood crafting is a fulfilling adventure. As you grow your skills and watch your projects take shape, remember to celebrate. Every birdhouse or plant stand you make shows your creativity and hard work. Celebrating your achievements fuels your passion and inspires others to take up this rewarding hobby.
Celebrating Your Creations
Each creation is special and tells its own story. When you admire your work, you might share it on social media or with your community. Showcasing your projects does more than highlight your skill. It encourages others to dive into woodworking, spreading your passion.
Inspiring Others to Start Crafting
Inspiring others isn’t just about showing off what you’ve made. It’s about creating a community that loves crafting. Sharing your journey, and maybe a link to helpful step-by-step guides, does more than celebrate your work. It motivates others to start their craft journey, enriching the crafting world.