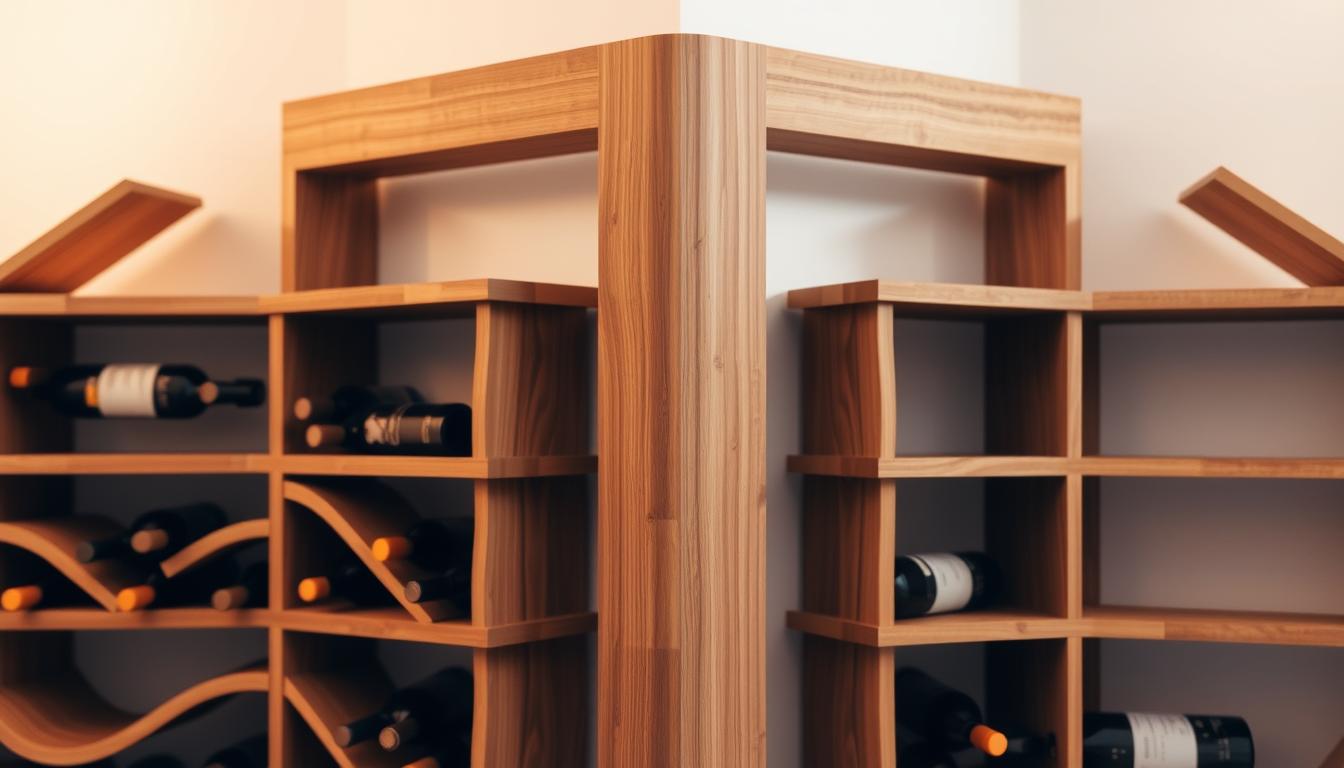
About 30% of American homes use their spaces for DIY projects. They look for furniture that makes the most of their area. A corner wine rack can be a great choice if you have a small living space.
This stylish wine rack boosts your modern wine storage while adding beauty to your home. Making your own suporte para vinhos de canto blends function with style. It displays your wine collection in a beautiful way and saves space. Follow this guide to build a DIY wine rack that fits perfectly with your home décor.
Understanding the Purpose of a Corner Wine Rack
A corner wine rack is great for saving space and making your home look good. It not only adds style but also keeps your wine collection organized. By mounting it on the wall, you don’t use up floor space. This way, your bottles stay in order and within reach.
Benefits of Having a Table on Wheels
A table on wheels adds flexibility to any room. You can move it around easily, changing your setup whenever you want. It can be a portable bar or a spot to serve snacks at parties. This makes it perfect for hosting, as you can move it wherever you need.
Ideal Uses for Your Rolling Table
There are many ways to use a rolling table besides just storing wine. Consider these ideas:
- Turn it into a mobile serving station for parties.
- Use it to show off more items in your dining space.
- Keep kitchen essentials and recipes on it for easy access.
- Make it a craft table that you can move as needed.
Essential Materials and Tools Required
Making your own wine rack is a fun project. It’s important to pick right materials and tools for great results. Whether you want a classic look or a modern design, your choice of wood and hardware matters a lot.
Types of Wood for Your Project
Different woods have their own benefits for your wine rack:
- MDF (Medium Density Fiberboard): Good for painting and affordable.
- Plywood: It’s strong and can hold wine bottles well.
- Solid Wood: Woods like oak or maple add beauty and quality.
Recommended Hardware and Accessories
You also need the right hardware and accessories for your wine rack. Here are some key items:
- Screws: Pick wood screws for a strong hold.
- Brackets: Brackets help keep everything in place.
- Paint or Stain: A good finish makes your rack look better and protects the wood.
With these suggested tools, you’ll find building easier and get a great wine rack to show off your wines.
Preparing Your Workspace
Creating the right DIY workspace is key for craft success. A tidy and efficient area helps make building your corner wine rack easier. It also keeps you safe while you work.
Setting Up a Safe and Efficient Area
Choose a spot with good light and fresh air. This helps you see clearly and stay cool. Make sure your work table is strong enough to handle your tools and materials. A clutter-free space allows you to move freely and concentrate on creating.
Organizing Your Tools
Before you start, collect all the tools and materials you’ll need. Use toolboxes or pegboards to keep everything in order. This way, your tools are easy to grab, and you won’t be distracted by mess. A well-organized space makes crafting more straightforward and fun.
Step 1: Collecting Measurements and Designing Your Wine Rack
Starting with careful planning is key to making a great corner wine rack. You need to figure out how much space you have and how many bottles you want to store. It’s very important to measure your space accurately. This way, your wine rack will fit perfectly where you want it.
Determining Rack Dimensions
First, measure where you want to put your corner wine rack. Think about these important points:
- Height: Make sure the rack will fit in the available space above and around it.
- Width: The width should hold the number of bottles you want.
- Depth: The depth must be considered for stability, especially if adding shelves for more storage.
By paying attention to these measurements, you can design something that’s both useful and looks good. It’ll be a great addition to your space.
Sketching a Simple Design
After deciding on the measurements, it’s time to be creative. Draw a basic design that brings your idea to life. Think about where bottles will go and if you want shelves or special features. Also, decide if you want a modern or classic look to match your room.
- Placement of horizontal or vertical bottle slots
- Incorporation of shelves or additional features
- Aesthetics like curves or clean lines to match your existing decor
Design your wine rack to match your style and needs. A good design will stand out and be useful at the same time.

| Dimension | Notes |
|---|---|
| Height | Aim for a maximum height that allows easy access. |
| Width | Consider how many bottles will be stored side by side. |
| Depth | Ensure stability; deeper is better for larger bottles. |
Step 2: Cutting the Wood
When you cut the wood for your rolling side table, pay close attention to details. It’s also key to follow safety rules. Good cutting methods improve your project’s accuracy and keep you safe. Preparing well makes your final product better.
Safety Tips for Using Power Tools
Keeping safe with power tools is important to avoid accidents. Here are some important safety tips:
- Always wear appropriate personal protective equipment, such as safety glasses and hearing protection.
- Keep hands and fingers clear of the blade and never reach across the cutting line.
- Ensure the work area is well-lit and organized to minimize distractions and hazards.
- Familiarize yourself with the power tool’s instructions and safety features before use.
Cutting Techniques to Ensure Precision
Using the right wood cutting techniques makes your cuts clean and your project fit well. Here are some guidelines to follow:
- Measure twice and cut once to avoid mistakes.
- Use clamps to secure the wood while cutting; this prevents movement and ensures straight cuts.
- Employ a straightedge or a cutting guide to enhance accuracy when using a circular saw.
- Employ fine-tooth blades for smoother edges and less splintering, particularly on plywood.
Step 3: Assembling the Rack Frame
Putting together your wine rack’s frame is key to making it strong and lasting. It doesn’t just make getting to your bottles easy. It also carries their weight and stops damage. Follow these steps and advice to build a solid frame for a steady wine shelf.
Step-by-Step Assembly Instructions
- Start by laying out all components on a flat surface. Ensure that all pieces are cut according to your design.
- Begin assembling the base by connecting the side panels to the bottom shelf. Use wood glue and screws for a secure fit.
- Attach the vertical support pieces to the back of the rack. This structure will add vital strength.
- Secure the top shelf using the same techniques, ensuring that all connections are tight and well-aligned.
- Finally, install additional bracing if needed to reinforce stability.
Tips for Ensuring Stability
- Check for levelness as you build. A leaning wine rack can lead to issues later on.
- Use corner braces or L-brackets for added support at junction points.
- Make sure to tighten all screws and fittings correctly. Loose components can compromise the integrity of the wine rack.
- Consider adding rubber feet to the bottom of the rack for traction, especially on slick surfaces.

Step 4: Adding Finishing Features
Making your wine rack look good is key. Finishing touches not only make it prettier but also keep the wood safe. There are many finishes to choose from, so pick one that looks good in your home and lasts long.
Choosing the Right Type of Finish
Think about your style and what you need when picking a finish. Here are a few popular choices:
- Stain: This option makes the wood’s grain stand out, giving it a deep look while also protecting it.
- Paint: Bold paint can add personality and tie into your decor, making it really stand out.
- Natural Finish: Oils and clear coats keep the wood looking natural and protect it from damage.
Enhancing Aesthetics with Decorative Elements
Adding decorative bits can make your wine rack look even better. Think about these options:
- Hooks: Put on hooks for wine glasses or accessories, making a useful and beautiful display.
- Labels: Label each bottle or section for a personal touch that stands out.
- Accent Pieces: Adding decorative items like trays or plants nearby welcomes guests warmly.
Step 5: Installing the Rack
After building your wine rack, the next step is to mount it safely. It’s important to install it well, so it stays up and holds your wine securely. We’ll show you how to fix your wine rack to the wall correctly.
Securing Your Wine Rack to the Wall
First, find the wall studs. They give the support your rack needs. Use a stud finder to be accurate. Mark where you will drill, matching these spots with the top of the rack. Choose strong wall anchors for more support. Pick anchors that can bear your rack’s weight when it’s full.
Drill small guide holes at these marks. Then, put in the anchors. After that, attach the rack using screws. This makes sure your rack stays securely on the wall.
Ensuring Proper Weight Distribution
It’s important to balance your wine rack the right way. This means putting heavier bottles at the bottom. Lighter ones should go towards the top. This method keeps your rack stable and safe.
You could even weigh your bottles before placing them. This ensures even more precise balance. By doing this, your wine rack will be secure and last longer. And, you’ll enjoy your wine collection without worries.
| Component | Recommended Type | Purpose |
|---|---|---|
| Wall Anchors | Heavy-Duty | Support weight and maintain stability |
| Screws | Wood or Metal | Secure the rack frame to the wall |
| Weight Distribution | Heavy at Bottom | Prevent tipping issues |
| Stud Finder | Electronic | Locate wall studs for secure attachment |
Maintenance Tips for Your Corner Wine Rack
Keep your corner wine rack looking great with regular care. Adding simple upkeep steps to your routine boosts its lifespan. It also keeps your wine storage appealing. You’ll enjoy your wine collection more, without fretting over neglect.
Keeping It Clean and Organized
Dirt on your wine rack can make it less attractive and harm your wine. Clean it often with a soft, dry cloth. Use a mild cleaner for tough stains. Keeping bottles upright and not too crowded lets air flow. This prevents mold and dampness.
Caring for the Finish and Structure
The rack’s finish protects it and keeps it looking good. Use a wood conditioner or polish every few months. Check the rack’s structure for wear and fix any problems right away. Regular care keeps your wine rack functional and stylish. And it makes sure your wines are always ready to enjoy.