Did you know that over 70% of people now prefer handmade decor? Making a luminária de mesa com base de madeira, or a desk lamp with a wooden base, does more than light up a room. It adds a special touch to your home. A handmade wood table lamp lets you show off your creativity. It also brings style and usefulness to any space.
This guide will show you how to create your own table lamp with a wooden base. You’ll combine your unique style with something practical. Let’s dive into the beauty of wood. See how simple it is to make a lamp that matches your personal taste.
Introduction to Wooden Base Table Lamps
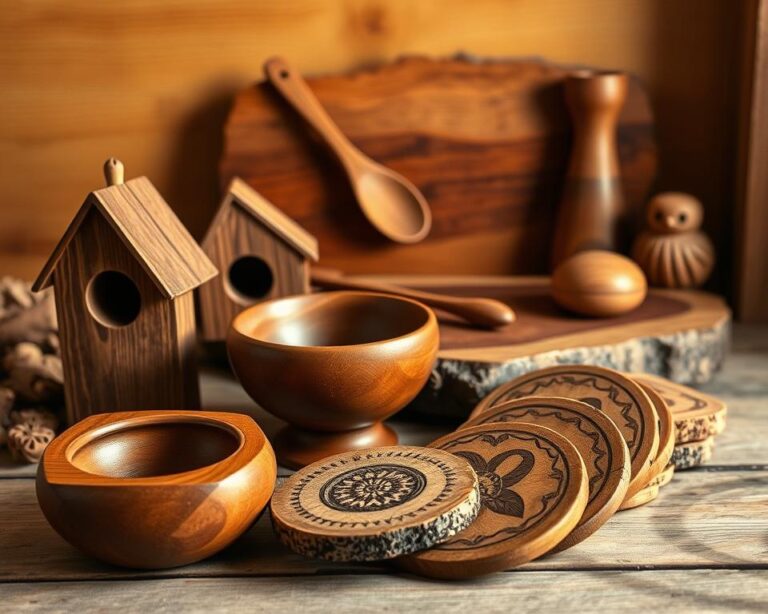
Wooden base table lamps are both functional and elegant. They serve as a light source and a decorative piece. They can fit into many designs thanks to their wooden base. A rustic wood desk light adds charm to any room.
Meanwhile, a unique wooden desk lamp is an eye-catching decor piece. Every style brings something new and exciting.
Benefits of Using a Wooden Base
Choosing a wooden base for your lamp comes with many perks. Wood is renewable, making it a sustainable choice for home decor. It’s also durable, promising long-lasting style.
Wood’s natural looks mean each lamp is unique. Plus, wooden lamps bring warmth and comfort. They can boost productivity or help you unwind at home.
Aesthetic Appeal of Wooden Designs
Wooden designs are truly beautiful. A rustic wood desk light adds character, fitting many decor styles. Different woods can set the mood, offering endless creative choices.
Whether you like modern or vintage looks, a unique wooden desk lamp can enhance any space. It strikes a perfect balance between being useful and stylish.
Materials Needed for Your Table Lamp
To make a wooden base table lamp, you need to carefully pick materials. The right wood boosts both durability and the lamp’s beauty. Each wood type gives the lamp a distinct look. The electrical parts are key for the lamp to work safely and well. Here’s what you’ll need for your lamp project.
Types of Wood Suitable for Lamp Bases
It’s important to choose the best wood for your lamp. Here are some choices:
- Pine: Light and simple to shape, pine has a natural look that fits many designs.
- Oak: Durable with lovely patterns, oak offers a classic appeal for traditional looks.
- Walnut: This strong wood has a deep color that brings elegance to your lamp.
Essential Electrical Components
Getting the right electric parts is crucial. Below is a list of needed components:
| Component | Description |
|---|---|
| Lamp Socket | It holds the bulb and connects to the electrical wiring. |
| Wiring | Carries power from the socket to the bulb. |
| Light Bulb | Your lamp’s light source. You can choose LED or incandescent bulbs. |
| Switch | Lets you turn the lamp on or off, controlling the electricity flow. |
Tools Required for Building the Lamp
Making a wooden base lamp is a fun project that can brighten up any space. You need the right tools to build your lamp successfully. This part talks about different tools for making wooden lamps. It explains about both hand tools and power tools. Wearing the right safety gear is also crucial for a safe lamp-making process.
Hand Tools vs. Power Tools
When making a lamp, it’s important to think about hand tools and power tools.
- Hand Tools: Saws, chisels, and screwdrivers let you work with detail and are great for beginners. They are perfect if you like feeling the materials.
- Power Tools: Electric drills and jigsaws help you work faster, good for those with experience. They are best for big projects because they are precise and efficient.
Safety Equipment to Use
Being safe while making your lamp is very important. Make sure you have the right safety gear:
- Protective goggles to keep dust and bits out of your eyes
- Work gloves to keep your hands safe while working with wood and tools
- A dust mask to help you breathe safely when sanding or cutting
- Ear protection to use when power tools are loud for a long time
Designing Your Lamp
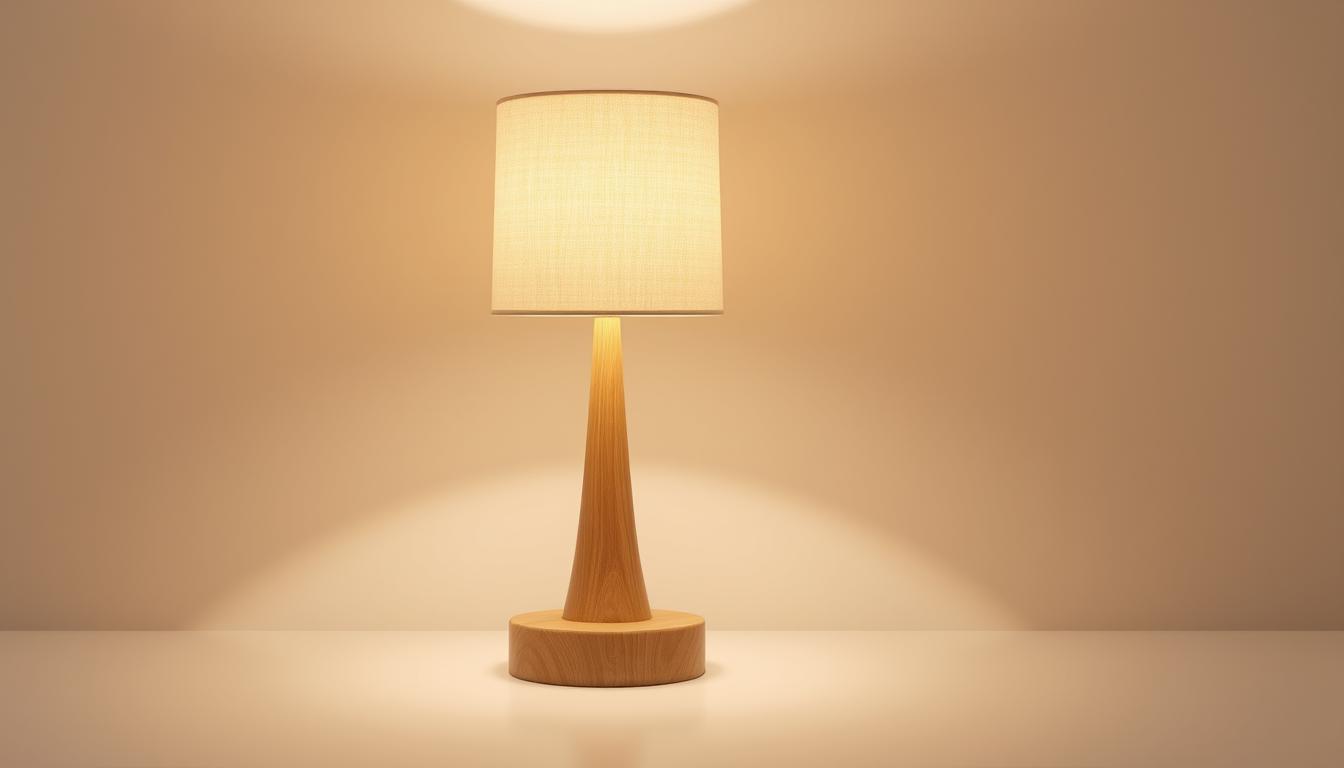
Starting on a modern wooden table lamp requires creative planning. Drawing out your ideas makes it easy to see the end look. This ensures it matches your style. Lamps can be simple or detailed,
so it’s important to think about many designs. This helps in picking the perfect one.
Sketching Your Lamp Design
First, imagine the shape and style of your lamp. Consider the base, height, and lampshade. A detailed sketch lets you play with sizes to get it just right. Mixing straight lines with curves can make your lamp truly special.
Dimensions and Proportions to Consider
Size matters for both look and use. Measure where the lamp will go to make sure it fits in well. Table lamps are usually 24 to 36 inches tall. It’s key to balance the base and shade sizes for a nice look.
Think about all the size ratios. This makes your lamp work well and look great.
Preparing the Wood Base
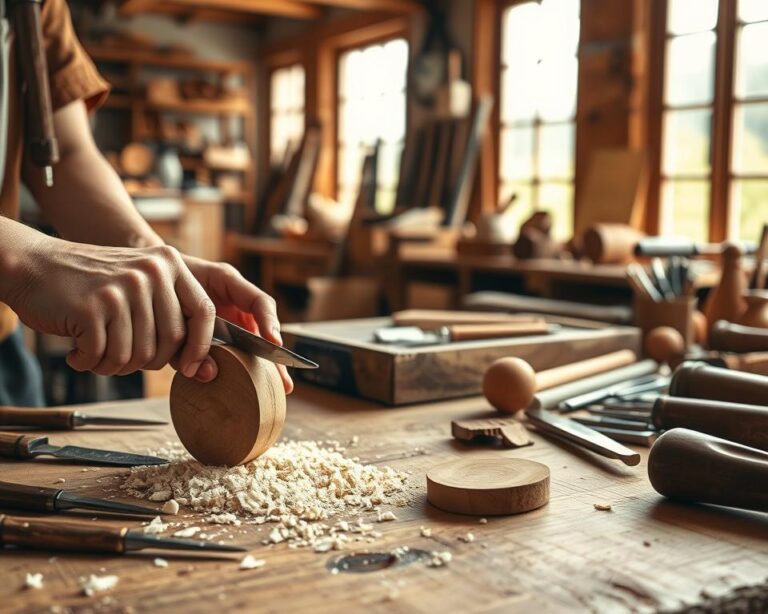
Getting your wood base ready for a table lamp involves precise techniques like cutting and sanding. Properly preparing wooden lamp parts ensures a clean finish and a sturdy structure. This section will guide you through the essential steps to achieve the best results.
Cutting the Wood to Size
Cutting wood for a lamp base needs careful attention. Begin by measuring what you need for your design. Use a table saw or miter saw for straight cuts. Always wear safety goggles and gloves.
- Measure twice, cut once to avoid mistakes.
- Secure the wood firmly before cutting.
- Use a straight edge to guide your cuts for precision.
Sanding Techniques for Smooth Finish
After cutting, sanding comes next. It’s crucial for preparing wooden lamp parts. It makes the surface smooth and free of splinters.
Start with coarse-grit sandpaper, then use finer grits. This ensures a smooth surface.
- Start with a 60-grit sandpaper to remove rough edges.
- Progress to 120-grit for a smoother surface.
- Finish with 220-grit for a polished look.
Sanding not only makes the lamp look good but also helps finishes stick better. A well-sanded surface leads to a professional-looking lamp.
Assembling the Lamp Structure
Putting your wooden desk lamp together is a fun part of making it. We’ll focus on attaching the base to the socket. We’ll also cover wiring it right for the lamp to work good. Follow these steps to make it stable and safe.
Attaching the Base and Lamp Socket
First, put the lamp socket on the wooden base. It should be right in the middle to keep it balanced. Drill small holes for the screws to prevent splitting the wood. Screw the socket in place, but don’t make it too tight to not damage the wood. It’s important to get this part right for your desk lamp.
Wiring the Electrical Components
Now, start connecting the wires. Strip the ends of the socket wire and the cord about ½ inch and twist them together. It should be tight. Then use wire nuts to cover them up. This stops any electrical shorts from happening. Make sure to attach the hot wire (like black or red) to the brass screw and the neutral wire (usually white) to the silver screw. It’s a key step for making your lamp work right.

| Component | Description |
|---|---|
| Lamp Base | Wooden structure providing stability |
| Lamp Socket | Holds the light bulb |
| Electrical Wires | Connect power to the lamp |
| Wire Nuts | Secure electrical connections |
| Screws | Fasten socket to base |
Your lamp is almost ready once these steps are done. Double-check everything to make sure it’s all tight. Then, have fun finishing your lamp!
Choosing the Right Lampshade
Finding the perfect lampshade can really change how your table lamp looks. There are many lampshade styles to choose from. Each style has its own look and use. The best choice matches your lamp’s wood base and changes how your room feels.
Different Styles of Lampshades
There are several lampshade styles that work well with wooden lamp bases. Let’s look at a few popular ones:
- Fabric Shades: These bring warmth and come in many colors and patterns. They let you be creative.
- Glass Shades: They give a modern feel, spread light well, and add beauty.
- Metal Shades: Perfect for a modern or industrial style, these shades reflect light nicely. They make a strong contrast with wooden bases.
How to Match Your Lampshade with the Base
Here are some tips for picking a lampshade:
- Color Coordination: Choose colors that go well or make an interesting contrast with the wood.
- Size Matters: The shade should fit the base well for balance and to work right.
- Style Harmony: Pick a lampshade that fits your room’s style, making your lamp and base look even better together.
Finishing Touches and Decoration
When you’re almost done with your lamp, think about how to make it look its best. The right decorations can highlight the wood or change its look entirely. By using stain or paint, you protect the wood and get to show off your creative side.
Staining or Painting the Wood
Choosing the right stain or paint can make the wood look amazing or blend perfectly with its grain. For a rustic feel, wood stain brings out the natural designs. If you like bright colors, high-quality paint gives a smooth look that shows your style. Some good choices are:
- Oil-based stains for deep color.
- Acrylic paints for bright, easy coverage.
- Eco-friendly finishes that are good for the planet.
Remember, each choice needs its own way of applying, so check the product’s instructions.
Adding Personalized Touches
Making your wooden lamp special is a great way to stand out. You could use stencils for cool patterns or paint designs by hand for something unique. Think about adding special items like beads or fabric that match your taste. These details make the lamp truly your own. Here are some ideas:
- Motifs that show your interests or background.
- Textures that fit with the wood, like fabric or metal.
- New ways to layer for an exciting look.
These final touches can turn your lamp into a stunning focus point for any space.

Testing Your Table Lamp
Before plugging in your new table lamp, make sure to check it for safety. Look at all the electrical parts to find any loose wires or connections. Make sure the socket is tightly fixed to the base. Also, check that the wires are safely covered. Doing these steps will protect your lamp and make it last longer. It also makes testing your lamp easy.
Safety Checks Before Plugging In
Make sure all parts of the lamp are correctly put together. Then, check if your bulb matches the lamp’s wattage. This stops the lamp from getting too hot. Test the switch to make sure it moves without trouble. It’s best to do these tests away from water to prevent shocks. After these safety steps, you can plug in your lamp with peace of mind.
Troubleshooting Common Issues
If your lamp flickers or the bulb won’t light, start by checking the bulb. Try a new bulb to see if that fixes the problem. If it still flickers, double-check the connections to make sure they’re tight. These tips will keep your lamp working well. You’ll also keep enjoying the personal touch it adds to your space.