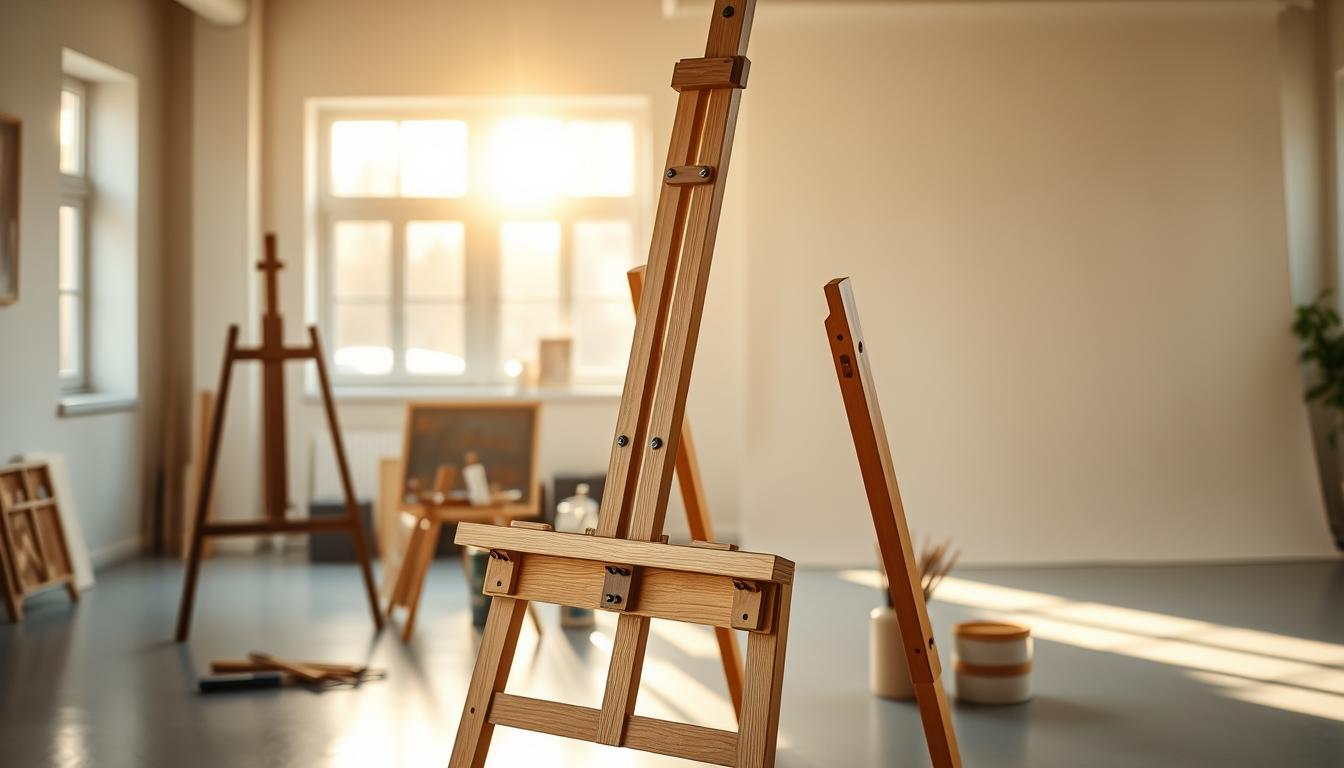
About 90% of professional artists say having the right tools, like a good painting easel, plays a big part in their success. If you want to take your art to the next level, making your own adjustable painting easel could be a great move. Building an easel yourself means it will fit exactly what you need for your painting style, making your art time even better.
This guide will show you how to make a strong and useful easel stand that suits your artistic needs. It doesn’t matter if you’re just starting out or if you’ve been painting for years. Having an easel you made yourself adds a special touch to your painting workspace.
Understanding the Basics of an Adjustable Painting Easel
An adjustable painting easel is a must-have for artists. It offers flexibility and comfort as they create. It can adjust to different heights and support various canvas sizes. Whether you’re a pro or just starting, knowing how it works can make painting more enjoyable.
What is an Adjustable Painting Easel?
An adjustable easel lets artists change their canvas’s height and angle. This adaptability suits many painting styles, from detailed work to big strokes. With a portable easel, you can paint almost anywhere, inside or outside.
Benefits of Using an Adjustable Easel
- Enhanced Comfort: You can adjust the easel to avoid back and neck pain.
- Improved Painting Angles: It allows you to tilt your canvas to see and reach it better.
- Portability: They’re light enough to carry to outdoor spots or classes.
Common Uses for Adjustable Painting Easels
Adjustable easels are used in many settings:
- Studio Painting: They’re great in art studios where you need steadiness.
- Outdoor Sketching: Perfect for those who like painting in nature.
- Art Classes: Excellent for teaching any level of artist, especially beginners.
Materials Needed for Crafting Your Easel
Building an art stand means picking the right stuff to make it last and work well. Knowing what each part does helps you make a stand that fits your art perfectly.
Recommended Wood Types for Durability
Picking strong wood is key for a steady easel. Here’s what works best:
- Yellow Southern Pine: It’s strong and versatile, offering great support.
- Treated Wood: Perfect for outdoor use, it stands up to the weather.
- Plywood: It’s light but strong, making it ideal for an adjustable stand.
Essential Tools for Easel Construction
To make a solid easel, you need the right tools. Be sure to have:
- Drill: It’s for making holes for the screws.
- Hammer: Needed for nails and putting parts together.
- Screws: They keep everything tight and secure.
- Measuring Tape: For getting your easel just right.
Optional Materials for Customization
Make your easel uniquely yours with extras:
- Paint: Pick colors that show your personality.
- Decorative Elements: Add special touches that make it yours.
- Finishing Products: Use sealers or varnishes for longer life and a fancy look.
Measuring and Cutting Your Wood Pieces
Building an adjustable canvas stand starts with careful measuring and cutting of the wood. This step is crucial to make a stable and comfortable painting easel for beginners. Here are the steps to precisely plan and execute your cuts.
How to Plan Your Cuts
To start, decide on the size you want your easel to be. A good height range for a beginner’s easel is 55 to 70 inches. Follow these steps:
- Sketch a diagram of your easel design.
- Mark the heights, widths, and lengths on your wood pieces.
- Double-check measurements to confirm all cuts align with your specifications.
Essential Measurements for Stability
For an easel that won’t wobble, focus on these measurements:
- The legs should be roughly 36 inches long for proper height and support.
- The top crossbar must be at least 24 inches wide to secure the canvas well.
- Make the base at least 30 inches wide to keep it from tipping over.
Safety Tips While Cutting Wood
Don’t forget about safety while you’re cutting wood. Keep these tips in mind:
- Always wear safety goggles to protect your eyes.
- Use gloves to avoid splinters.
- Work on a stable surface to minimize accidents while cutting the wood.
Assembling the Base of the Easel
A strong base is essential for any artist easel. It helps support your creative work. Here, you’ll find easy-to-follow steps for putting together the legs and top board of your easel. Plus, we’ll share tips to keep it stable and mention common mistakes you should dodge.
Step-by-Step Instructions for the Base
- First, get all your materials ready. Collect the pieces for the legs, crossbars, and top board.
- Put the two legs in a V shape for the best support. Secure the top board with screws, making sure it’s even with the legs.
- Add cross supports between the legs to improve stability and reduce wobble.
Tips for Ensuring Stability
- Check that all legs are the same length before attaching anything. Uneven legs can make the easel unstable.
- Think about adding rubber grips to the bottom of the legs. They stop the easel from slipping on various surfaces.
- Always recheck your fasteners. Make sure screws or bolts are tight to prevent them from loosening later.
Common Mistakes to Avoid
“Taking time to ensure accuracy can save you from future frustrations.”
Do not fasten the legs too narrow as it may affect the easel’s balance. Ensure you measure leg angles correctly to prevent the easel from tipping. It’s critical to align all connecting points accurately.
Creating Adjustable Features for Your Easel
Making an adjustable painting easel means adding features that make it better. Focus on making it easy to change the height and the angle. This part talks about how to add these changes so the easel works the way you want it to.
How to Install Height Adjustment Mechanisms
To make your easel adjustable, you can use screws or notches for changing its height. Start by making holes in the support post and making notches that match for a tight fit. A threaded rod makes it easy to change the height quickly when you’re painting.
Tips for Making Tilt Adjustments
Adding a way to tilt your easel can make painting more enjoyable. Use hinges so the place where the canvas goes can move to different angles. Make sure the hinges are strong enough to hold the canvas. A lock keeps the easel at the right angle when you’re painting, making it stable for detailed paintings.
Ensuring Smooth Function for Adjustments
It’s important that changing the height and angle works smoothly. Oil the screw threads and parts that move so they don’t get stuck. All changes should be easy to make. Test each part to make sure your easel is easy and comfortable to use.
Adding Cross Braces for Support
Adding cross braces to your adjustable easel makes it much more stable. These braces stop it from wobbling, keeping it steady while you work. Knowing how to properly add these parts is key to making a strong and lasting easel.
Importance of Cross Braces
Cross braces play a big role in building a good adjustable easel. They spread out the weight and add extra support to the legs. This lowers the chance of it tipping or moving unexpectedly. With these braces, artists can paint without worrying about their easel’s steadiness.
How to Properly Attach Cross Braces
Putting on cross braces takes some care. Here are steps to make sure they’re attached right:
- Use strong wood screws for a secure hold.
- Drill holes first to keep the wood from splitting.
- Angle the braces right for the best support.
When you attach the braces well, you give artists a sturdy base they can rely on.
Choosing the Right Location for Braces
Where you put the cross braces is important for your easel’s strength. Keep these tips in mind for the best brace placement:
- Fix braces diagonally between the legs for strong triangular support.
- Position them lower to the ground for better stability.
- Make sure they don’t get in the way of the painting space.
Picking the right spots for your braces makes your easel both strong and easy to use while painting.
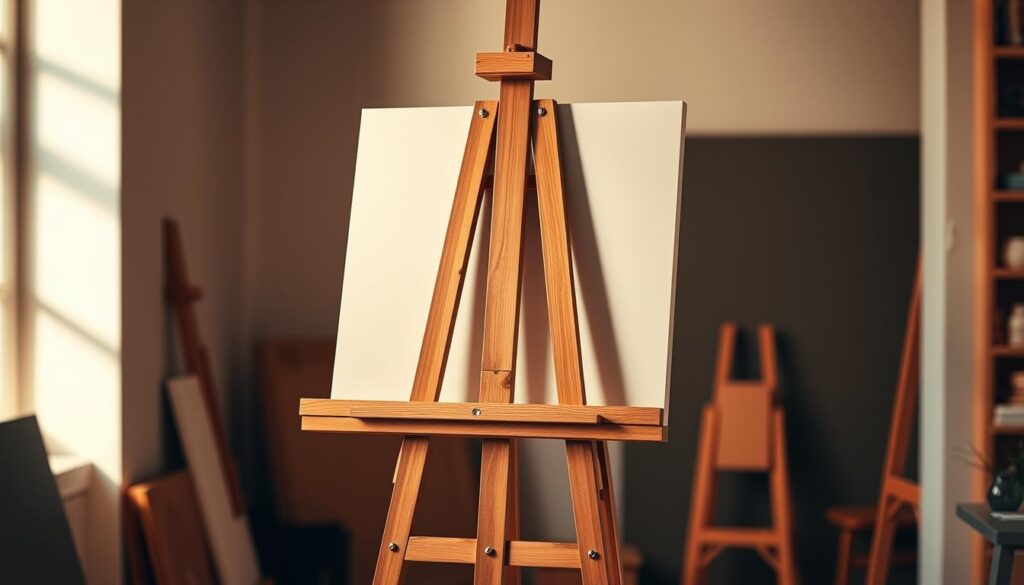
Finishing Touches: Sanding and Painting
Getting your painting easel ready involves careful work, especially when it comes to sanding and painting. Sanding smooths rough spots and makes it safer and nicer to look at. Picking the right finish helps it last longer and stand up to use over time.
Best Practices for Sanding Wood
Sanding your easel well is key to having a smooth surface. Start with rough sandpaper and then use finer ones. This step gets rid of splinters and uneven spots. Always sand in the direction of the grain for the best look. Clean off the dust after each sanding to keep your work area tidy and the surface even.
Recommended Finishes for Longevity
To keep your easel looking good and protected, choose the right finish. Here are some top choices:
- Polyurethane: A durable, clear coat that keeps your easel safe.
- Wood Stain: Adds color while showing off the wood’s natural beauty.
- Varnish: Offers a sturdy, protective coat with optional tinting for a personalized look.
Customizing Your Easel with Paint
Adding your own style to your easel makes it special. Pick acrylic or latex paint for bright colors. Make sure the easel is clean and dry before starting. Using a primer can help paint stick better and last longer. Get creative with patterns or designs that show off your artistic side.
| Finish Type | Durability | Application Ease | Color Options |
|---|---|---|---|
| Polyurethane | High | Moderate | Clear |
| Wood Stain | Medium | Easy | Multiple |
| Varnish | High | Challenging | Clear and Tinted |
Testing the Stability of Your Easel
It’s super important to make sure your portable painting easel is stable before you get started. Doing several tests helps confirm it’s strong and works right. We’ll talk about how to test your easel’s stability, adjust it, and what to double-check for the best use.
How to Test for Stability
Start by placing your portable painting easel on a flat area. Make sure it’s not shaky or wobbly. Gently push the easel from different sides to see if it moves. If it does, you might need to adjust it. Another good test is putting a canvas on it to see if it stays put without bending.
Adjusting Features for Optimal Use
Your easel should let you adjust things like height or angle to make it more stable. Check that everything’s locked tight. If something’s stuck, try to fix it and balance the weight right. Always go over these adjustments, especially if you’ve moved the easel, to make sure it’s ready for painting.
What to Look for in a Functional Easel
A good portable painting easel needs a few key features. It should have a strong frame that can hold up your art supplies. Check that all the joints and hinges are tough and won’t wear out fast. The easel should be easy to adjust but still stay steady. Make sure it fits different canvas sizes too, so you have options for various projects.
Tips for Portable Easels on the Go
Artists who travel need an easy-to-adjust painting easel. It must be easy to carry but still stable. When you make an easel to take around, think about these important points.
Designing for Convenience
Making a portable easel should focus on ease of use. Choose one with handles for carrying and spots to hold your tools. An easel that sets up and packs away fast makes painting outside better.
Lightweight Materials to Consider
The materials you pick affect how easy it is to move and how long it lasts. Bamboo, aluminum, and light plywood are top choices. They’re light to carry and strong enough for all your painting needs.
Compact Folding Mechanisms
A good folding mechanism is key for a portable easel. Find a design that folds down small for easy moving. Easy-to-use systems, like hinges or latches, make it simple to adjust when you’re out painting.
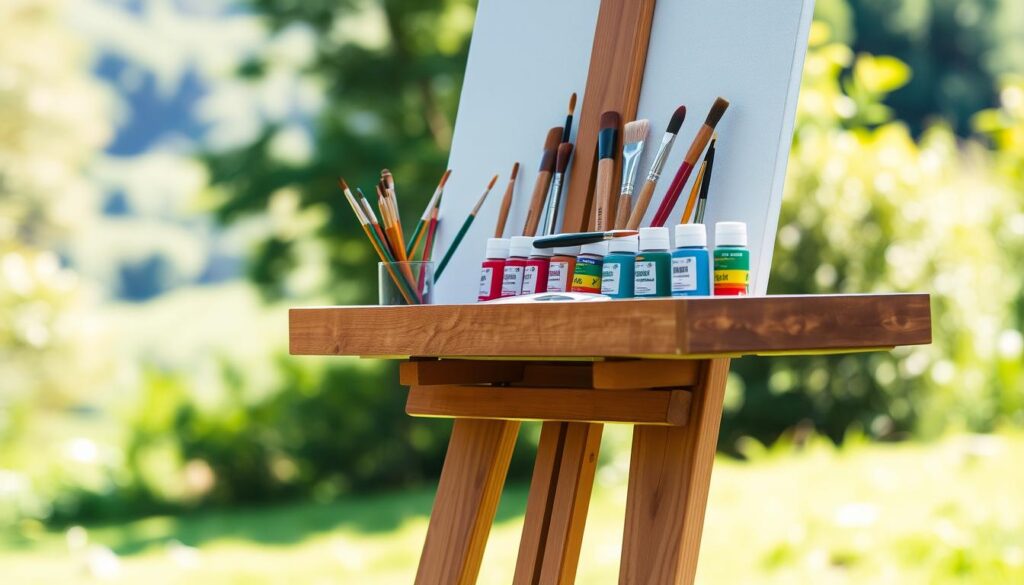
Painting Techniques for Easel Use
Once your beginner’s painting easel is set up, delving into effective painting methods is key. These methods improve your art experience. Learning about canvas sizing, paint types, and easel care can boost your artwork’s quality and fun. Let’s start this adventure.
Choosing the Right Canvas Size
Canvas size impacts your painting journey. A big canvas offers space for detail, while a small one suits quick sketches. With a beginner’s easel, check if it can hold different canvas sizes. This lets you try out varying sizes and grows your creativity.
Best Types of Paint for Easel Work
Artists have their favorite paints, like oil, acrylic, or watercolor. Acrylic paint dries fast and is simple for beginners. However, oil paint provides deep textures and more time to blend, great for detailed art. Knowing the paint types helps you express your art well on your beginner easel.
Tips for Maintaining Your Easel While Painting
Taking care of your easel is important for its long life and your art’s success. Check its hinges and adjustments often for wear and tear. Clean your area to stop dust and paint from messing with the easel. Fix any loose or broken parts quickly to keep your easel stable.
Maintenance Tips for Longevity
To keep your adjustable easel in top shape, you should take care of it regularly. This care can make it last longer and work better. Here are important tips for easel maintenance.
Cleaning and Care for Your Easel
Cleaning your adjustable easel is easy. Just use a soft cloth to gently wipe it down. This removes any paint or dirt. For wood easels, a natural cleaner or mild soap works best. Stay away from strong chemicals to protect the finish. Cleaning regularly keeps it looking and working great.
Storage Suggestions to Prevent Damage
Storing your easel right can save it from damage and make it last longer. Try to keep it in a dry place with controlled temperature. If you have room, take it apart or fold it to keep off dust and dangers. A cover helps protect it from moisture and sunlight, preventing fading or warping.
Inspecting for Wear and Tear
Check your easel often to keep it in good shape. Look out for any loose parts or damage. Tighten anything that’s come loose to keep it stable. Fix damages quick to stop them getting worse. Watching for these issues helps your easel stay ready for your art.
Conclusion: Enjoying Your New Adjustable Painting Easel
Now that you’ve built your adjustable painting easel, get ready to create. Your first masterpiece is waiting. Pick something that inspires you to paint, like a bright landscape or a still life. With your easel’s adjustable features, try out several heights and angles to improve your painting.
Inspiration for Your First Painting
Look around nature, your area, or at your favorite artists for inspiration. With your new easel, you can adjust it to the best angle for your subject. Remember, it’s okay to make mistakes—they’re part of your art journey.
Sharing Your Creations with Others
Sharing your art through social media or at local shows is very rewarding. It lets you get feedback and inspires others to see your creativity. This kind of sharing builds a sense of community, which is important for an artist.
Joining a Community of Artists
Think about joining local art classes or online artist forums. Being part of a community gives you support, chances to work with others, and motivation. Art is a path best walked with friends.

