Did you know the average home in the U.S. has around 30 spices? Yet, many struggle with cluttered counters and messy spice collections. A wooden spice rack, or prateleira para temperos de madeira, cleans up your space. It makes your kitchen look good and keeps spices in order.
We’re going to show you how to build your own wooden spice rack. Making a spice rack is not just about organization. It also lets your personal style shine through. Let’s dive into creating a stunning wooden spice rack, step by step.
Why Build Your Own Wooden Spice Rack?
Making your own wooden spice rack is great for any kitchen. It helps organize spices in a beautiful way. This project is perfect for both experts and beginners.
Benefits of a Wooden Spice Rack
A wooden spice rack is good for the environment. Use reclaimed wood to cut down on waste and add a special touch. It’s a green way to add something useful and unique to your kitchen.
Cost-Effective Options
Building your spice rack is often cheaper than buying one. You can choose materials that match your budget. This avoids retail markups, offering great value and the joy of a DIY project.
Customization Opportunities
When you make a rustic spice shelf, you can make it your own. Design it to fit any space and match your kitchen. This makes sure your spice rack is both useful and a key part of your kitchen’s look.
| Feature | DIY Wooden Spice Rack | Pre-Made Spice Rack |
|---|---|---|
| Sustainability | Reuses materials and reduces waste | Often produced in bulk with new materials |
| Cost | Typically lower due to material choices | Higher prices due to manufacturing and retail markups |
| Customization | Fully customizable to fit preferences | Limited designs and sizes available |
Materials You’ll Need for the Project
Before you start building your natural wood spice rack, make sure to have all materials and tools ready. Choosing the right wood type is key to making your spice rack both strong and good looking. Also, having the right tools makes putting it together easier. Don’t forget, finishing supplies will improve your spice rack’s appearance and durability.
Choosing the Right Type of Wood
For your project, pick from popular woods like pine, oak, or maple. These types are strong and fit well with different kitchen styles. Pine is affordable, and oak gives a strong, classic look. Pick the wood that matches your design idea best.
Essential Tools for Assembly
Having the right tools is important to put everything together smoothly. You will need a saw to cut, a drill to join pieces, and a sander to smooth surfaces. Here are the tools you should consider:
- Saw (circular or miter)
- Drill
- Sander
- Tape measure
- Wood glue
Optional Finishing Supplies
To make your wooden spice holder look better and last longer, consider using optional finishing supplies. Stains and sealants help bring out the wood’s natural color and protect it. You might want to use:
- Wood stains in your chosen color
- Sealants for extra protection
- Sanding sealer for a smooth feel
Measuring and Planning Your Spice Rack
Creating a spice rack starts with careful measuring and planning. This step is key for both its look and how it works. By measuring your space well, you make sure the rack fits perfectly and lets you reach your spices easily.
Determining Size and Dimensions
First, look at the space you have for the spice rack. Think about the best height, width, and depth for your kitchen. Also, consider the size of your spice jars. Your measurements should help place shelves just right, making it easy to find and grab what you need.
Sketching Your Design
Then, try drawing your spice rack idea. Sketching lets you test out different shapes and shelf amounts. This step guides you in making choices about how many shelves you need and how far apart they should be. A good sketch helps make sure the final product looks and works as planned.
Planning for Shelves and Spacing
As you plan shelves, think about the size of your spice jars and the look you want. Adjusting shelf heights will help with both how it looks and how easy it is to use. Measuring carefully turns your spice rack into a useful and stylish part of your kitchen.
Cutting the Wood Pieces
Making a wooden spice rack requires careful planning, especially in cutting the wood. It’s important to start with safety, making sure the area is safe. Good techniques help create a quality project and keep you safe.
Safety Tips for Using Power Tools
When working with power tools, safety comes first to prevent injuries. Always wear the right safety gear like gloves, goggles, and ear protection. An organized workspace keeps accidents at bay. Learn how to use your tools by reading the manuals and following safety tips.
Cutting Techniques for Accuracy
Being precise is key in cutting wood. Use a straight edge for accurate cuts. Clamp your wood well to avoid any movement while you’re cutting. Measuring twice before cutting helps reduce errors. Using tools like a miter or table saw makes cuts smooth.
Preparing Edges for Assembly
Once the wood is cut, get the edges ready for putting together. Sanding edges makes them smooth and ensures a tight fit. A well-prepared edge looks good and helps hold your spice rack together. Taking your time on this step really pays off in the end.

Assembling the Base of the Spice Rack
Starting the base of your spice rack is exciting. Paying close attention to detail helps a lot. You’ll need to join wood pieces with glue and screws.
This is important to keep your spice rack together. Make sure each joint is precise for the rack’s stability.
Joining Wood Pieces
To join wood, first line up the pieces exactly right. Use clamps to hold them tight while the glue sets. This makes the bond stronger.
Make sure the joints are smooth and even. This affects how your spice rack looks and works.
Ensuring Stability and Strength
Building a stable spice rack is about good assembly. Don’t use too much glue; it gets messy. After gluing and screwing, check that it’s sturdy.
A solid build means you can store many spices without worry. It won’t easily tip over.
Adding Support Beams
If you’re making a big spice rack, add support beams. They help prevent the rack from bending. And they make it stronger.
Place them so they’re useful but not in the way. Then, you’ll have room for all your spices.
Creating and Installing the Shelves
Once you’ve put together the base for your spice rack, it’s time to make the shelves. These should fit what you need exactly. Think about where to place these shelves to make getting to your spices easy and keep things organized. The height of each shelf matters a lot, especially based on the spice jars you’ll use.
Shelf Placement Considerations
Consider how often you reach for each spice. Putting those you use a lot at eye level makes them easy to grab. Also, look at the size of your spice jars. Bigger jars or those bought in bulk might need shelves with more height, so you can see and get to them better.
Techniques for Secure Installation
Securing your shelves well is key to a good spice rack. Brackets are great for adding support and making future replacements simple. Or, you might like a cleaner look by screwing shelves right onto the rack. Just make sure every shelf is straight to keep anything from sliding off.
Adjusting Shelf Height
Being able to change the height of your shelves makes your rack flexible. Make shelves that let you adjust their height to fit different spice jar sizes. By using adaptable shelf supports, your spice rack can grow with your collection, staying helpful no matter how many spices you have.
Finishing Your Wooden Spice Rack
Putting the final touches on your wooden spice rack is key. It makes the rack look good and keeps it safe for years. Start by sanding to get a smooth feel. This step gets it ready for staining or painting. With careful steps, your project will look as if a pro did it.
Sanding for a Smooth Finish
First, sand the spice rack all over. Begin with rough sandpaper to smooth out any uneven parts. Then, use finer sandpaper for a really smooth finish. This makes the surface ready for staining or painting. Make sure to smooth out all edges and corners too.
Choosing the Right Stain or Paint
Choosing between stain or paint is important for your spice rack’s look. Stains show the wood’s natural beauty, which gives a homey feel. Paint lets you add color and personality, making the rack stand out in your kitchen. Pick what matches your kitchen’s style.
Sealing the Rack for Durability
After staining or painting, you must seal the spice rack. Pick a top-quality sealer to protect against damage. This sealer makes the color pop and shields the rack from everyday use. A good seal means your spices and all your effort stay protected.
Mounting the Spice Rack
Finding the right spot for your spice rack makes it both useful and nice to look at. Think about ease of access and how close it is to where you cook. With proper installation, your rack will be stable and last a long time.
Choosing the Right Wall Location
Pick a spot on the wall that’s easy to reach while cooking. Areas close to the stove or where you prep food work best. Make sure the wall can hold the spice jars, especially if they’re heavy. Also, think about how deep your cabinets are and the height of your counters.
Installation Techniques and Hardware
It’s important to use the right methods to securely attach your spice rack. Wall brackets or screws directly into wall studs are good choices. Use a stud finder to find strong support points in the wall. Choose strong screws and brackets to hold up your spices.
Ensuring Level Placement
Keeping the rack level when mounting is key to stop jars from falling and keeping the rack steady. Use a level tool to get it just right. Double-check after installing to make sure it stays aligned.

| Technique | Description | Pros | Cons |
|---|---|---|---|
| Wall Brackets | Support the rack from below, allowing for easy removal | Easy to install, adjustable | May not hold weight as well for larger racks |
| Screws into Studs | Directly fastening into wall studs for maximum stability | Highest strength and durability | Requires stud finder, more difficult to relocate |
| Adhesive Mounts | Using strong adhesives to attach the rack | No drilling required, simple to install | May not support heavy jars; potential for damage |
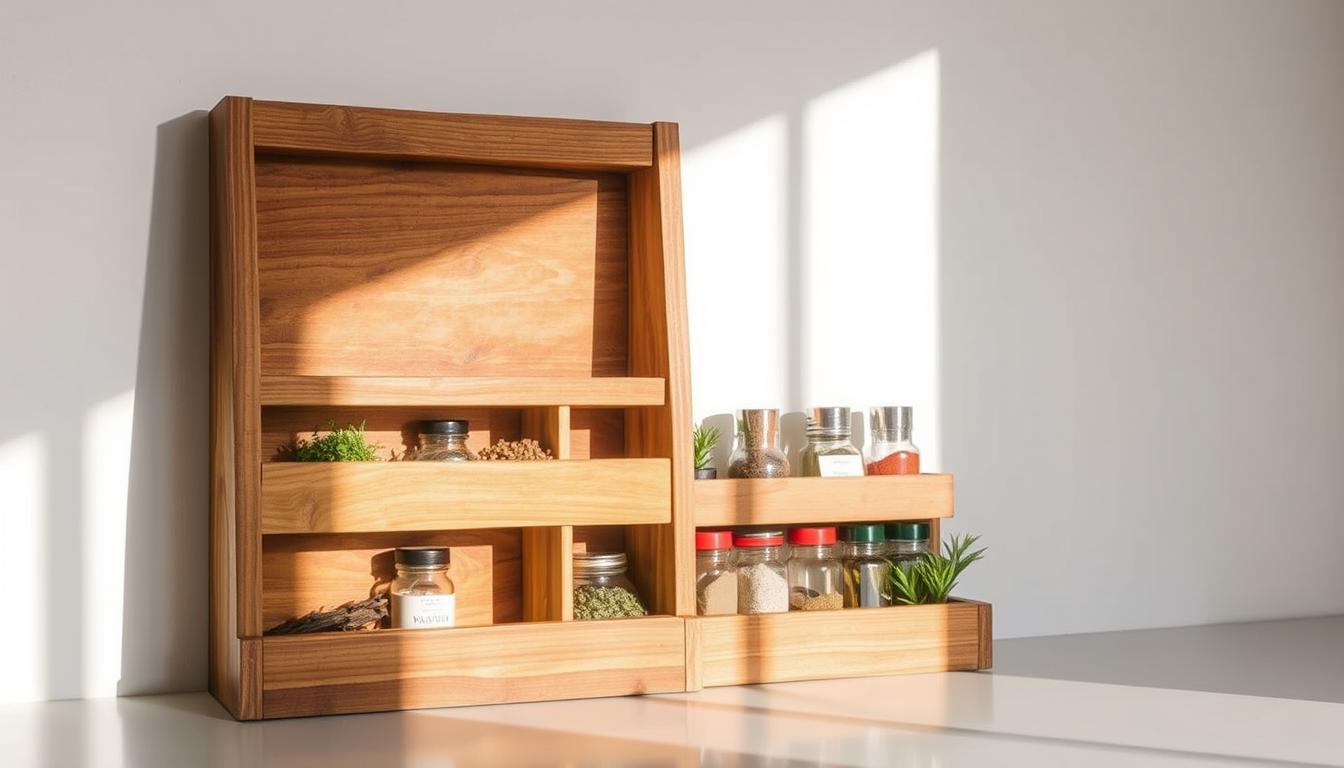
Tips for Organizing Your Spices Effectively
After putting up your spice rack, the next step is organizing. Doing this makes cooking easier and your kitchen look better. Group your spices into categories like herbs, basic spices, and mixes. This makes finding what you need while cooking much faster. Using labels like chalkboard labels or printed stickers helps in identifying each spice.
Decorative spice containers can also enhance your spice rack’s appearance. Pick containers that match your kitchen’s style, such as glass jars with wooden lids or bright-colored ceramic pots. They add a personal flair and help keep things tidy. It’s smart to use containers that are all the same size to give your spice rack a neat, uniform look.
Don’t forget to take care of your spice rack for it to last longer. Clean it regularly and check for any moisture that could ruin your spices. Also, keep an eye on the expiration dates of your spices, replacing them when needed. By following these tips, your spice rack will not only work well but will also be a delightful feature in your kitchen for a long time.