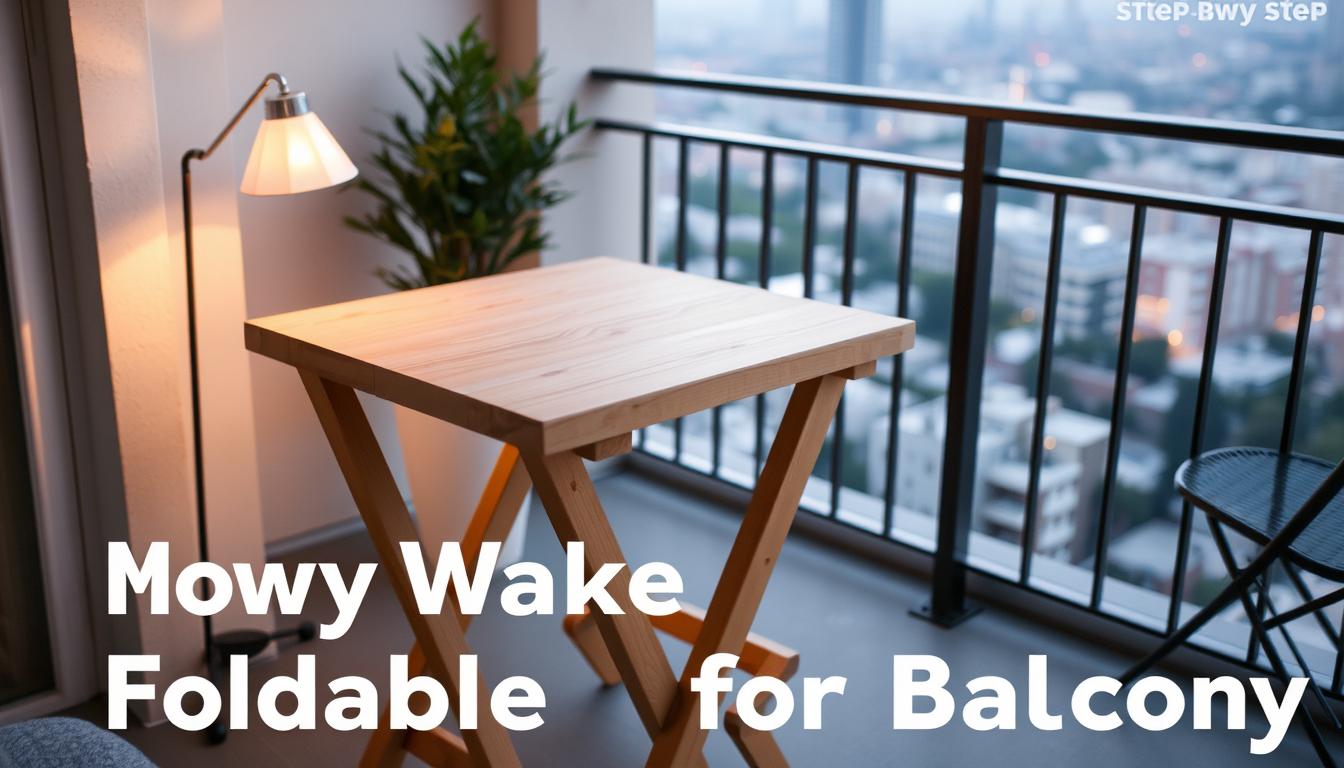
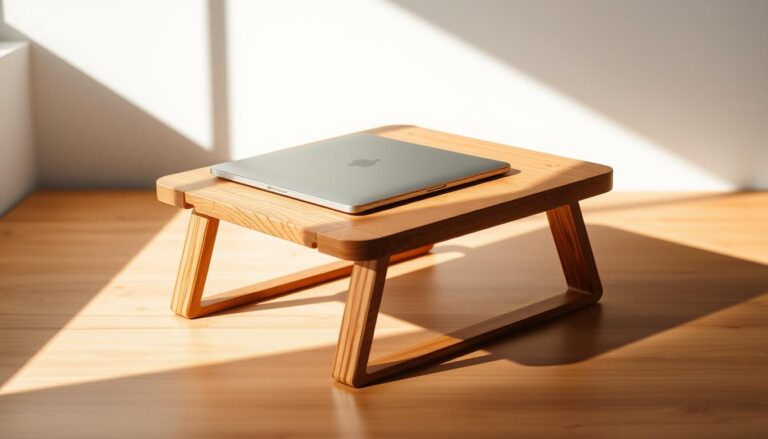
Did you know nearly 55% of Americans don’t have much outdoor space? This fact makes finding smart ways to use that space important. Especially if you want to make the most out of your balcony. Adding a foldable table is a smart move. It gives you both style and function.
In this guide, we’re going to show you how to build a foldable table. This table won’t just save you space. It will also make your balcony look better. No matter the size of your balcony, a foldable table can turn it into a welcoming retreat. So, let’s start this DIY project and create a table that fits your style and meets your needs.
Why Choose a Foldable Table for Your Balcony?
A foldable table for your balcony has many benefits. It enhances both your space’s look and its use. These tables make outdoor activities more convenient. They combine practical use with style perfectly.
Benefits of a Foldable Design
A foldable table is versatile and easy to store. You can put it away when it’s not needed. This makes it ideal for small outdoor spaces. It’s perfect for any gathering or just enjoying a coffee by yourself. It lets you have a dining area without making your balcony feel crowded.
Space-Saving Advantages
Foldable tables save a lot of space. They’re great for making the most of your balcony. They take up very little space when folded. This makes moving around easier. It’s especially useful in cities where outdoor space is limited.
Stylish Options for Every Décor
You can find foldable tables in many styles and materials. Whether you like wood or metal, there’s a table for every taste. They can make any balcony look better. Choosing the right style helps you make your outdoor area feel like it’s truly yours.
Materials You Will Need
Making a foldable table for your balcony starts with picking the right materials. It’s vital to choose the proper wood types for furniture to make sure it looks and lasts. Selecting the best tools and finishing items is key to create a table that’s both durable and attractive.
Essential Tools for the Project
You’ll need these essential tools to make your table:
- Drill
- Saw
- Sander
- Measuring tape
- Clamps
- Paintbrush
Recommended Wood Types for Durability
For wood types for furniture, MDF and pine are great choices. MDF has a smooth surface good for finishing, and pine is strong and beautiful. Here’s a brief comparison:
| Wood Type | Durability | Finishing Options |
|---|---|---|
| MDF | Moderate | Paint, Veneer |
| Pine | High | Stain, Clear Coat |
Finishing Materials for a Polished Look
Selecting the top finishing materials for tables protects your table from the outdoors. A wood stain brings out the wood’s color and guards it. Or, a water-based enamel creates a shiny look. Both choices ensure your table enhances your balcony’s style.
Step 1: Designing Your Table
Starting with a good design for your foldable table is key. It matters a lot for both its look and how well it works. Think about your balcony space when deciding on your table’s size. A good design means your table fits right in and does its job well.
Choosing the Right Dimensions
Finding the perfect size for your table is very important. First, measure your balcony space to see how big your table can be. You’ll find that sizes from 24 to 36 inches wide are best for eating or hanging out. A height of 28 to 30 inches is pretty standard and works well.
Fun Design Ideas
There are so many fun ways to design your table. You could add built-in storage to keep your space neat. Cool folding methods can make your table both unique and space-saving. Try using materials like reclaimed wood or metal for a nice touch. Picking colors that match your outdoor decor will make everything look great together.
Sketching Your Blueprint
Making a DIY blueprint is super helpful when you build your table. Start by drawing your design, including measurements and special features. This drawing will help you remember every part of your table as you put it together. Don’t forget to add any cool things you want to include.
Step 2: Cutting the Wood
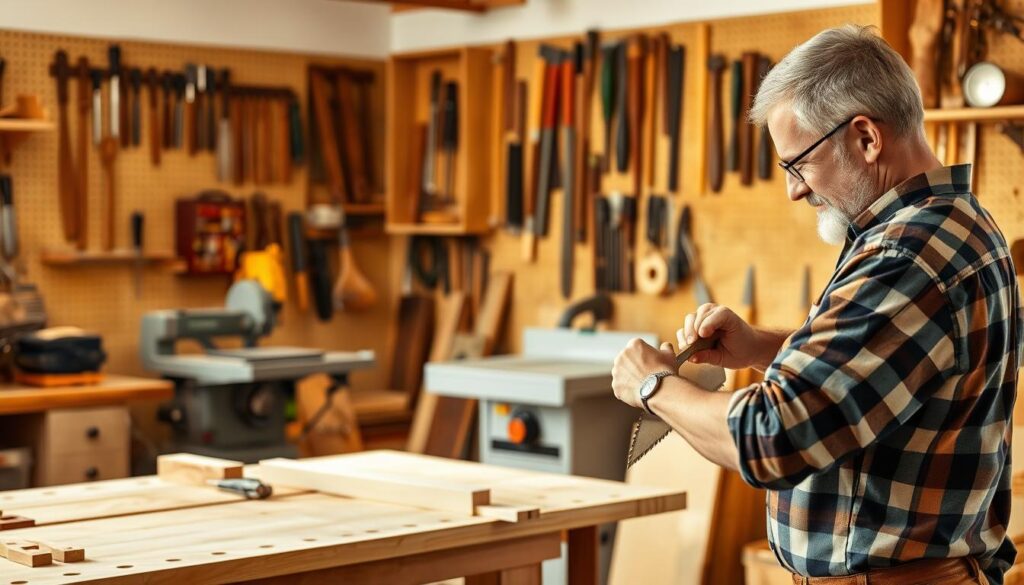
For your DIY woodworking project to succeed, cutting the wood right is key. You need to focus and follow safety rules to avoid any mishaps. Before cutting, get your materials and workspace ready.
Safety Precautions
Always wear safety gear like goggles, gloves, and a dust mask. Knowing how to use your tools safely is also crucial. Make sure your workspace is well-lit. To keep the wood steady and make precise cuts, use clamps.
Step-by-Step Cutting Instructions
Here’s how to cut wood properly:
- Measure your wood pieces according to your plan using a tape measure.
- With a pencil, clearly mark where you need to cut.
- Adjust your saw for the correct angle, often 90 degrees for straight cuts.
- Start with a small notch on the marked line to guide your saw.
- Then, follow through with the main cut smoothly along the line. Go slow to stay in control.
- Check your wood piece’s size after cutting to make sure it’s right.
Step 3: Assembling the Table
This is where your DIY table project really starts to take shape. It’s time to put together the pieces you’ve cut. Grab your screws, wood glue, and tools to start.
Joining the Pieces Securely
First, lay out the table parts the way they’ll fit together. Apply wood glue to the edges, then secure them with screws in pre-drilled holes for extra strength. These steps ensure your table will be sturdy and able to support weight.
Use clamps to hold everything tightly as the glue sets. This helps create a strong bond between the pieces.
Creating the Foldable Mechanism
Adding a foldable mechanism requires hinges. Place these hinges where the top connects to the legs. Make sure they’re strong for the table to last and work well.
Try folding and unfolding the table to see if it moves smoothly. Adjust as needed to get it just right.
Step 4: Sanding and Finishing
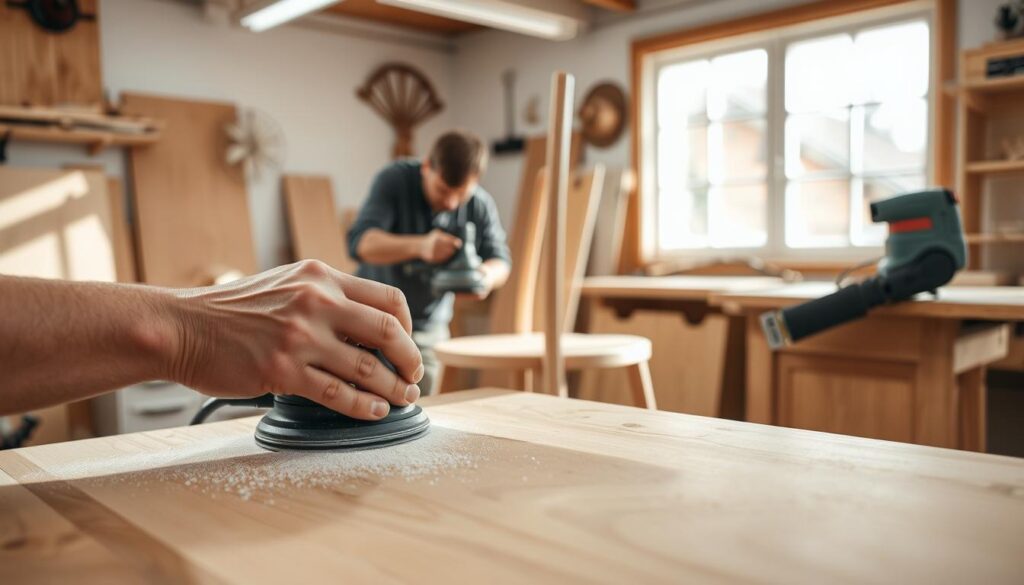
For a sleek look on your foldable table, pay close attention to sanding and finishing. Sanding improves your table’s look and makes it safer by smoothing sharp edges. It’s vital to know the different sanding methods to make surfaces smooth.
Importance of Smooth Edges
Sanding makes your table’s edges smooth and safe. This is crucial if you have kids or pets around. Sharp edges can hurt. By using sandpaper of various grits, you can smoothly remove flaws and get the texture you want. Start with a rough grit for the big issues, then use finer grits for a soft finish.
Applying Stain or Paint
Staining or painting your furniture boosts its look and protects it. For the best stain results, follow these steps:
- Pick a top-notch stain that looks good to you.
- Use a clean cloth or brush to apply stain, going with the wood grain.
- Wait a few minutes for the stain to soak in, then wipe off extra.
- Give it enough time to dry before adding more coats or other finishes.
Choosing stain or paint, both require care and patience to look great. A nicely finished table not only looks amazing but also lasts longer against the elements.
| Sanding Grit | Use Case | Recommended Action |
|---|---|---|
| 80-120 | Initial sanding for rough surfaces | Remove old finish and imperfections |
| 150-220 | Intermediate sanding | Prepare surface for staining or painting |
| 320 or higher | Final sanding for a smooth finish | Perfect the surface texture |
Step 5: Adding Supports and Legs
In this step, we focus on adding strong and reliable legs that fold. It’s crucial to have sturdy supports so your table doesn’t wobble. Choosing the right legs enhances your table’s use and safety.
Types of Foldable Legs to Consider
Consider these options for foldable table legs:
- Metal Legs: They’re strong and come with locks for extra safety.
- Wooden Legs: They look good and are solid, matching many table tops.
- Plastic Legs: These are light and easy to move, but may be less stable.
- Retractable Legs: They fold up under the table, saving space and providing stability when out.
Ensuring Stability and Safety
After choosing your table legs, attach them well. Here are tips to keep your table safe:
- Check each leg is secure and can hold weight.
- Press down on the table to see if it wobbles. If it does, fix the legs.
- Adding cross supports or braces between the legs can make the table more stable.
By following these steps, you’ll make sure the legs are firmly attached. This makes your foldable table safe and ready for everyday use.
Step 6: Final Touches
Adding final touches to your foldable table makes it more useful and personal. It lets you reflect your style through your outdoor furniture. This step can change a simple table into a highlight of your outdoor area.
Customizing with Accessories
Adding accessories like bright placemats, elegant centerpieces, or fun tableware sets the mood. These small changes make your space welcoming. Try adding colorful cushions, chic placemats, or candles for a cozy vibe.
- Colorful cushions for added comfort.
- Stylish placemats and coasters to protect the surface.
- Decorative items like potted plants or candles for ambiance.
Protecting Against Weather
Weatherproofing your table is key for it to last long. Choosing the right protection helps a lot. You should use:
- Water-resistant sealants or coatings.
- UV protection sprays to prevent fading.
- Cover options made from durable fabrics when the table is not in use.
With these custom touches and protections, your table will face the weather and impress guests for many years.
Maintenance Tips for Your Foldable Table
To keep your foldable table looking great on your balcony, it needs regular care. Start with gentle cleaning. Avoid rough chemicals to not harm its finish or wood. A soft, damp cloth works best.
For tougher spots, a light soap mix does the trick. After that, rinse it well to avoid leaving anything behind.
As the weather changes, how you store your table is key. Keep it indoors when not in use to protect it. If you have room, covering it keeps off dust and scratches.
This care keeps it looking good and lasting longer. It shows the worth of your effort in making it.
Check your table often for any signs of damage. Fix small things like loose screws or scratches quickly. This prevents bigger problems later. By doing these steps, you can enjoy your table in many coming seasons.

